Configure Network Settings
Network settings configure the device's IPv4 address, subnet, gateway, and DNS servers, set ports used by the web UI and live video streaming, and manage the Suprema CLUe cloud connection. Select either automatic assignment (DHCP) or manual (Static) according to your network environment.
Check network settings in the following situations.
-
When the network supports DHCP and you need the device to obtain an IP address automatically.
-
When you need stable network access using a fixed IP address.
-
When the default ports conflict with other devices or you need to change ports for security.
-
When you need remote management by enrolling the device in Suprema CLUe.
Changing network settings, especially the IP address, may disconnect active connections. Reconnect using the new IP address.
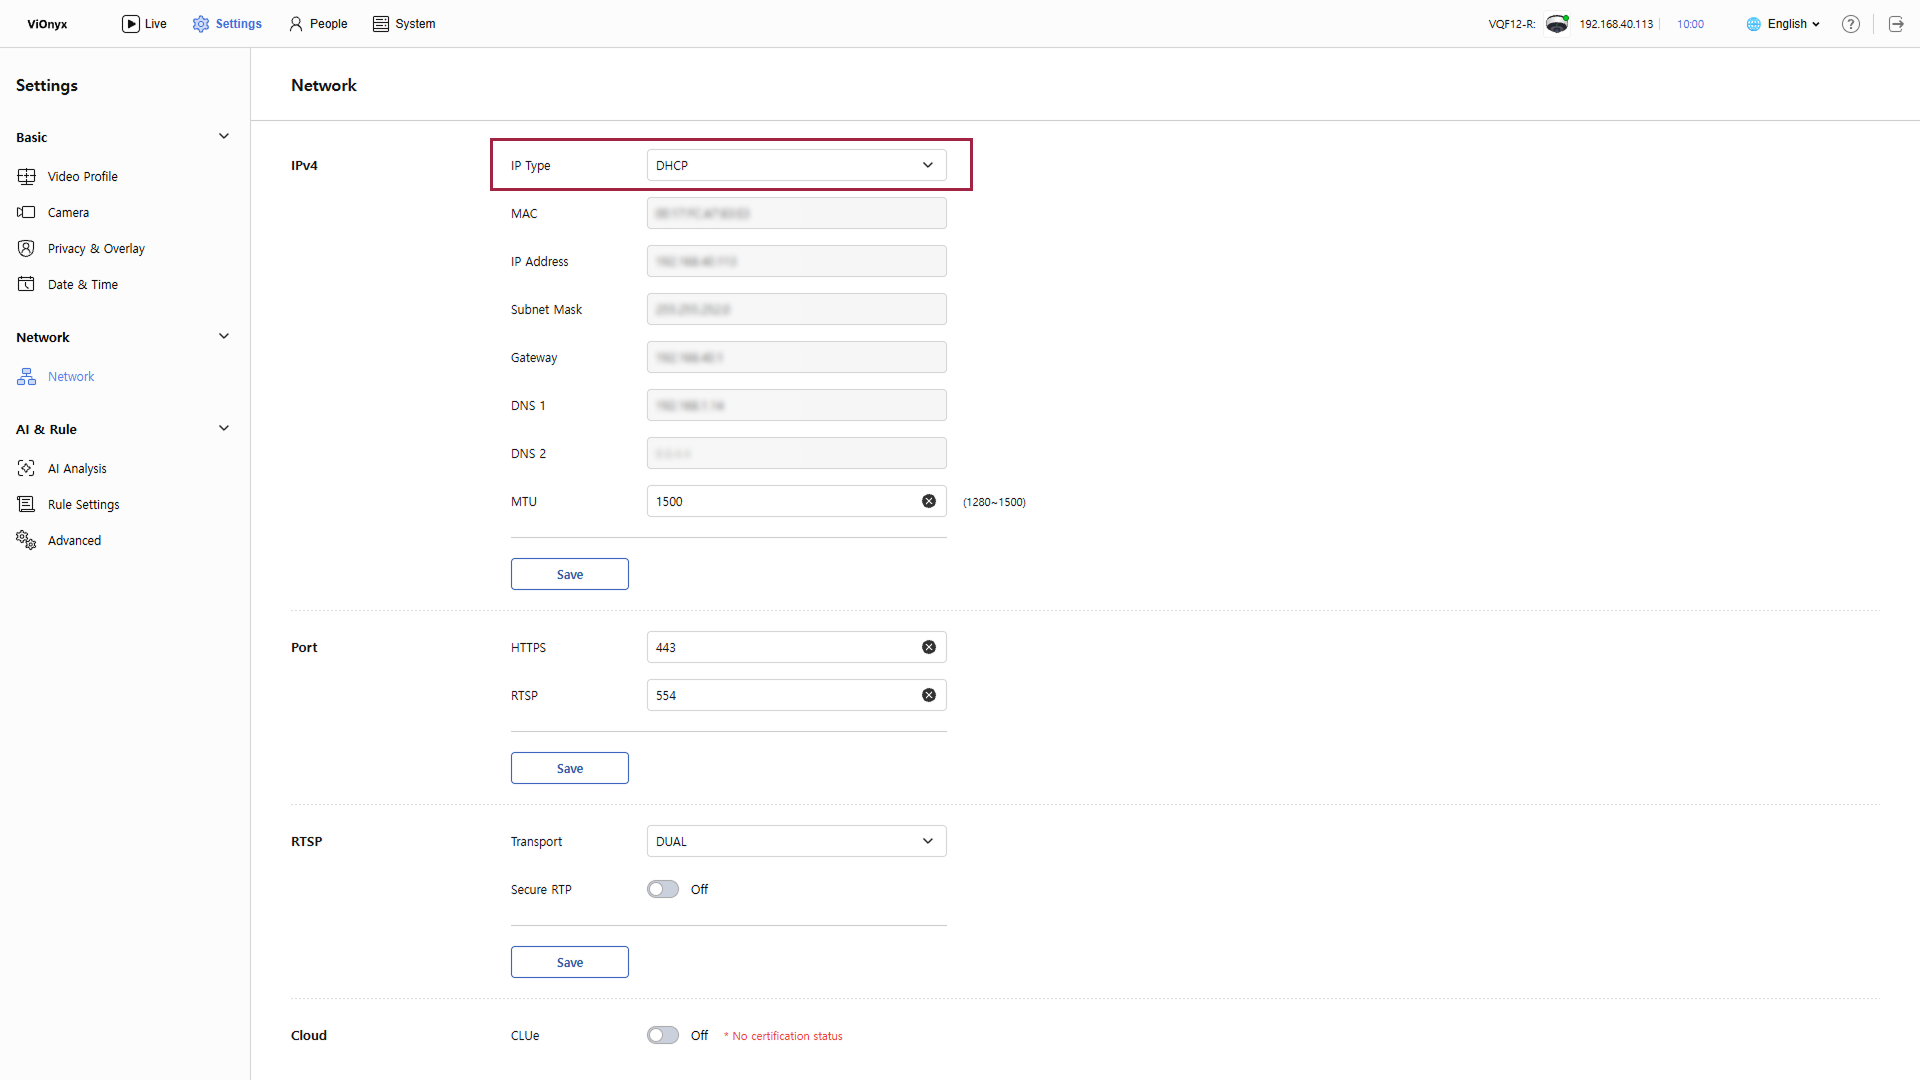
Automatic IP address
DHCP automatically assigns IP addresses on the network. In most typical network environments, it configures automatically without additional settings.
-
Click Settings in the upper-left of the screen.
-
In the left sidebar, click Network → Network.
-
Select DHCP in IP Type.
-
If you need DNS server addresses, enter them in the DNS 1 and DNS 2 input fields.
-
Adjust the MTU (Maximum Transmission Unit) value as needed in the MTU input field.
-
The default is 1500.
-
Set a value between 1280 and 1500.
-
-
Click Save to save the network settings.
If the settings save successfully, the assigned IP address appears in the IP Address, Subnet Mask, and Gateway input fields.
DHCP mode is set by default and operates automatically in most standard network environments without additional settings.
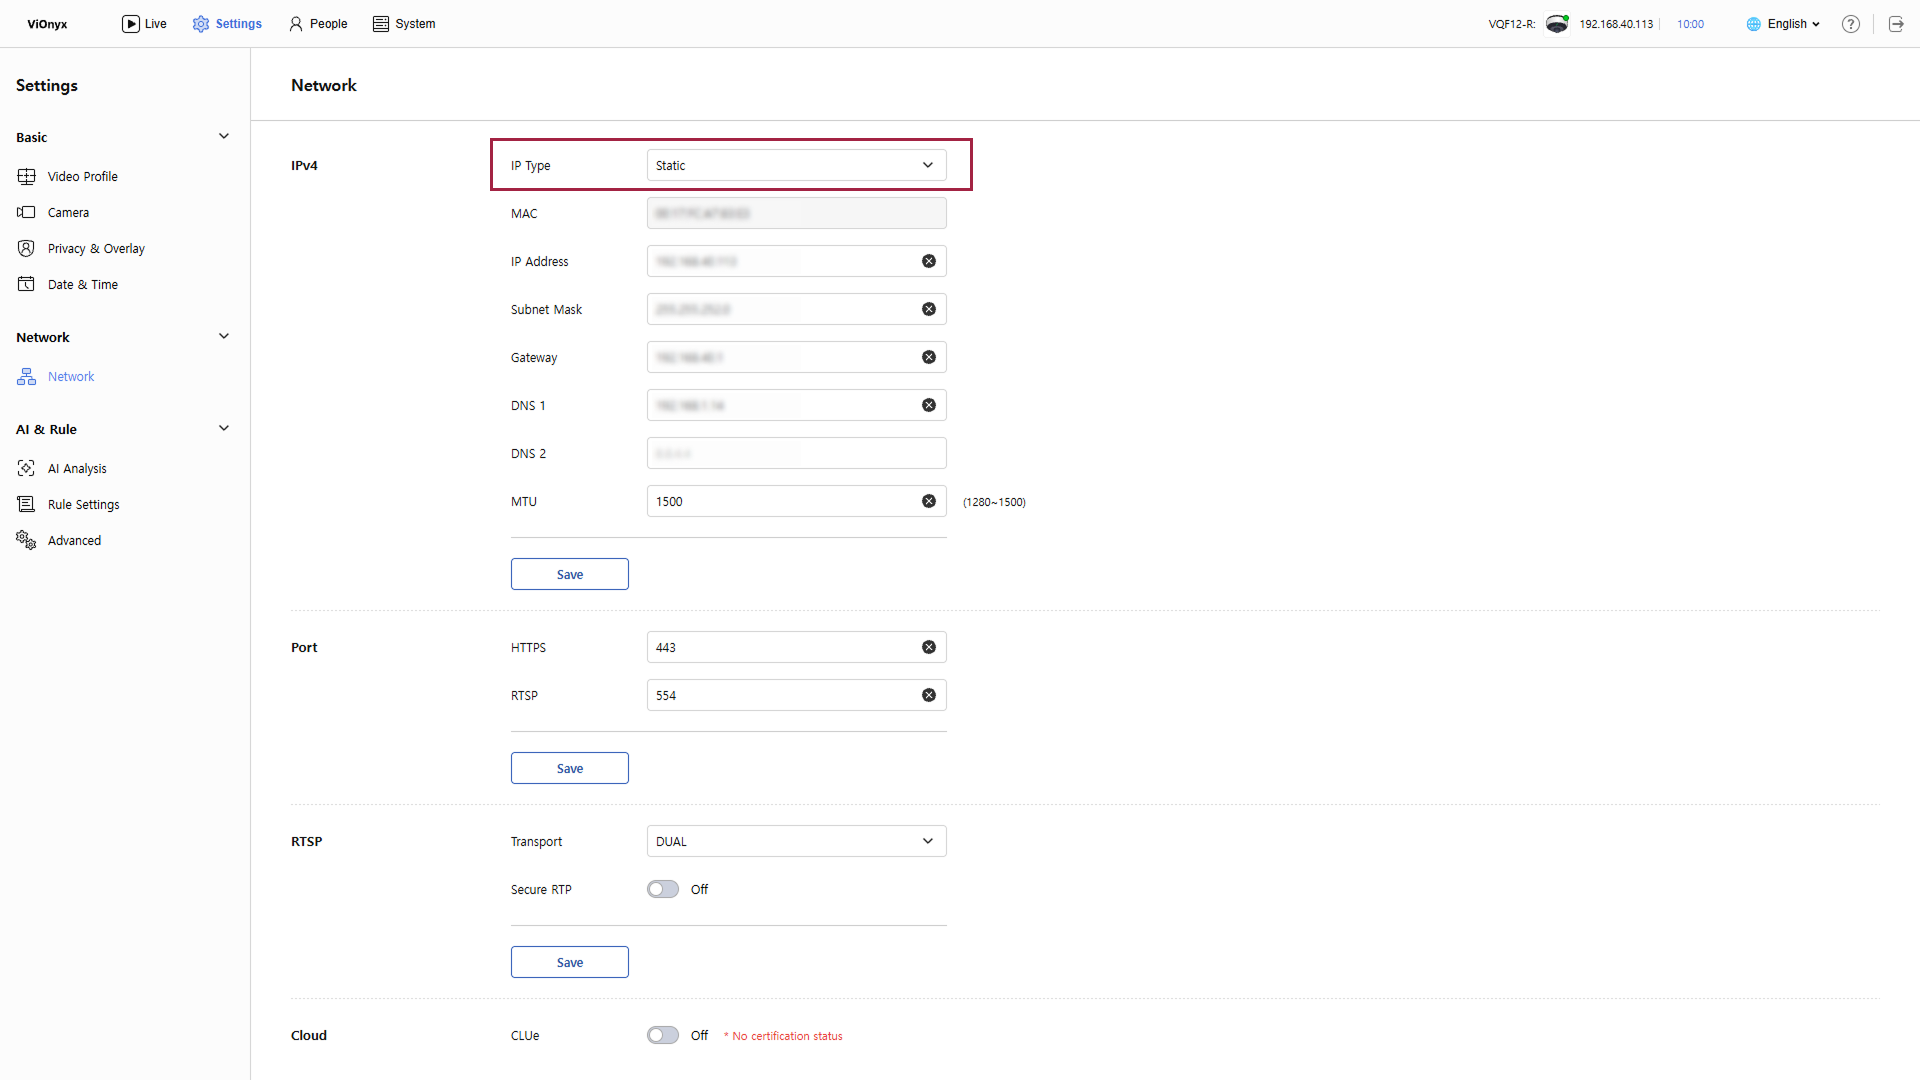
Static IP address
Set the IP address manually when the network requires a fixed IP for stable access.
-
Click Settings in the upper-left of the screen.
-
In the left sidebar, click Network → Network.
-
Select Static in IP Type.
-
Enter the assigned IPv4 address in the IP Address input field.
Example: 192.168.111.11
-
Enter the subnet mask in the Subnet Mask input field.
Example: 255.255.255.0
-
Enter the gateway address in the Gateway input field.
-
Enter the DNS server address in the DNS 1 and DNS 2 input fields.
-
Adjust the value in the MTU input field as needed.
-
The default is 1500.
-
Set a value between 1280 and 1500.
-
-
Click Save to save the network settings.
If you do not enter a valid address in each input field, a red border appears around the field and Save is disabled. After entering all input fields correctly, try again.
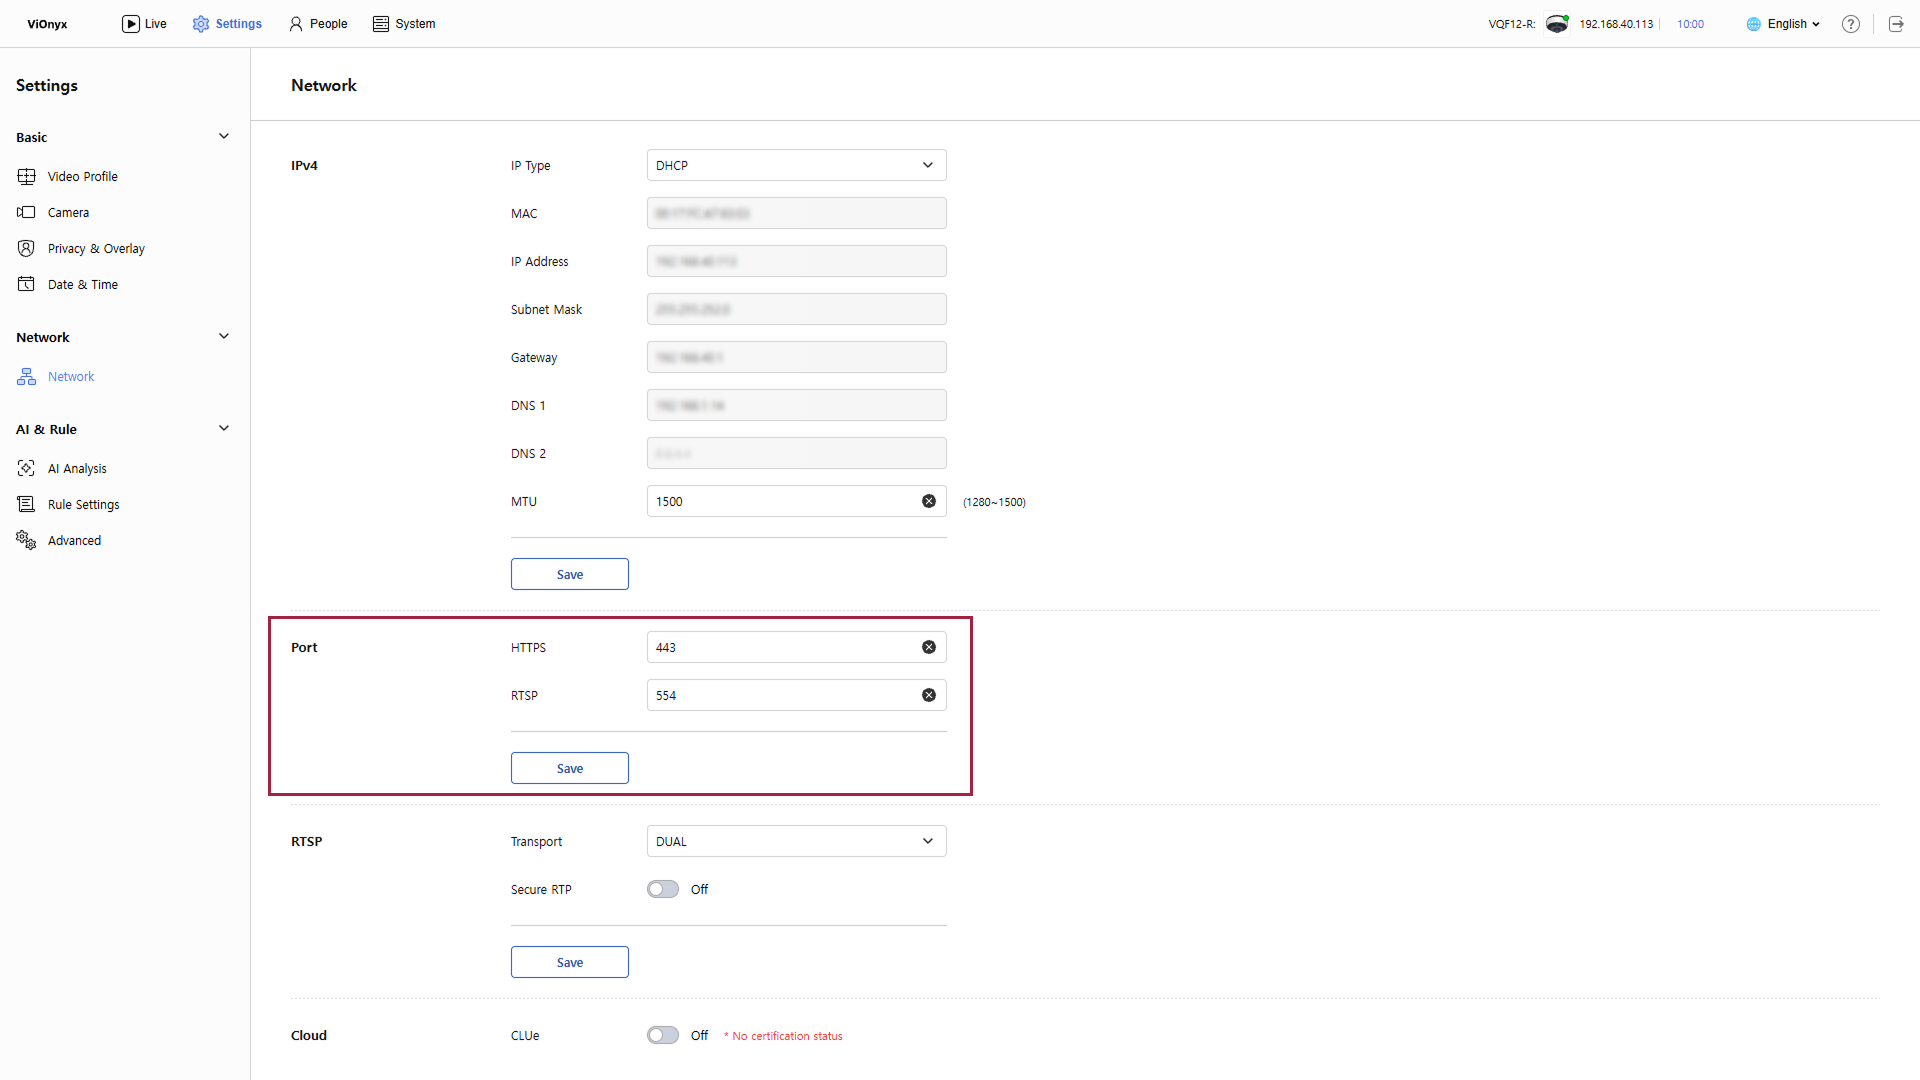
Port settings
In the Port section, set port numbers used to access the web UI (HTTP, HTTPS) and for video streaming (RTSP).
-
Click Settings in the upper-left of the screen.
-
In the left sidebar, click Network → Network.
-
Set the required ports in the Port section.
-
HTTPS: Port for encrypted access to the web UI (default: 443)
-
RTSP: Port for streaming video through the RTSP protocol (default: 554)
-
-
Click Save to save the port settings.
-
Enter a number from 1 to 65535 in each port input field.
-
Do not assign the same port number to multiple services. Each port must have a unique number.
-
If a port differs from the default, include the port number in the web UI URL.
Example: If the HTTPS port is 4000:
https://{ip_address}:4000
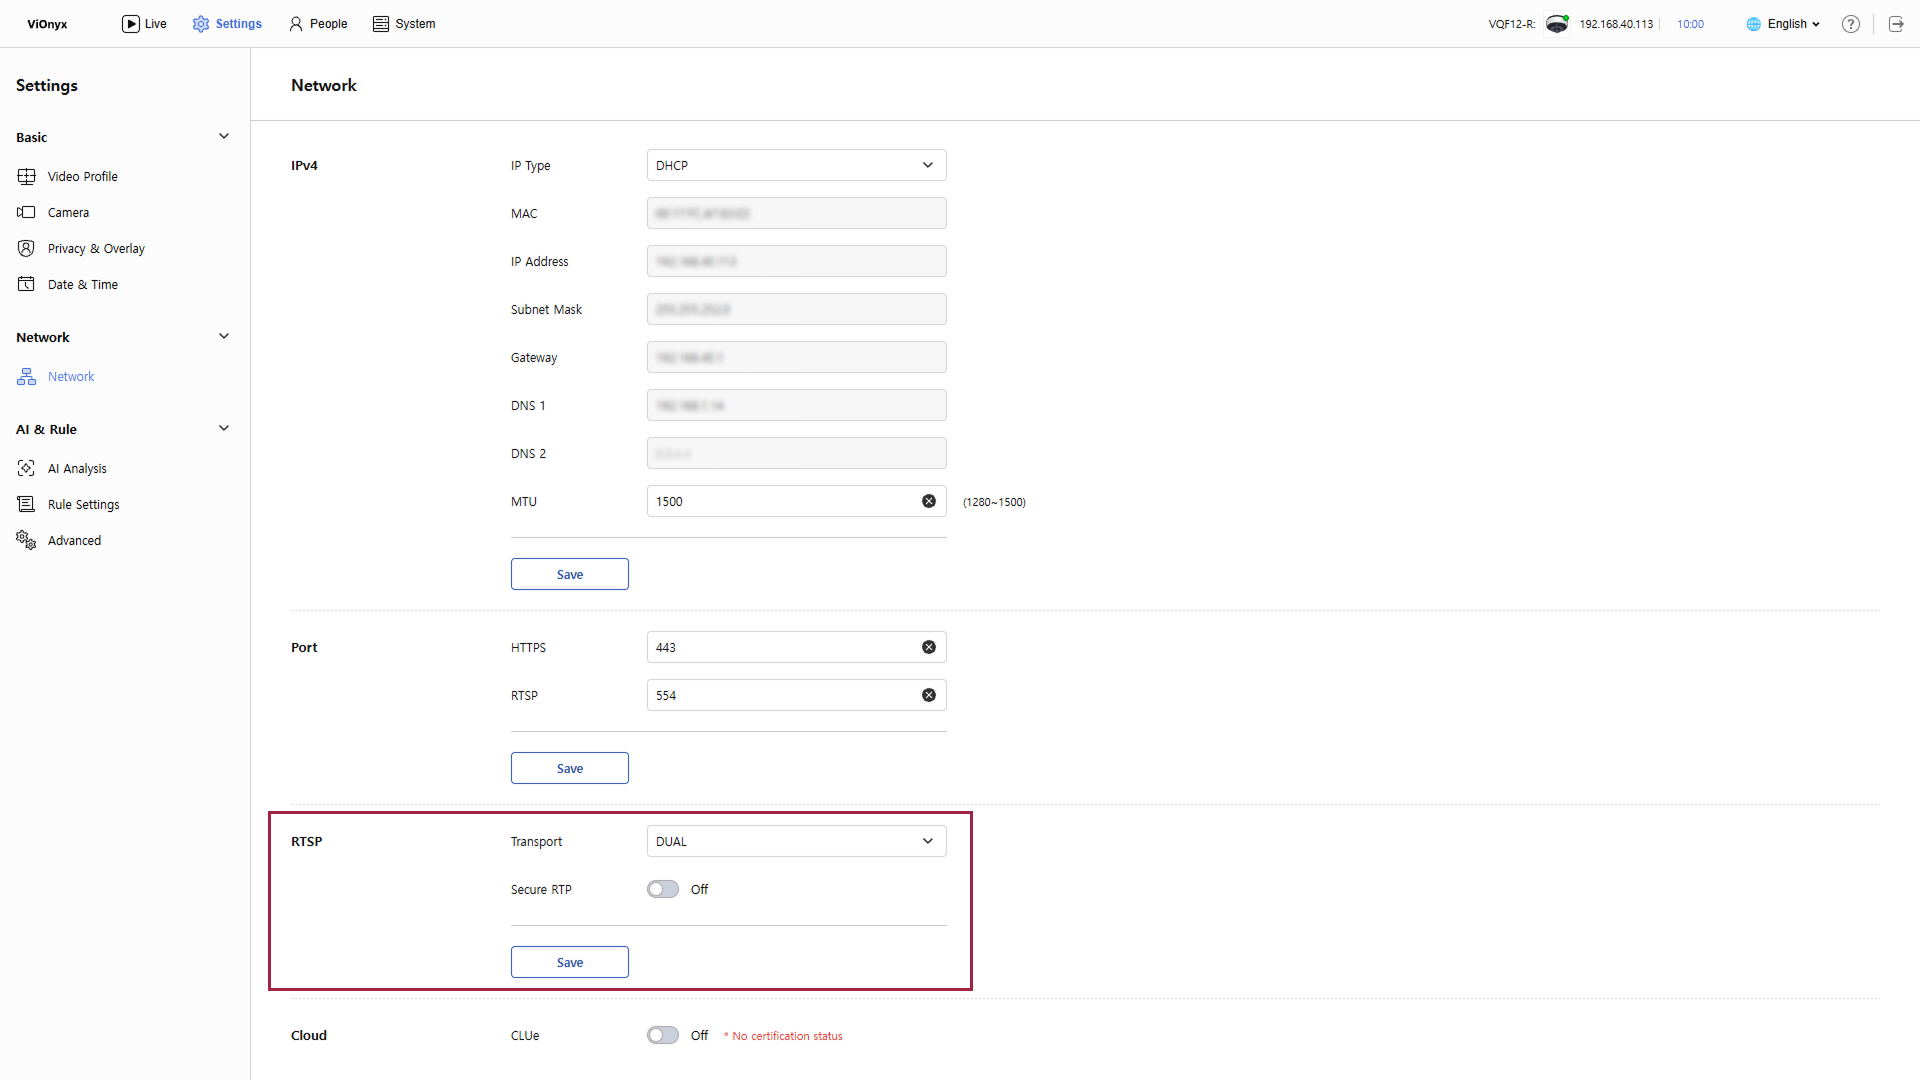
Video transmission and encryption settings
In the RTSP section, configure video transmission and encryption settings.
-
Click Settings in the upper-left of the screen.
-
In the left sidebar, click Network → Network.
-
Set the following options in the RTSP section.
-
Transport: Select the transport protocol used for video streaming.
-
UDP: Enables faster transmission, but video may stutter depending on network conditions.
-
TCP: Enables stable transmission, but network latency may occur.
-
DUAL: Automatically selects UDP or TCP for streaming based on network conditions.
-
TLS: Sends the RTSP stream with TLS encryption. Enhances security, but may increase CPU load.
-
-
Secure RTP: Enable the RTSP stream encryption option.
-
-
Click Save to save the settings.
CLUe cloud connection
Suprema CLUe is a cloud-based remote management service. Connect to CLUe to manage the device remotely over the Internet.
-
Click Settings in the upper-left of the screen.
-
In the left sidebar, click Network → Network.
-
Click the CLUe toggle in the Cloud section to enable it.
-
The system checks the Internet connection and the CLUe server connection.
-
Connection successful: CLUe has been enabled message appears.
-
Internet connection failed: CLUe has been disabled message appears. Check the Internet connection and try again.
-
-
If you disable the CLUe option, the connection to the CLUe server is disconnected, and remote management through the cloud is unavailable. However, the device's enrollment on the CLUe server remains.
-
CLUe connection successes and failures are recorded in the system log.