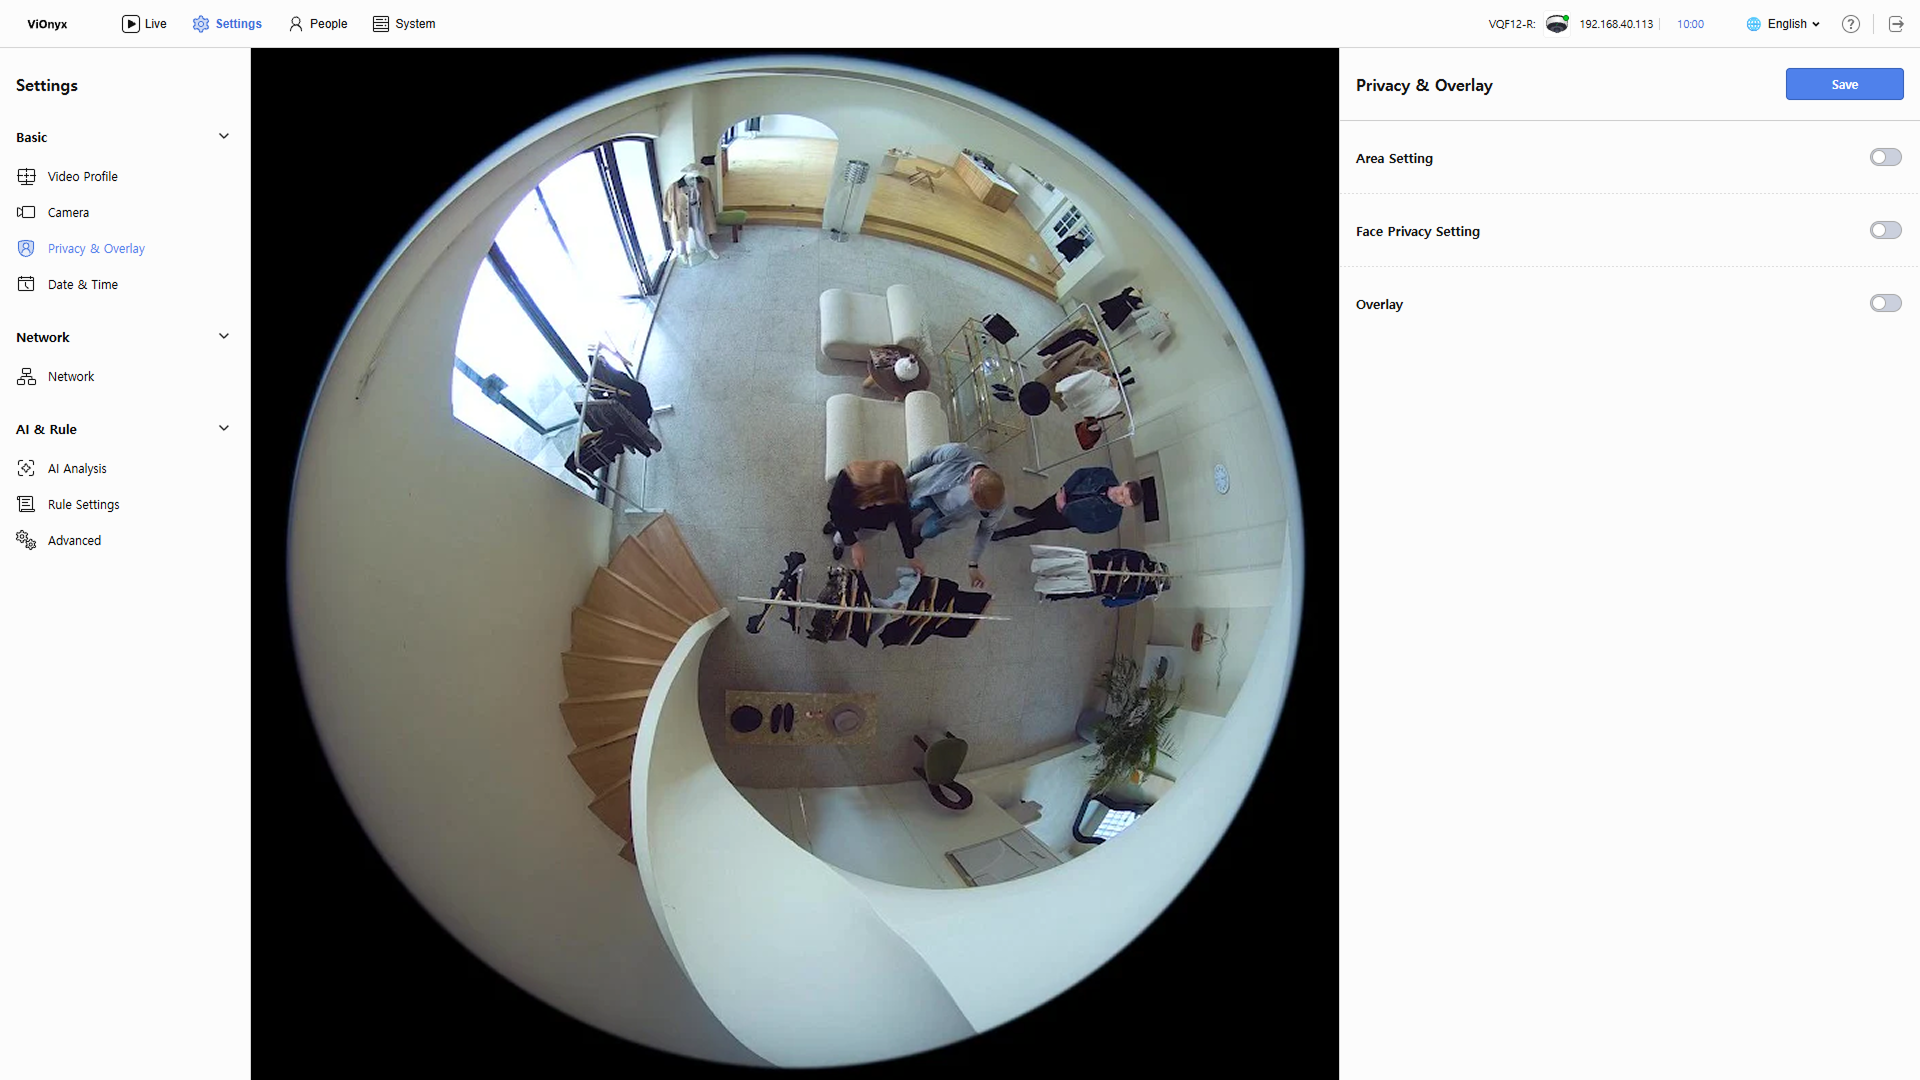
Configure Privacy & Overlay Settings
Privacy & Overlay setting lets you mask sensitive areas or automatically blur faces in camera video. Also display date/time and the camera name on video to clearly indicate the source and recording time. All settings take effect immediately in Live View.
Configure Privacy & Overlay in the following situations.
-
When you need to mask specific areas that may invade privacy
-
When you need to comply with privacy policies by automatically blurring faces
-
When you need to ensure traceability of recorded video by displaying date/time
-
When operating multiple cameras, display camera names to clarify the video source
Privacy settings (masking, face blur) apply only to video display; AI analysis runs on the original images and does not affect AI performance.
Privacy & Overlay settings
-
Click Settings in the upper-left of the screen.
-
In the left sidebar, click Basic → Privacy & Overlay.
-
To save changes, click Save in the upper right corner of the screen.
Saved changes apply to the camera immediately after saving.
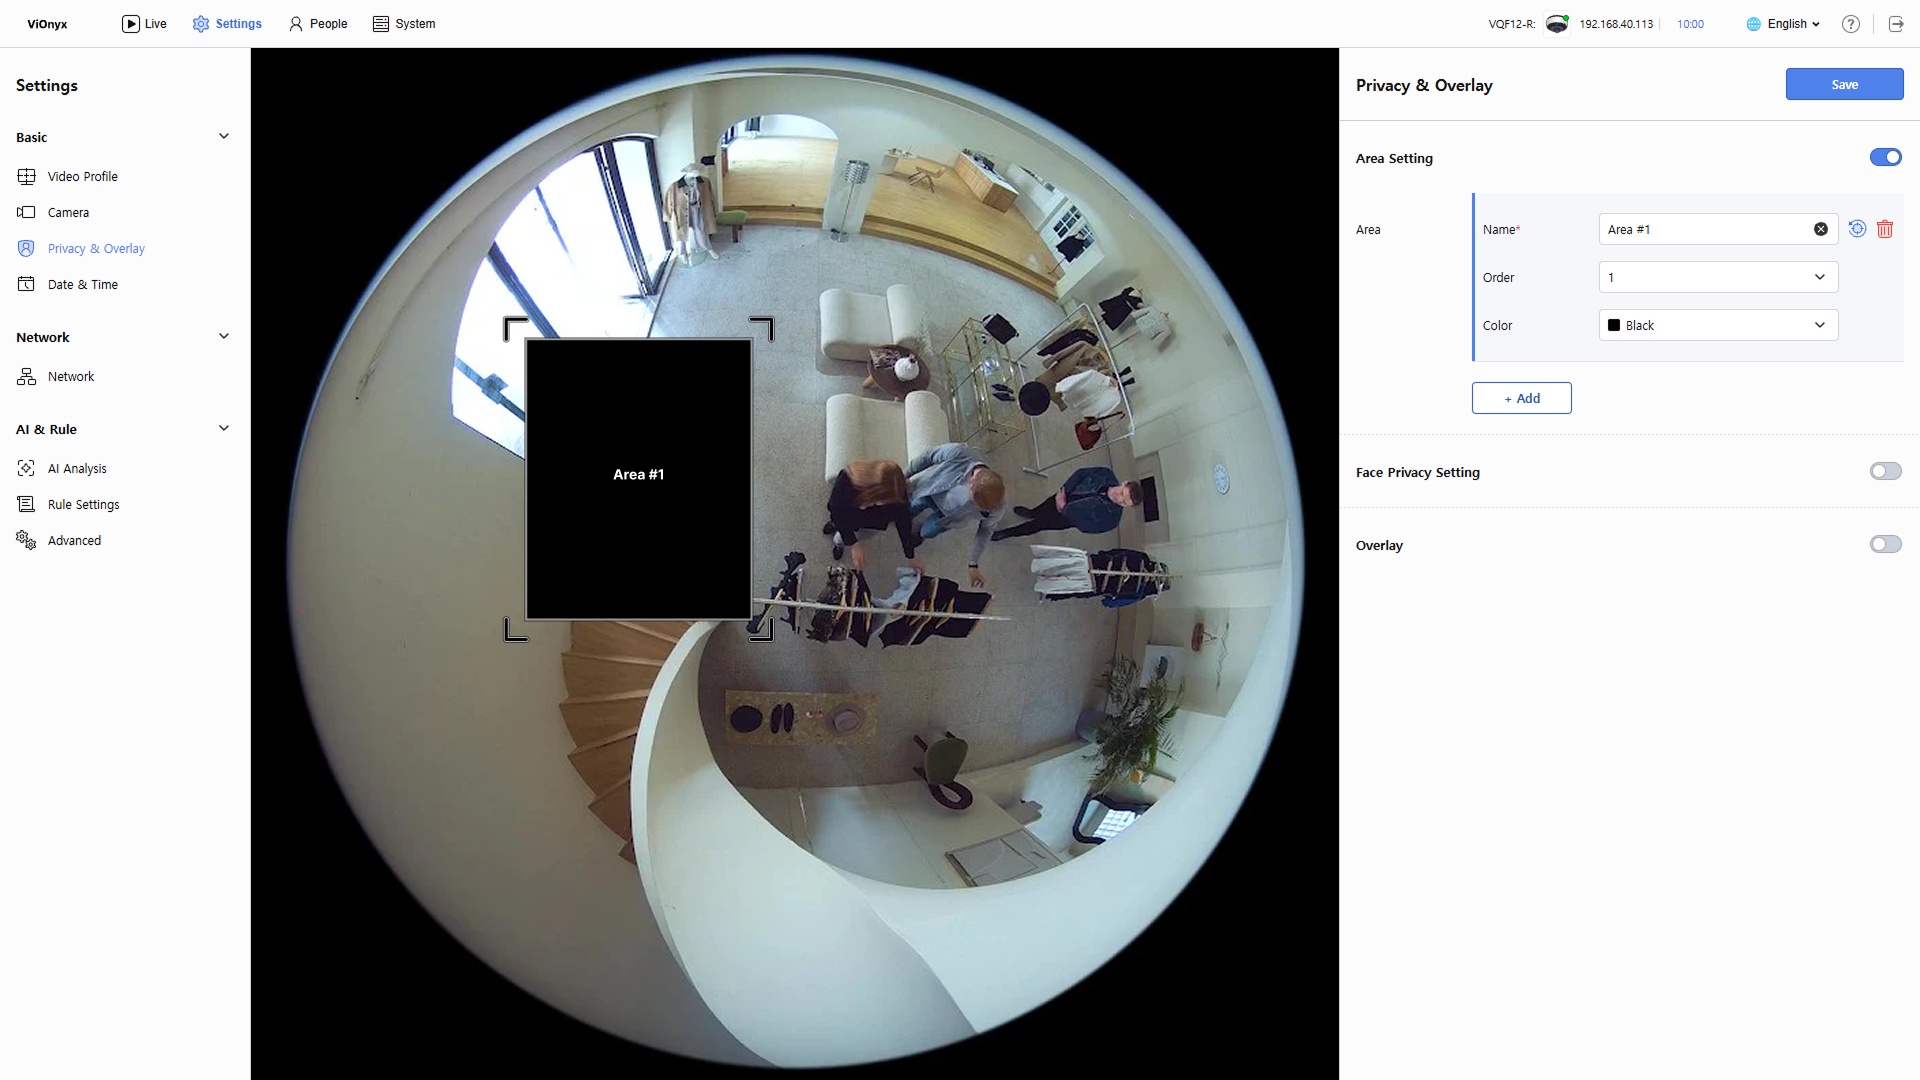
Privacy area settings
Mask specific areas in recorded video that should remain private. Set up to 10 areas; each area is fixed and does not move.
-
Click the toggle button in the Area Setting section.
-
Click + Add.
-
A masking area is added to Live View. Drag the corners of the area to resize it, or drag the entire area to move it.
-
After you create a masking area, set the area name, order, and color in the right settings panel.
-
Name: The masking area name is generated automatically and can be edited if needed.
-
Order: Adjust the display order when masking areas overlap. A higher number appears on top.
-
Color: Select the masking area color.
-
-
To save the added masking area, click Save in the upper-right corner of the screen.
Saved masking areas are applied to Live View and recorded video.
-
Masked areas are applied automatically to all view modes (fisheye, single panorama, double panorama, and quad).
-
To reset the masking area settings, click .
-
To delete a masking area, click .
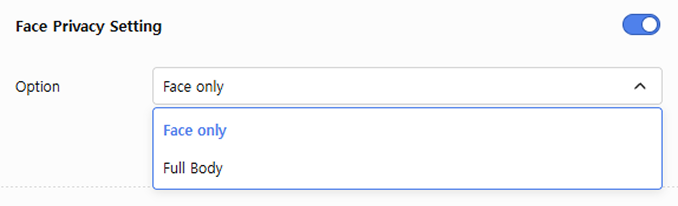
Face privacy settings
Automatically blur detected faces or full bodies to protect personal information. Enable Face Privacy Setting and choose the desired blur scope.
-
Face only: All detected faces are automatically blurred.
-
Full Body: The entire detected body is automatically blurred.
Blurring faces or full bodies does not affect AI performance. While the camera displays blurred video, AI analysis runs on the original images, so AI features such as Facial Authentication and object tracking operate normally.
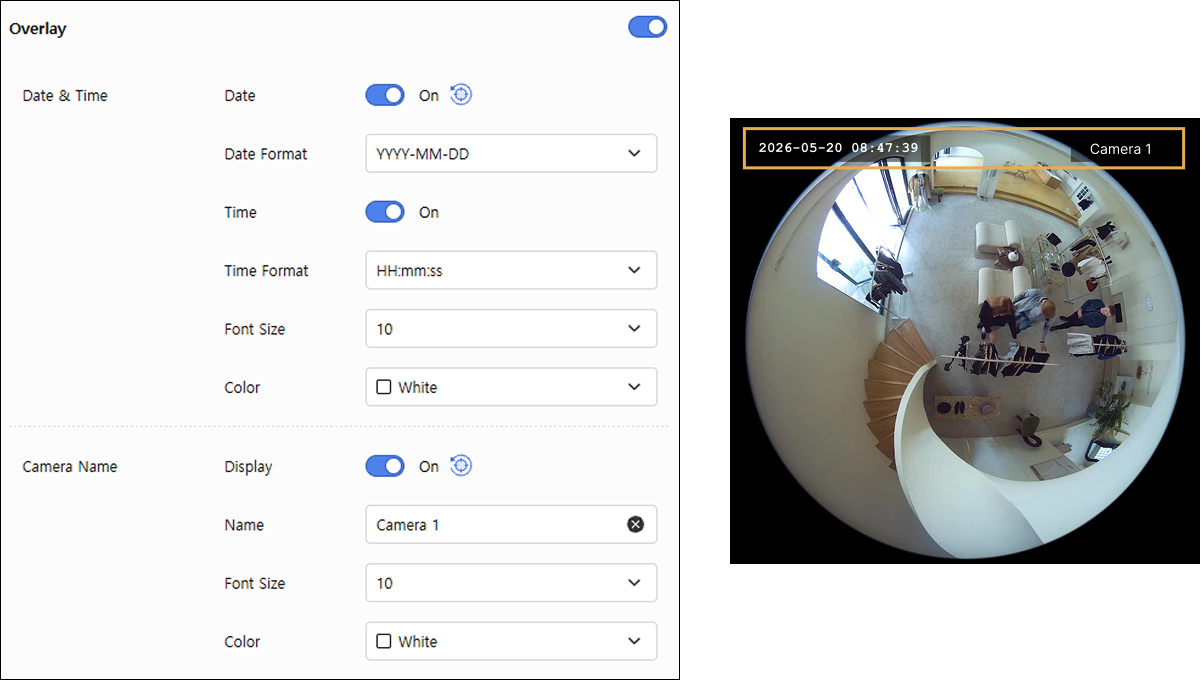
Overlay settings
Display date/time and camera name in Live View. Enable Overlay and adjust details in Date & Time and Camera Name.
Each setting is saved automatically upon change and immediately applied to Live View.
Date & Time
Set the format, size, and color of the date and time shown in Live View. In Live View, check the date/time position, and drag it with the mouse to adjust its position or size if needed.
-
Date / Time: Click the toggle to turn the date and time overlay on or off.
-
Date Format: Select the date format.
-
YYYY-MM-DD (default, e.g.: 2026-01-12)
-
MM-DD-YYYY (e.g.: 01-12-2026)
-
DD-MM-YYYY (e.g.: 12-01-2026)
-
-
Time Format: Select the time format.
-
HH:MM:SS (default, e.g.: 13:45:56)
-
HH:MM (seconds omitted, e.g.: 13:45)
-
-
Font Size: Select the font size shown in Live View. Select from 1 to 32.
-
Color: Select the text color shown in Live View.
The date and time overlay appears only in Fisheye View.
Camera Name
Display the camera name in Live View to clarify the video source. In Live View, check the camera name position, and drag it with the mouse to adjust its position or size if needed.
-
Display: Click the toggle to turn the camera name overlay on or off.
-
Name: Enter the camera name.
-
Font Size: Select the font size shown in Live View. Select from 1 to 32.
-
Color: Select the text color shown in Live View.
Save settings
Verify settings immediately in Live View. To save them, click Save in the upper right corner of the screen. Saved settings apply to the camera and appear in Live View and recorded video.