Update Camera Information
Check basic camera information and enter the device name, description, and location to manage multiple cameras in your organization.
Update camera information in the following situations:
-
Rename an installed camera to a distinctive name within your organization.
-
Add additional information about the camera's location or installation site.
-
Record the camera's precise location by entering GPS coordinates.
-
Add specific notes or descriptions for each camera when managing multiple cameras.
-
Fields such as model name, serial number, and hardware version are read-only and cannot be edited.
-
Camera name, memo, and location support Unicode and accept Korean, English, numbers, and special characters.
Check basic camera information
Check basic information such as the camera model, serial number, and hardware version.
-
Click the System menu in the upper-left corner of the screen.
-
Click Device in the left sidebar.
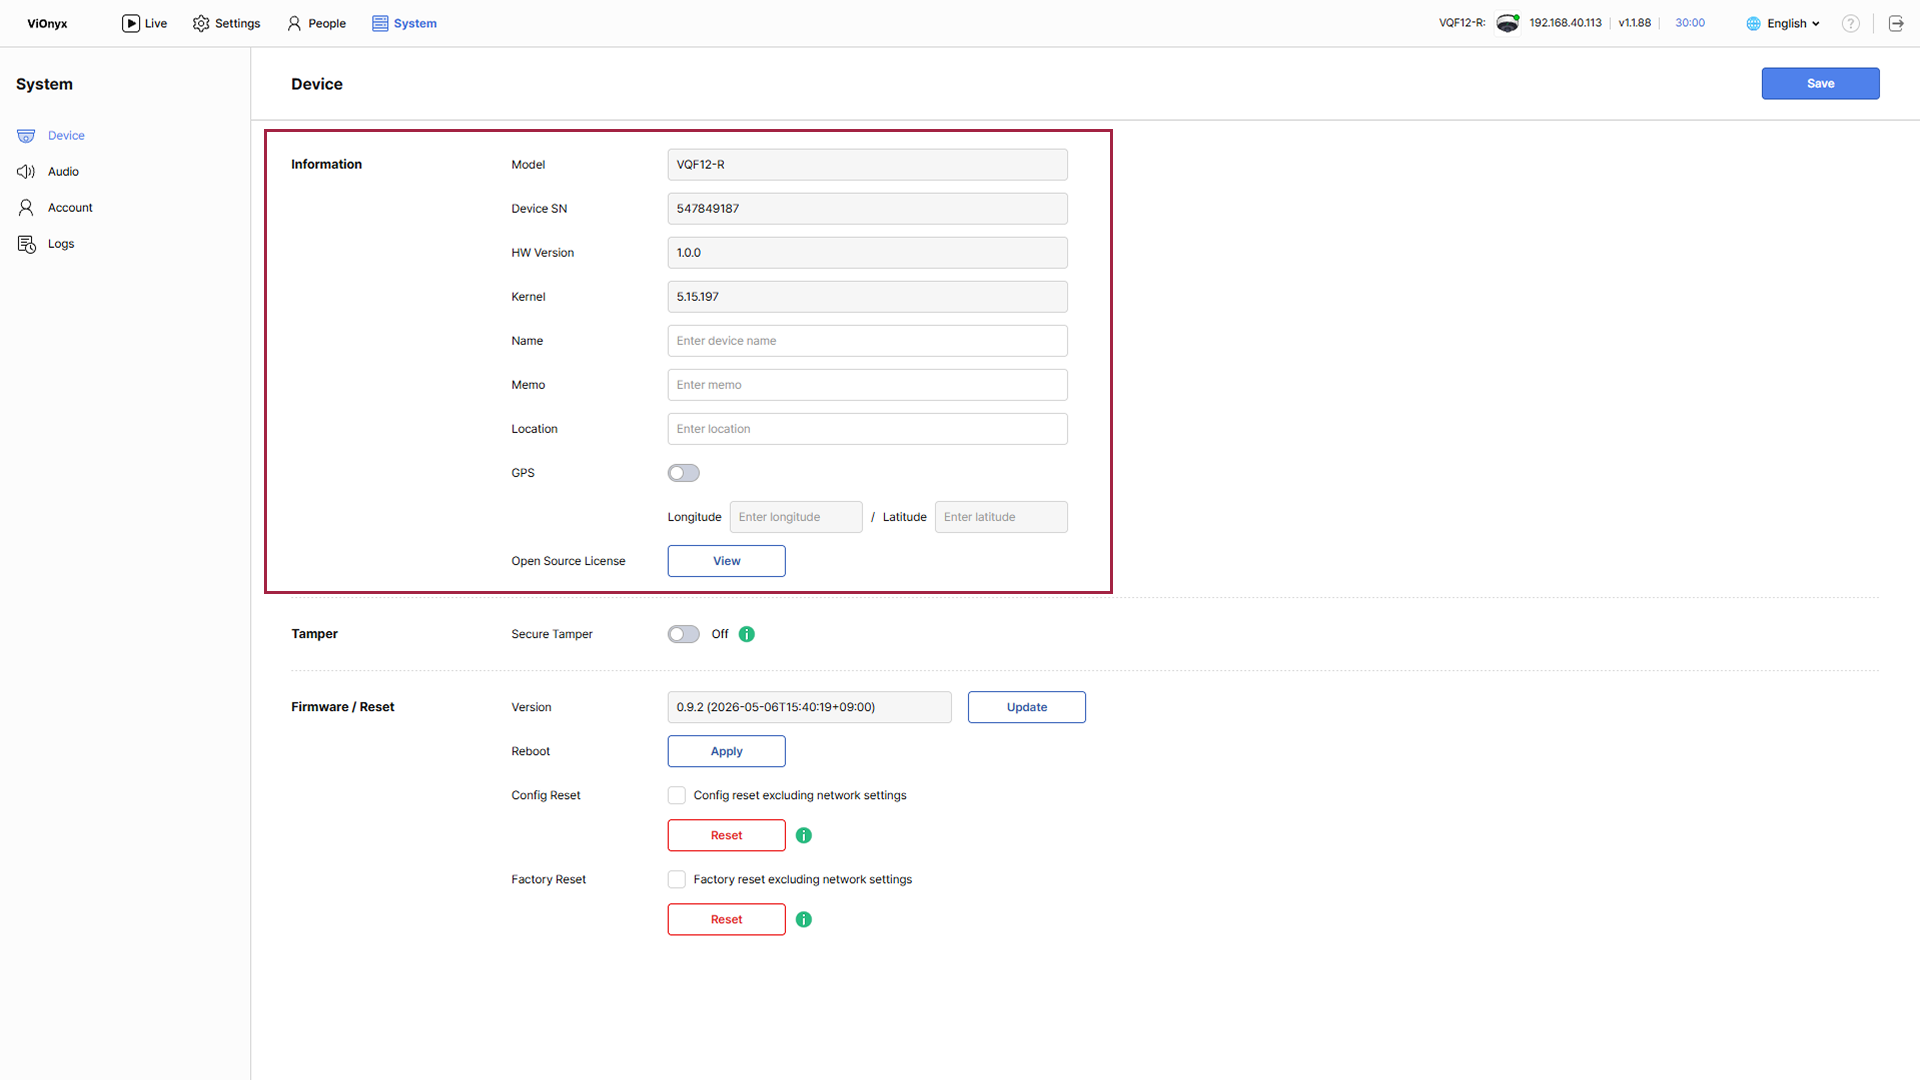
You can check the basic information below in the Information section. These fields are read-only and cannot be edited.
-
Model: Camera model
-
Device SN: Camera serial number
-
HW Version: Hardware version
-
Kernel: Kernel version
-
Open Source License: Click View to view open source license information.
Set camera information
Enter the camera name, memo, and location to manage cameras effectively.
-
Click the System menu in the upper-left corner of the screen.
-
Click Device in the left sidebar.
Enter name
Enter a custom name to make the camera easy to identify. Enter the camera name in the Name input field.
-
Up to 64 characters.
-
Allows Korean, English, numbers, and special characters (
.,-,(,)).
Example: "Entrance 1", "Conference Room A"
The entered camera name appears in the system menu and throughout the web UI, making it easy to identify the camera.
Add memo
Enter additional information or a memo for the camera. Enter a memo or description in the Memo input field. Up to 64 characters.
Example: installation department, administrator name, installation date
Enter location information
Enter the camera's installation location as text. Enter the camera's installation location in the Location input field. Up to 64 characters.
Example: "1st floor lobby entrance", "2nd floor conference room waiting area"
Save settings
After entering all information, click Save in the upper right corner of the screen.
Set GPS coordinates
Enter the camera's exact geographic location as GPS coordinates.
-
Click the System menu in the upper-left corner of the screen.
-
Click Device in the left sidebar.
-
To enable GPS setting, click the GPS toggle in the Information section.

-
Enter the longitude and latitude information.
Example: Seoul (37.5665, 126.9780)
-
Click Save in the upper right corner of the screen to save the setting.
-
Enter GPS coordinates in decimal degrees (DD) format.
-
To disable GPS setting, click the GPS toggle again.