Upload Audio Clips
Upload audio clips for the camera and apply them as alarm tones or voice prompts. Upload and manage audio files in WAV format.
Upload audio clips in the following situations.
-
When you need to upload alarm tones to play when an event occurs
-
When you need to add multilingual voice prompts
-
When you need to add voice messages for specific situations
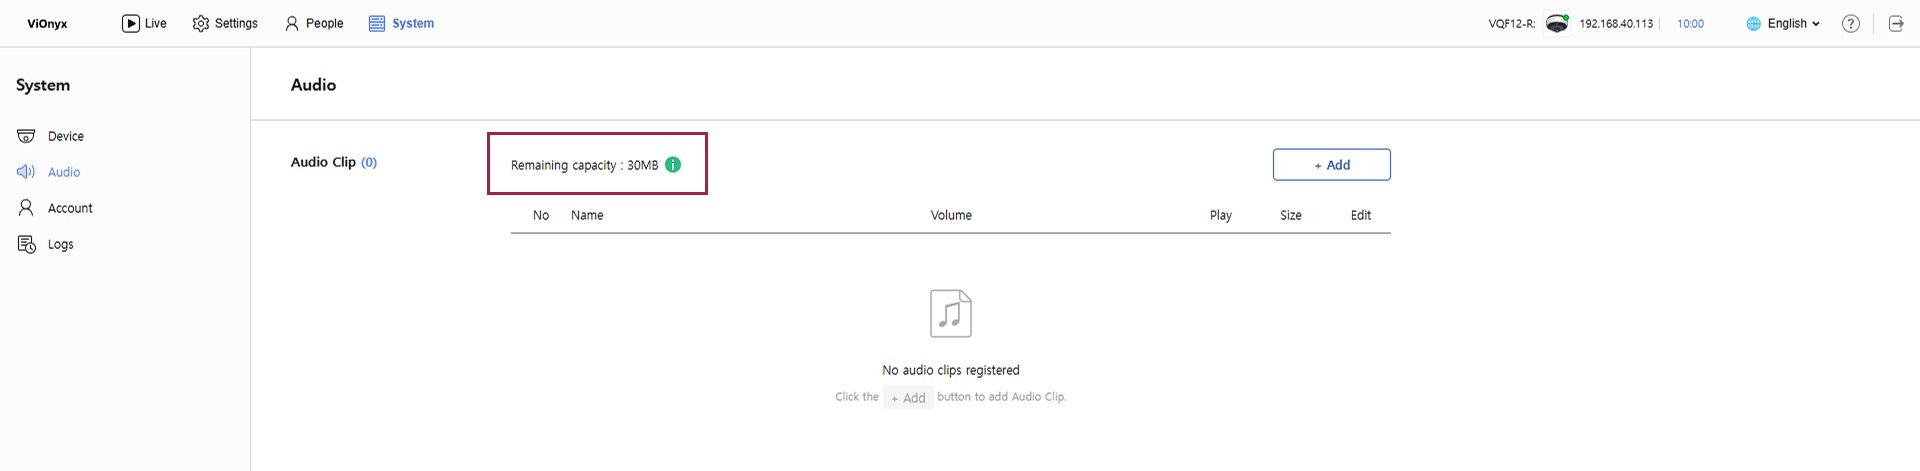
Check audio storage capacity
-
Click the System menu in the upper-left corner of the screen.
-
Click Audio in the left sidebar.
-
You can check the remaining capacity of the audio storage in the Audio Clip section.
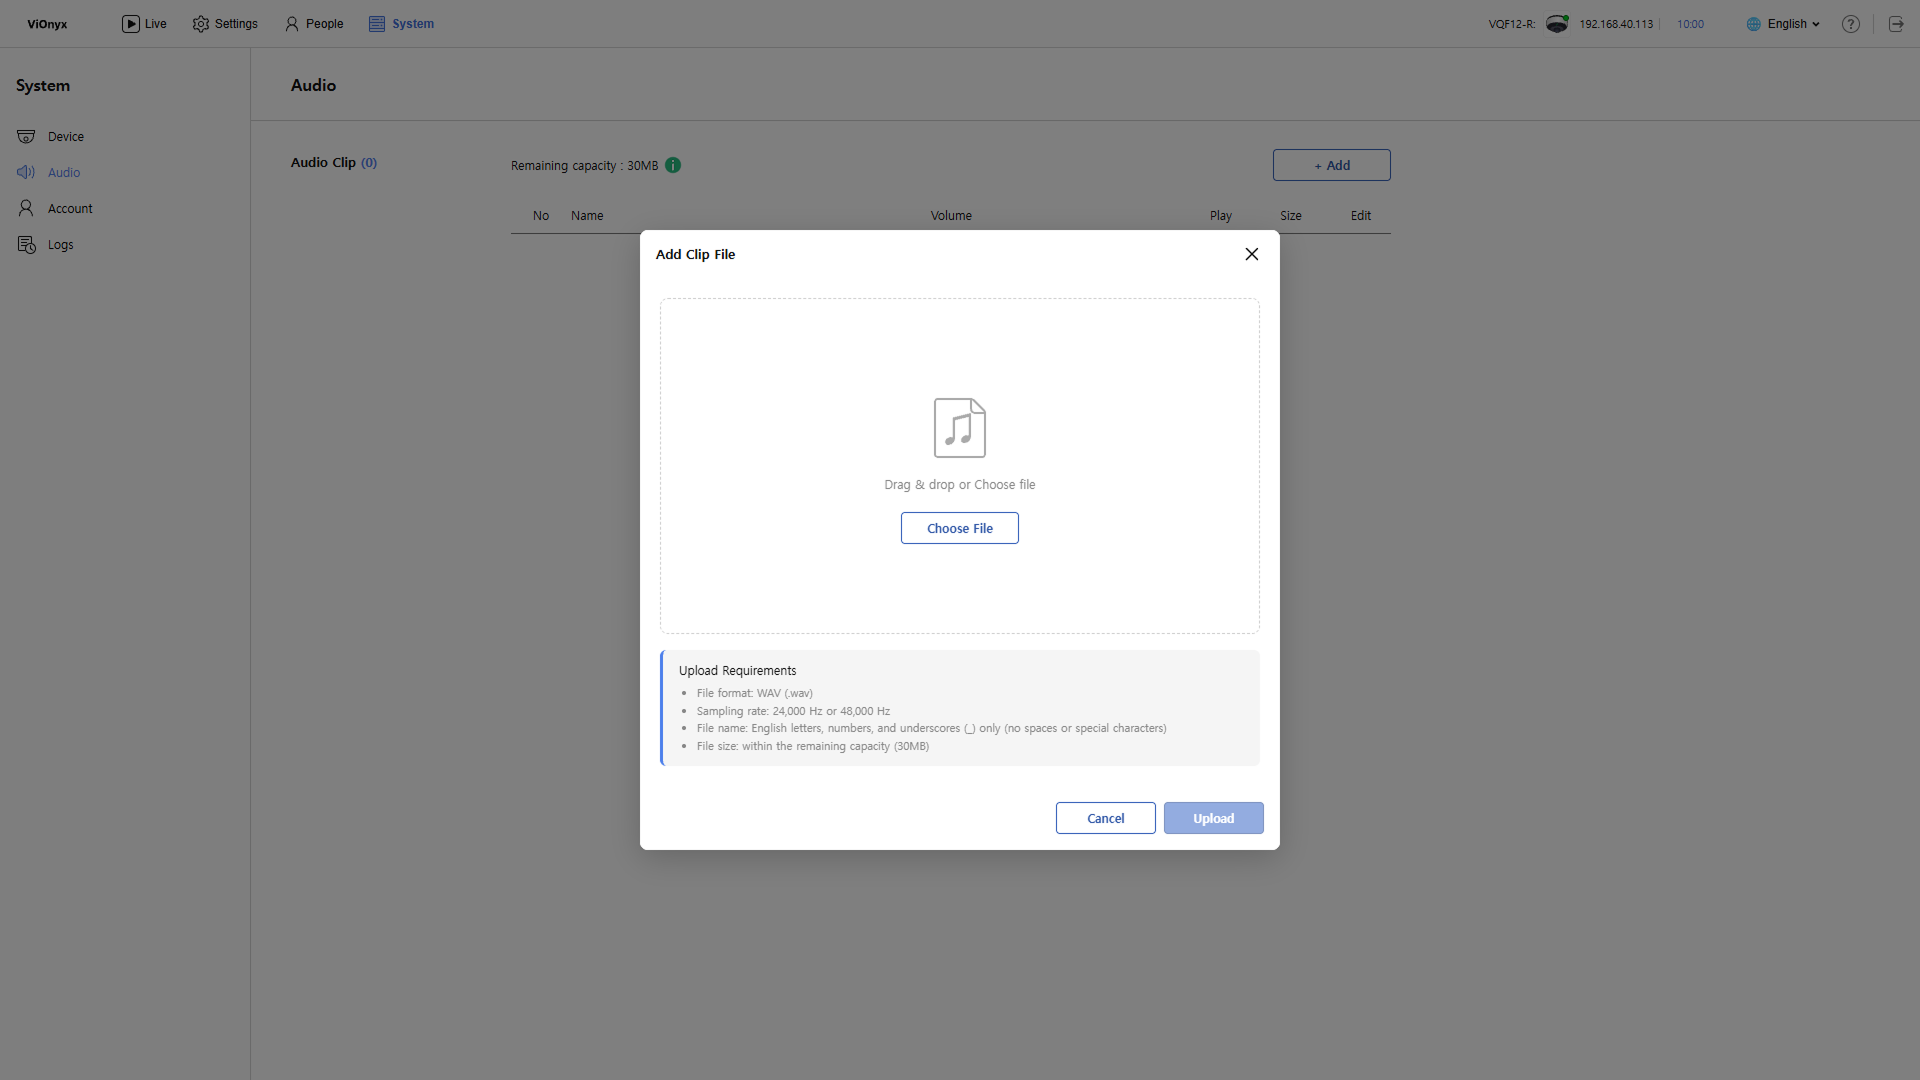
Prepare audio files
Before uploading audio clips, check the following.
-
File format: Only the
.wavextension is supported. -
Sample rate: Use a sample rate of 48 kHz or higher.
-
File name: Use only English letters, numbers, and underscores (
_), up to 64 characters. Spaces and special characters are not allowed. -
File size: You can upload files within the remaining capacity.
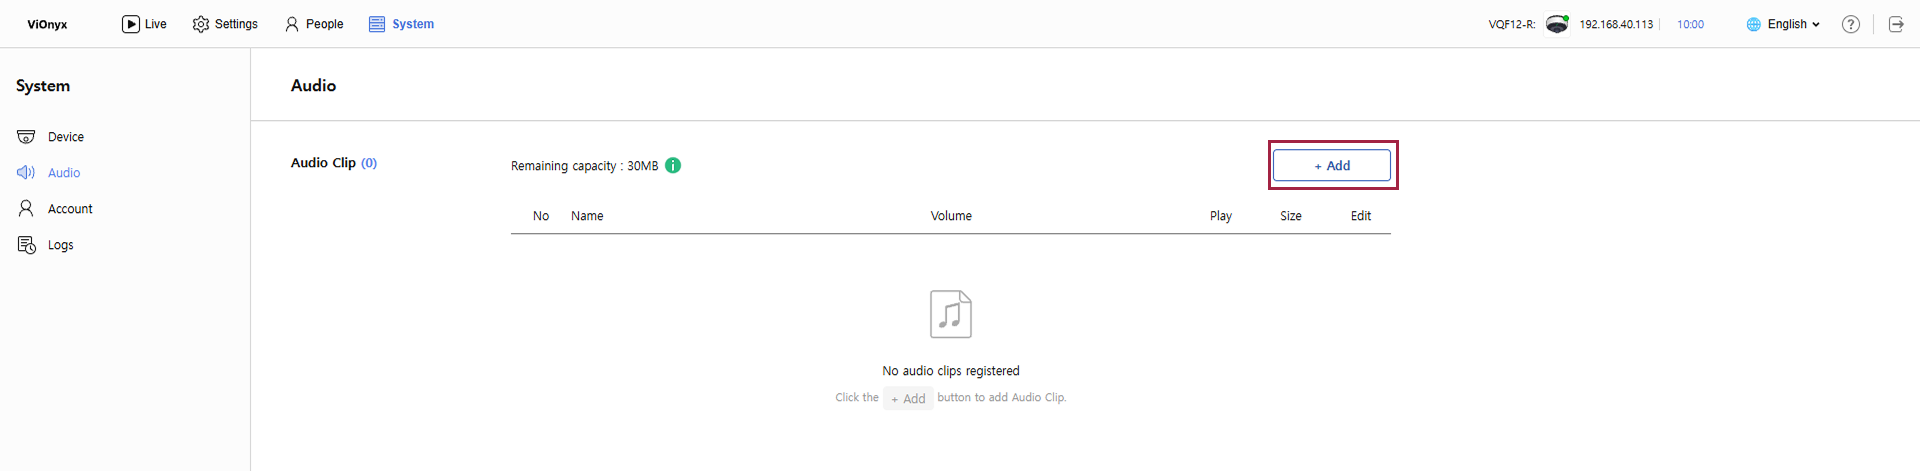
Upload audio clips
-
Click the System menu in the upper-left corner of the screen.
-
Click Audio in the left sidebar.
-
Click + Add at the top right of the screen.
-
The Add Clip File popup appears.
-
Drag and drop a WAV file into the upload area, or click Choose File and select a WAV file stored locally.
-
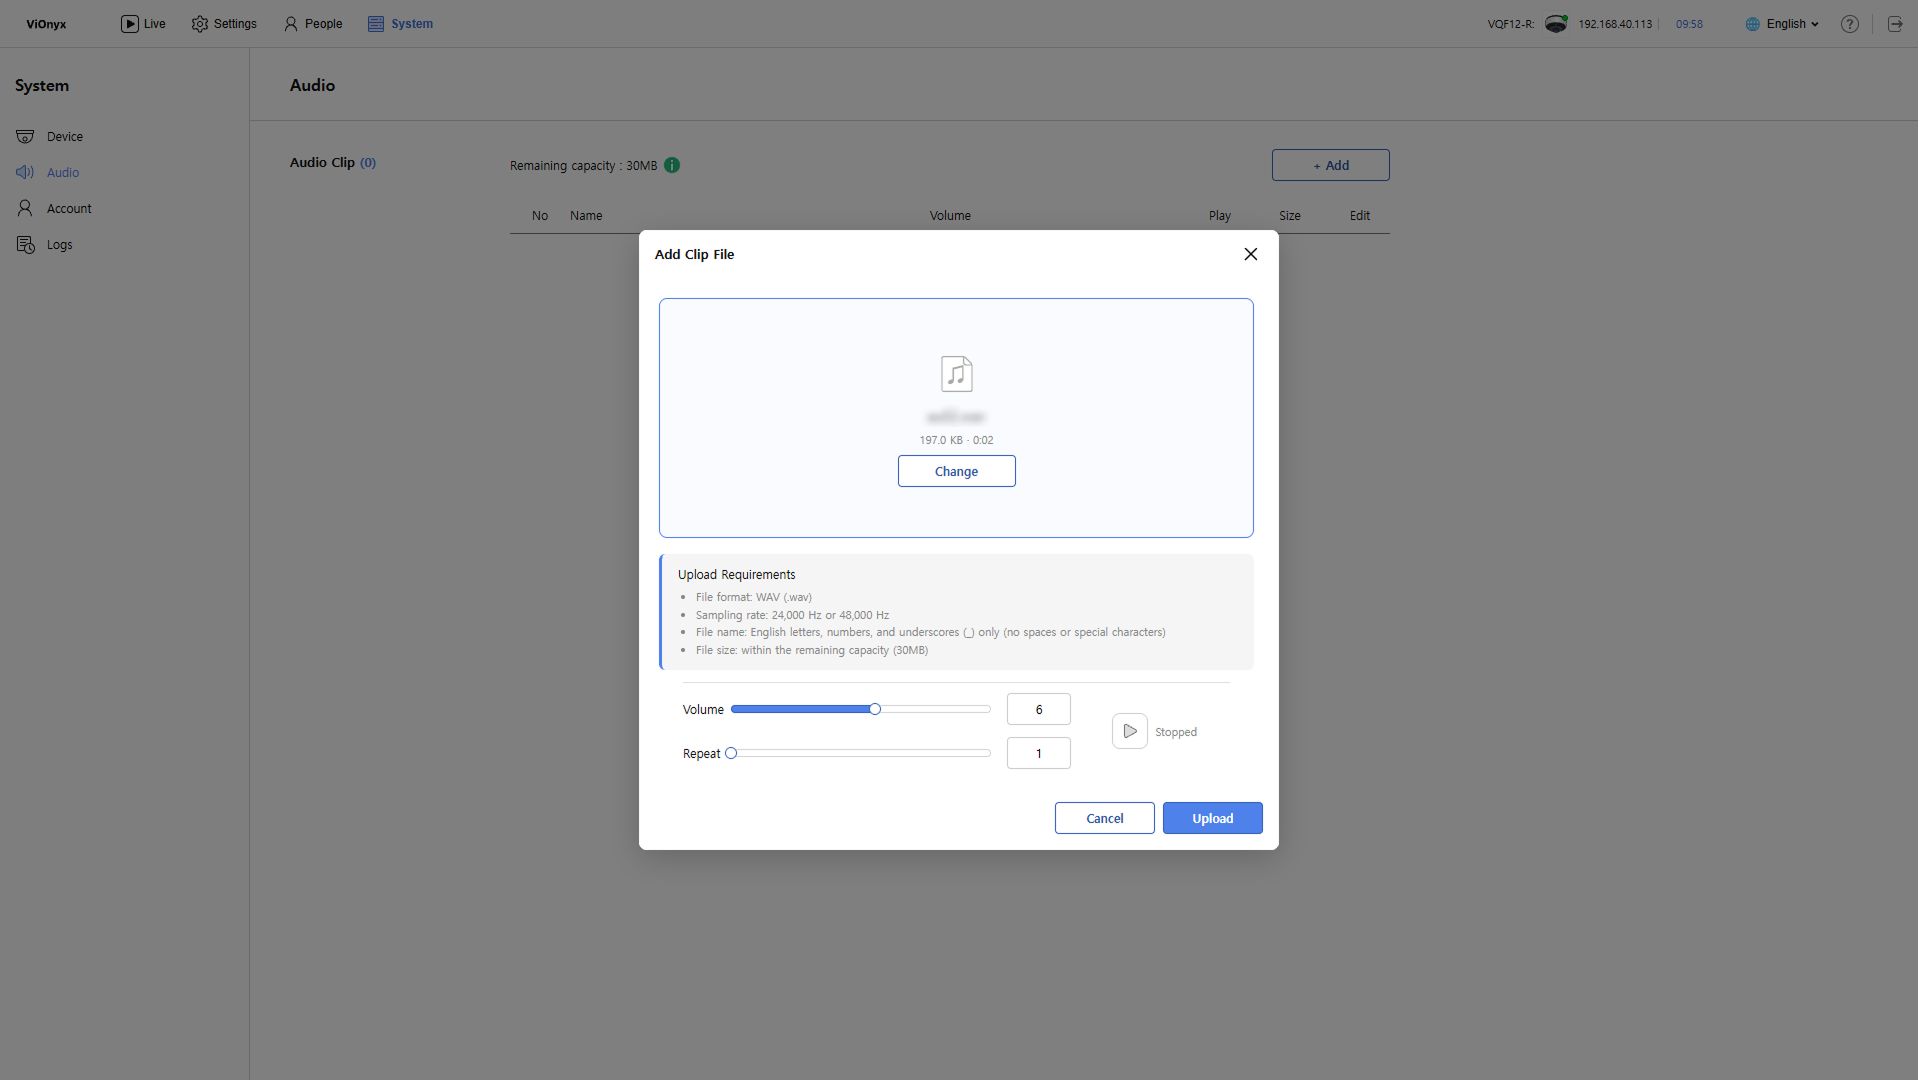
After the upload completes, adjust the volume and repeat settings options.
-
Click Upload to upload the audio clip.
View uploaded audio clips in the list.

-
Adjust the volume slider to set the playback volume for the audio clip.
-
To play the audio clip, click .
Delete audio clip
Click to the right of the audio clip you want to delete.

-
If the audio clip you want to delete is applied to an AI rule, it is automatically excluded from the AI rule settings.
-
For more information on AI rule settings, see AI Rule Settings.