Daylight Saving Time (DST)
Use the Daylight Saving Time (DST) settings to configure how the site adjusts its time. This is especially important for ensuring consistent and accurate time tracking when managing a site that has devices and records across multiple time zones.
For accurate time management in BioStar Air, DST settings in three places are required:
-
DST Profile: Defines the start and end date and time of DST for each time zone.
-
Site Time: Set the time zone applied to the site and event logs.
-
Device Time: Configure each individual reader so it adjusts its clock correctly.
All three settings must be configured correctly for sites located in time zone that observes Daylight Saving Time.
Watch the following video for a guide to configuring Daylight Saving Time (DST) settings.
Consider the following when reviewing Event Logs.
-
If device time is configured, event log timestamps adjust to each device's DST time.
-
If site time is configured, timestamps adjust according to the site's DST configuration instead of each device.
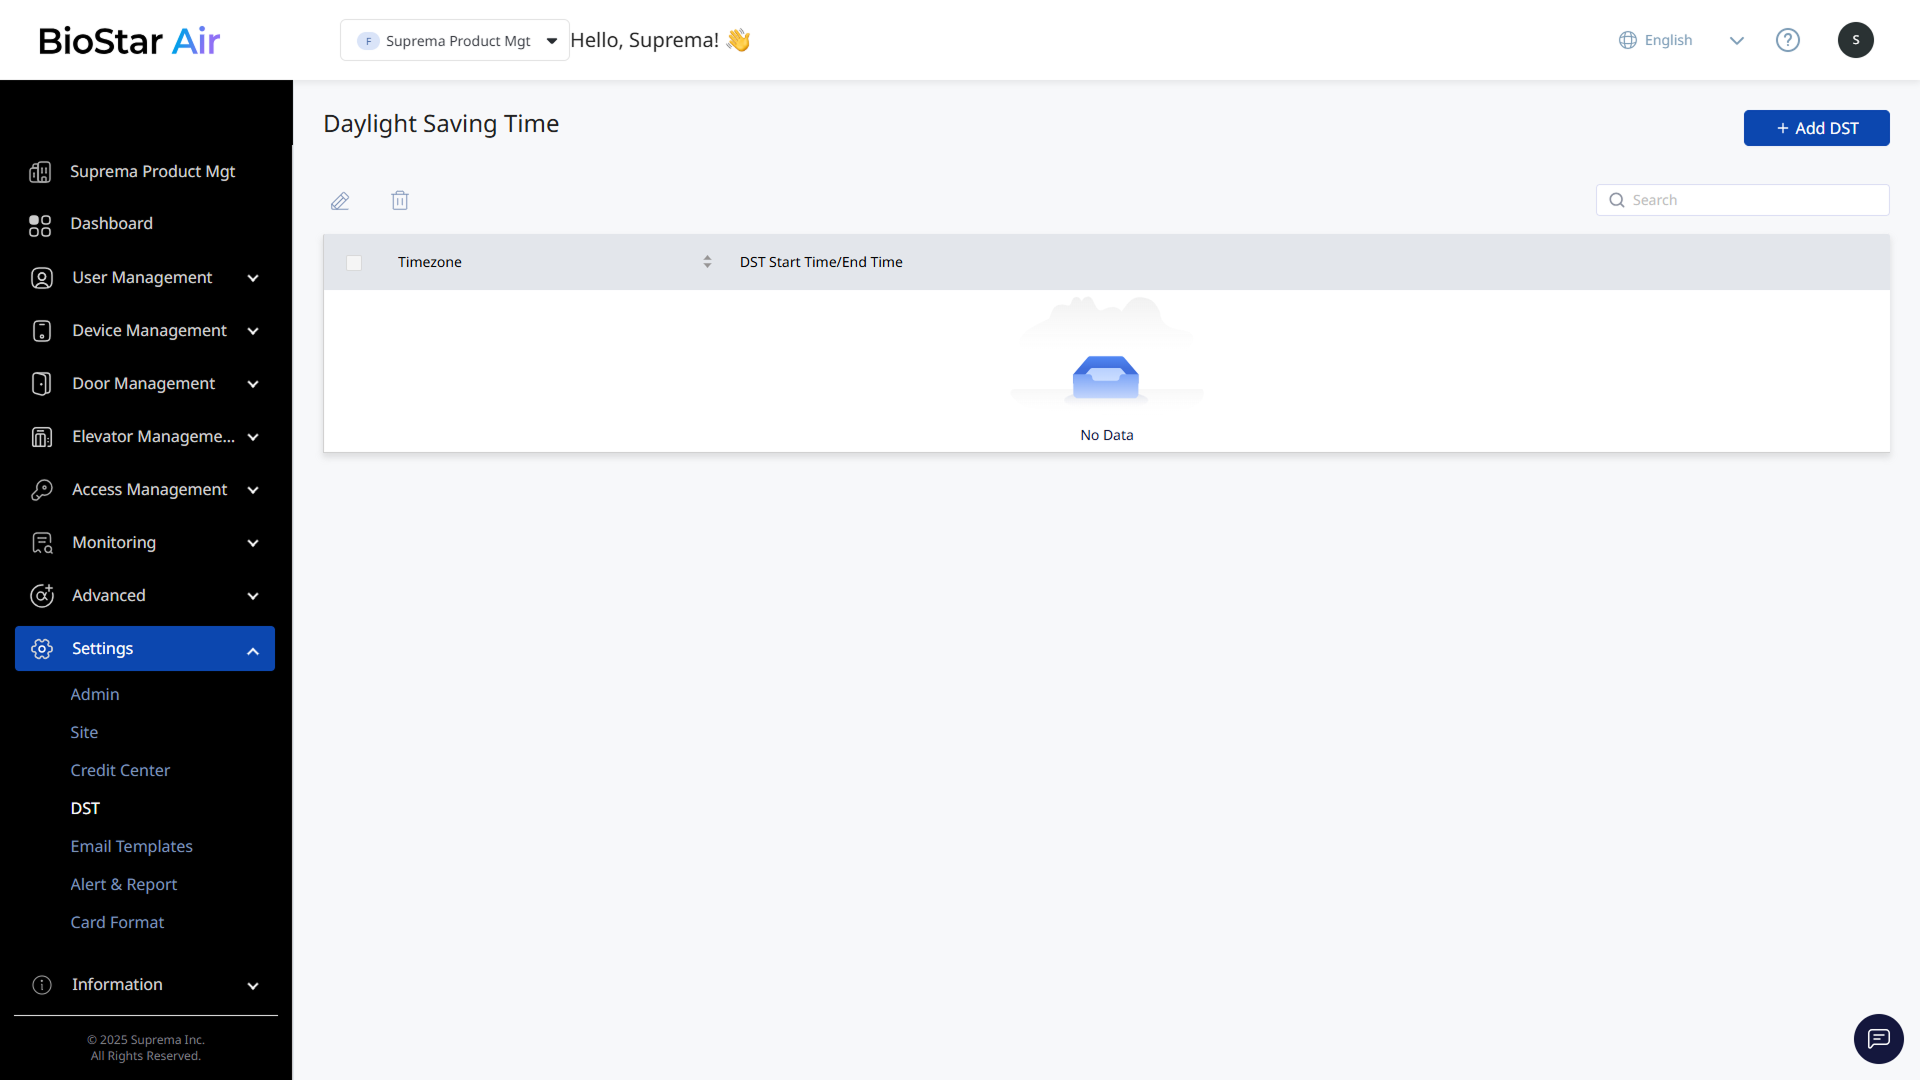
Step 1: Create DST profile
A DST profile defines the date and time when DST starts and ends for a specific time zone. You must create a DST profile for each time zone where the site and readers are located.
Add new profile
-
Click Settings → DST in the left sidebar.
-
Click Add DST at the top right of the screen.
-
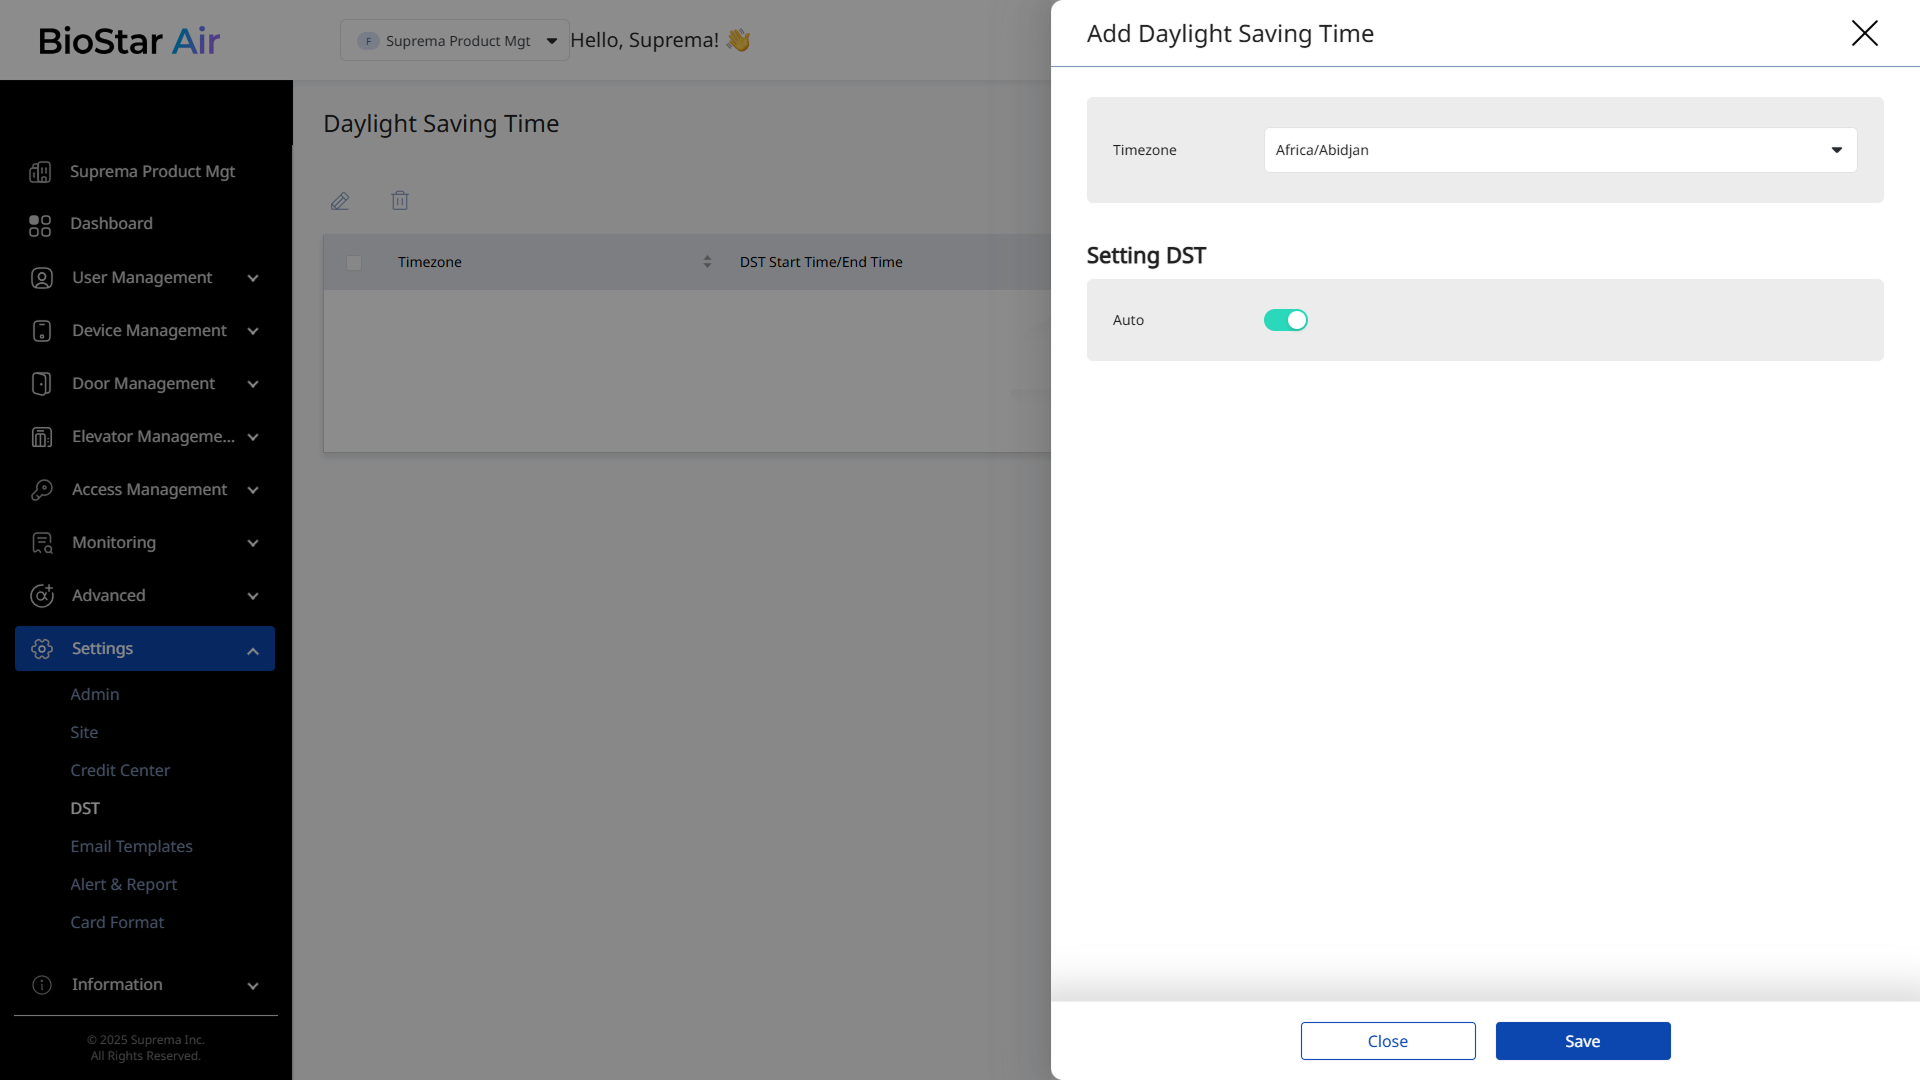
Select the desired item from Timezone when the Add Daylight Saving Time panel appears.
-
Select automatic or manual configuration in Setting DST.
-
Auto: The DST configuration for the selected time zone is added automatically. The start and end dates for DST are determined by the standard rules for that time zone.
-
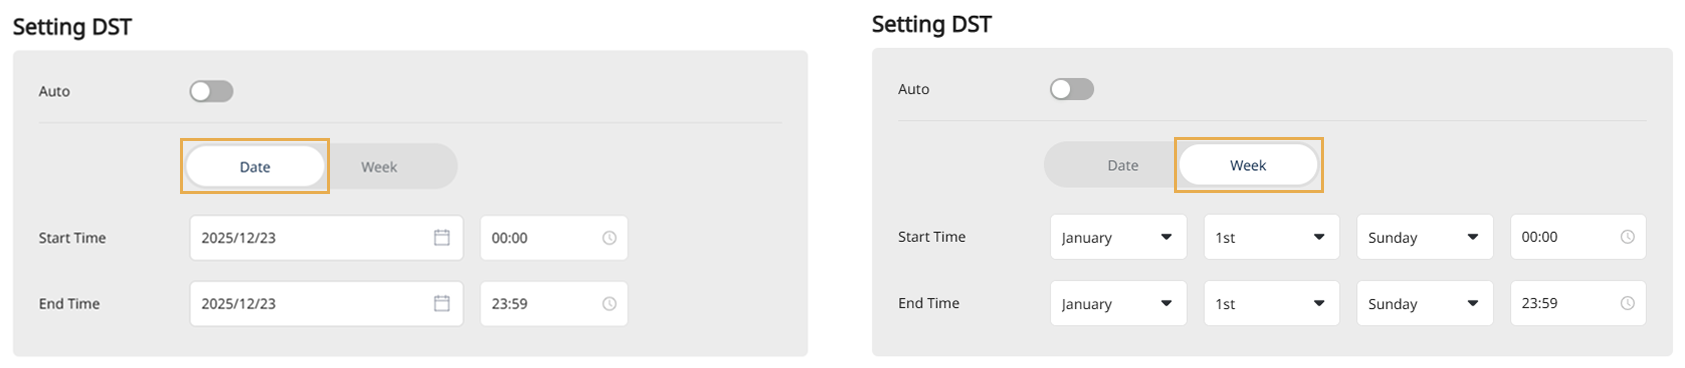
Manual: Set the appropriate start and end times for the time zone to configure manually.
-
Date: Select the dates when DST starts and ends.
-
Week: Select the weeks when DST starts and ends.
-
-
-
Click Save at the bottom to save the DST profile.
Edit existing DST profile
-
Click Settings → DST in the left sidebar.
-
Click the DST profile you want to edit in the list. Alternatively, select the checkbox and click at the top.
-
Modify the start and end times when the Edit Daylight Saving Time panel appears.
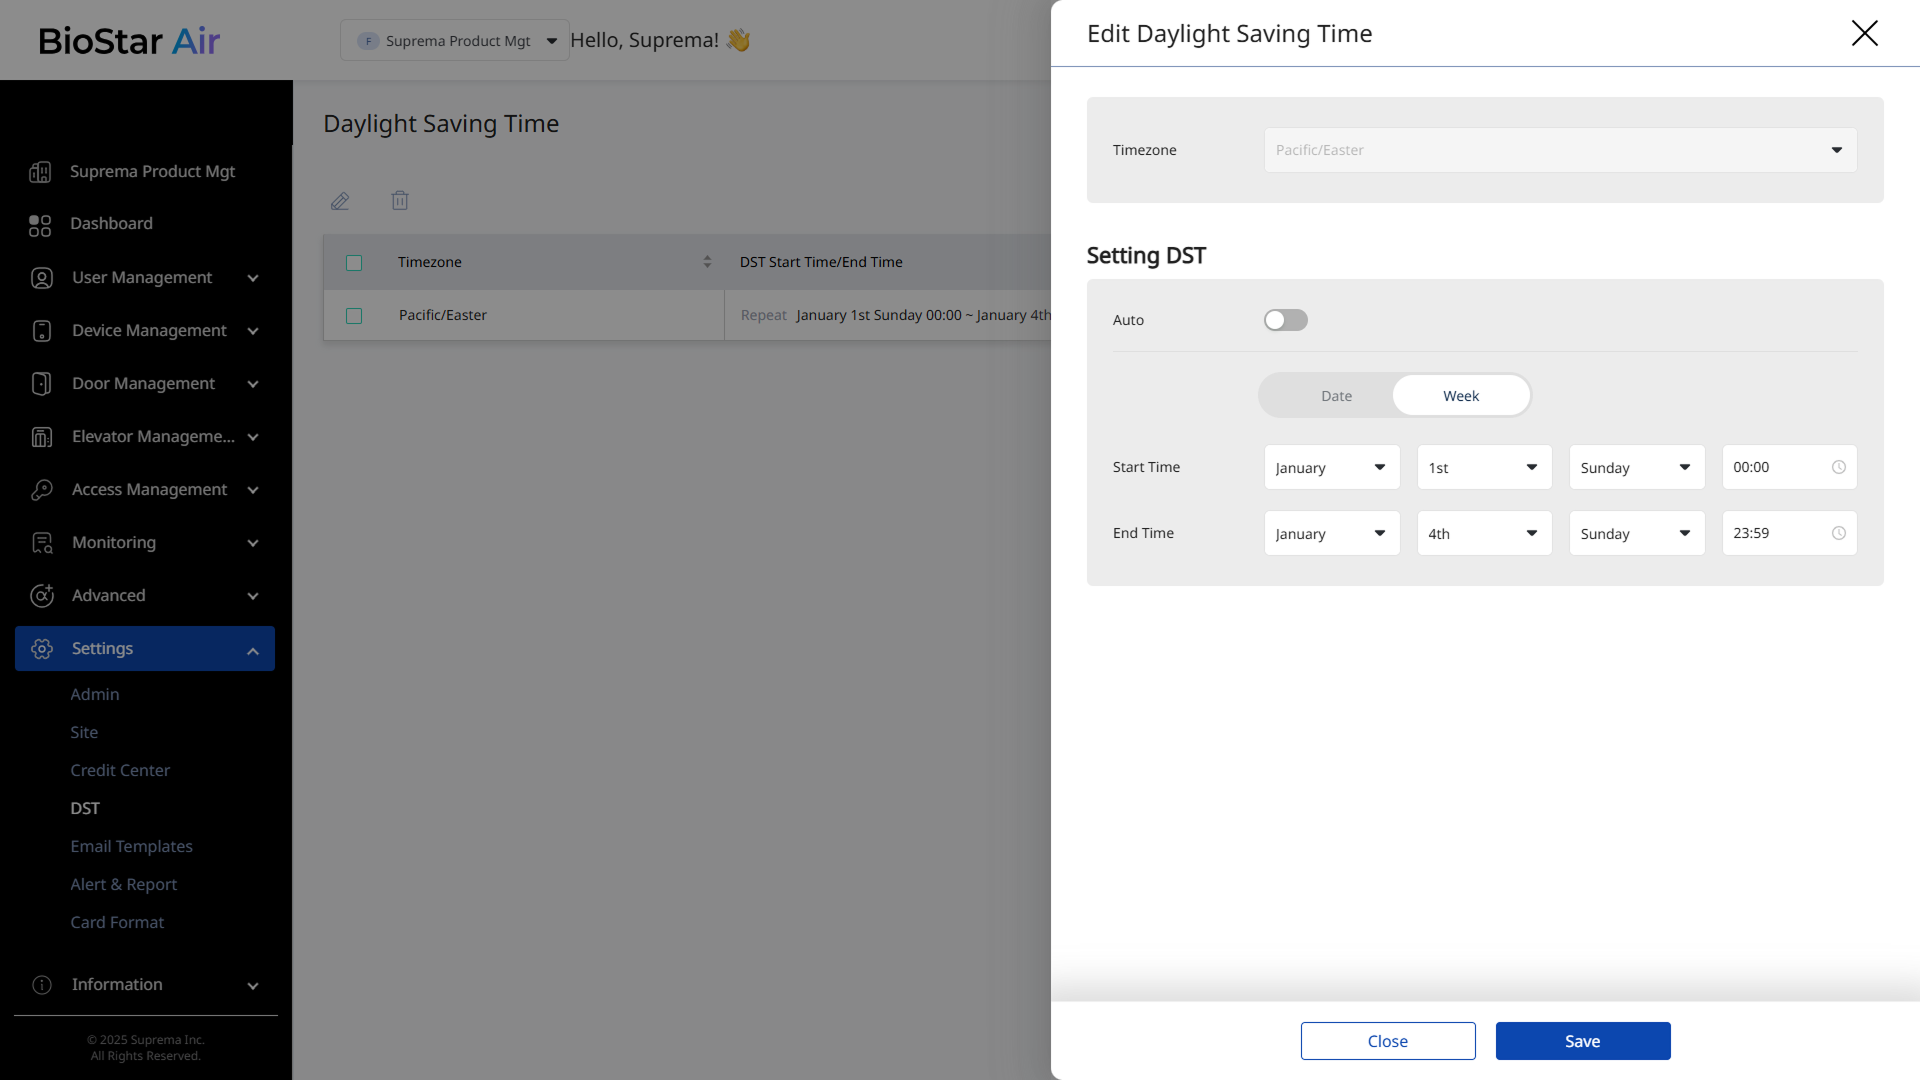
The image above is an example screen and may differ from the actual screen. -
Click Save at the bottom to save the changes.
Delete DST profile
-
Click Settings → DST in the left sidebar.
-
Click the checkbox for the DST profile you want to delete in the list. You can select one or more profiles.
-
Click at the top of the screen.
-
When the message window appears, click the Yes button.
Step 2: Site time settings
The site time determines the default time zone used by the entire system. The following items are affected by this setting:
-
Event log timestamps
-
Reports and monitoring data
-
Default time zone applied when registering a new device
Follow the instructions below to set the site's time zone and enable DST.
-
Click Settings → Site in the left sidebar.
-
Click Settings tab.
-
Select the desired time zone in Timezone.
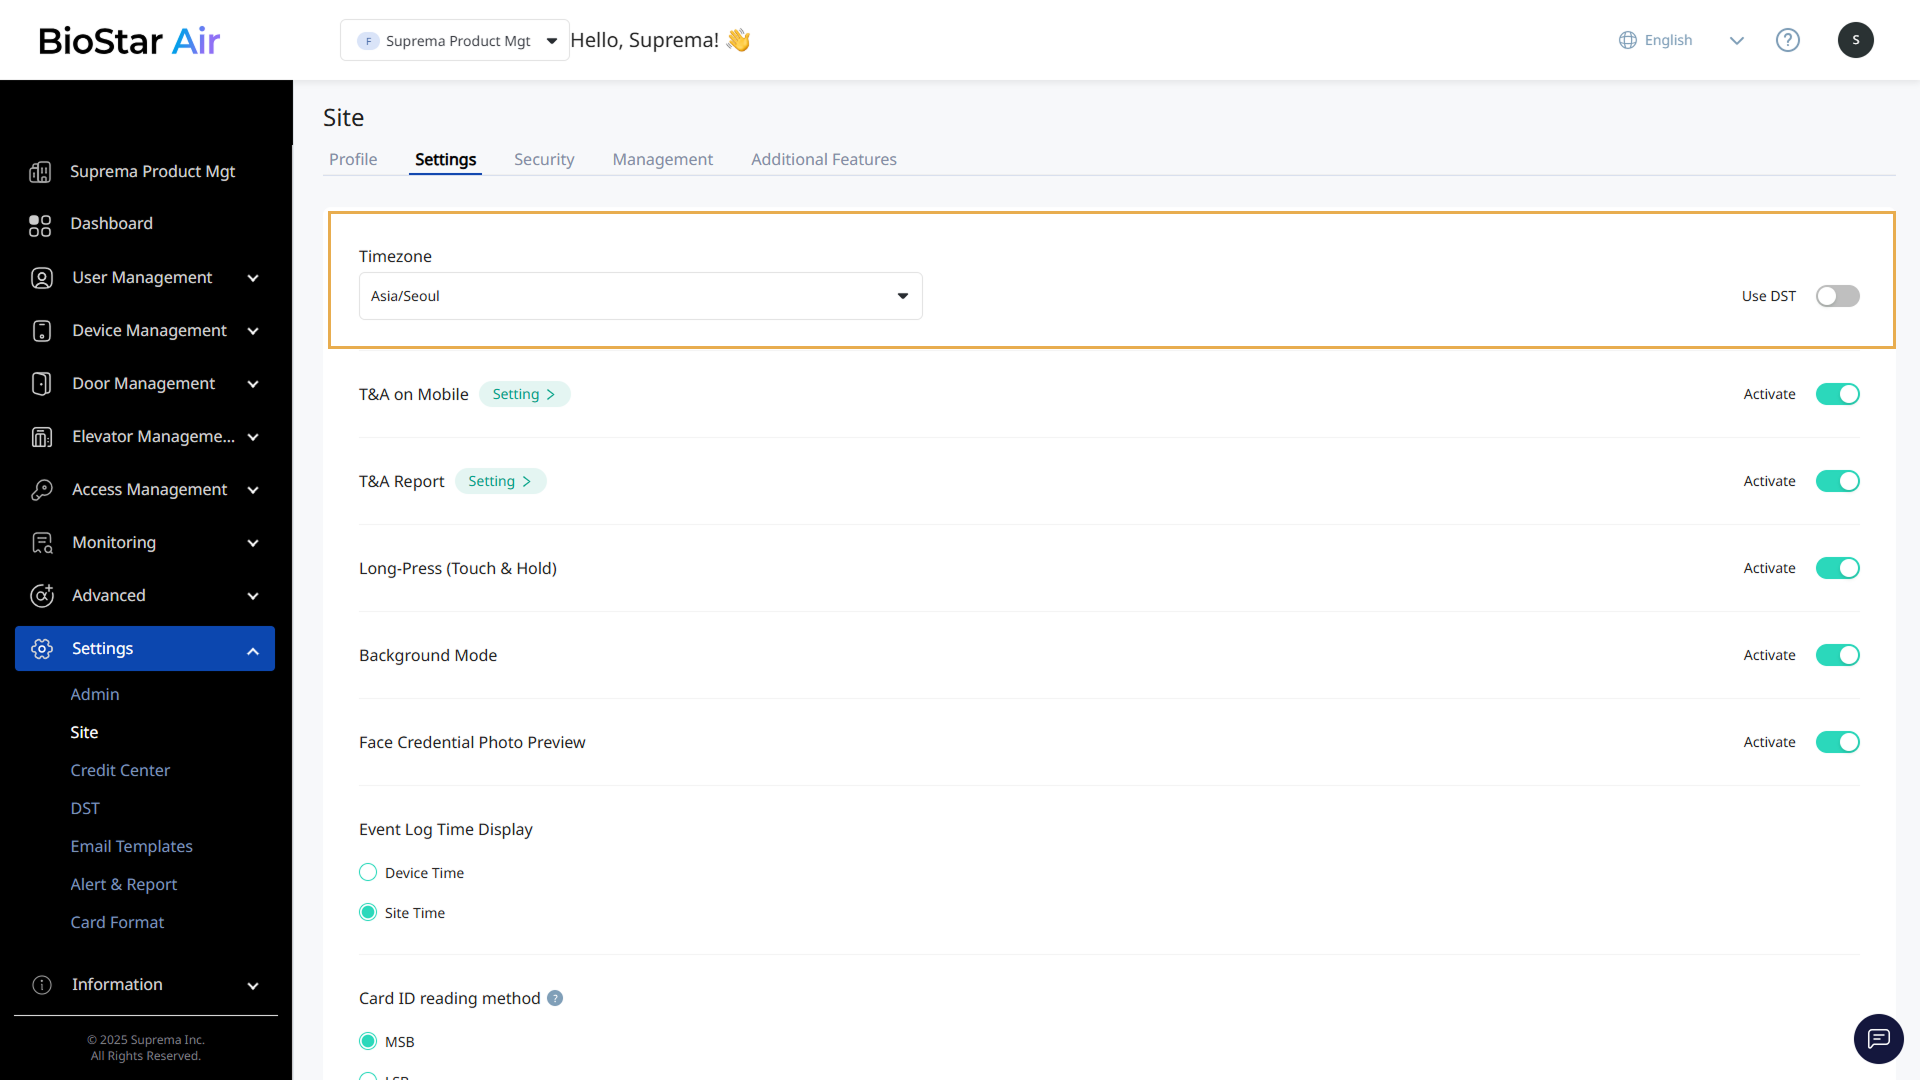
-
Enable Use DST to apply daylight saving time to the selected time zone.
If the Use DST option is not enabled in a time zone where DST applies, the system will not automatically adjust the time, and event logs may appear incorrectly.
Step 3: Enable DST for devices
Each device connected to BioStar Air maintains its own clock, which is used for access control and attendance records. Configure DST settings for any device located in a time zone where DST applies.
Devices with screens, such as BioStation 3, displays the time. Devices without screens, such as XPass 2, maintain their internal clocks for access control and time and attendance records.
Set DST on all devices, regardless of whether they have a display, to ensure event logs, access records, and attendance data are recorded accurately.
-
Click Device Management → Registered Devices in the left sidebar.
-
Click the device to which you want to apply the DST settings in the list.
-
Select the desired time zone in the Timezone section, and enable the Use DST option.
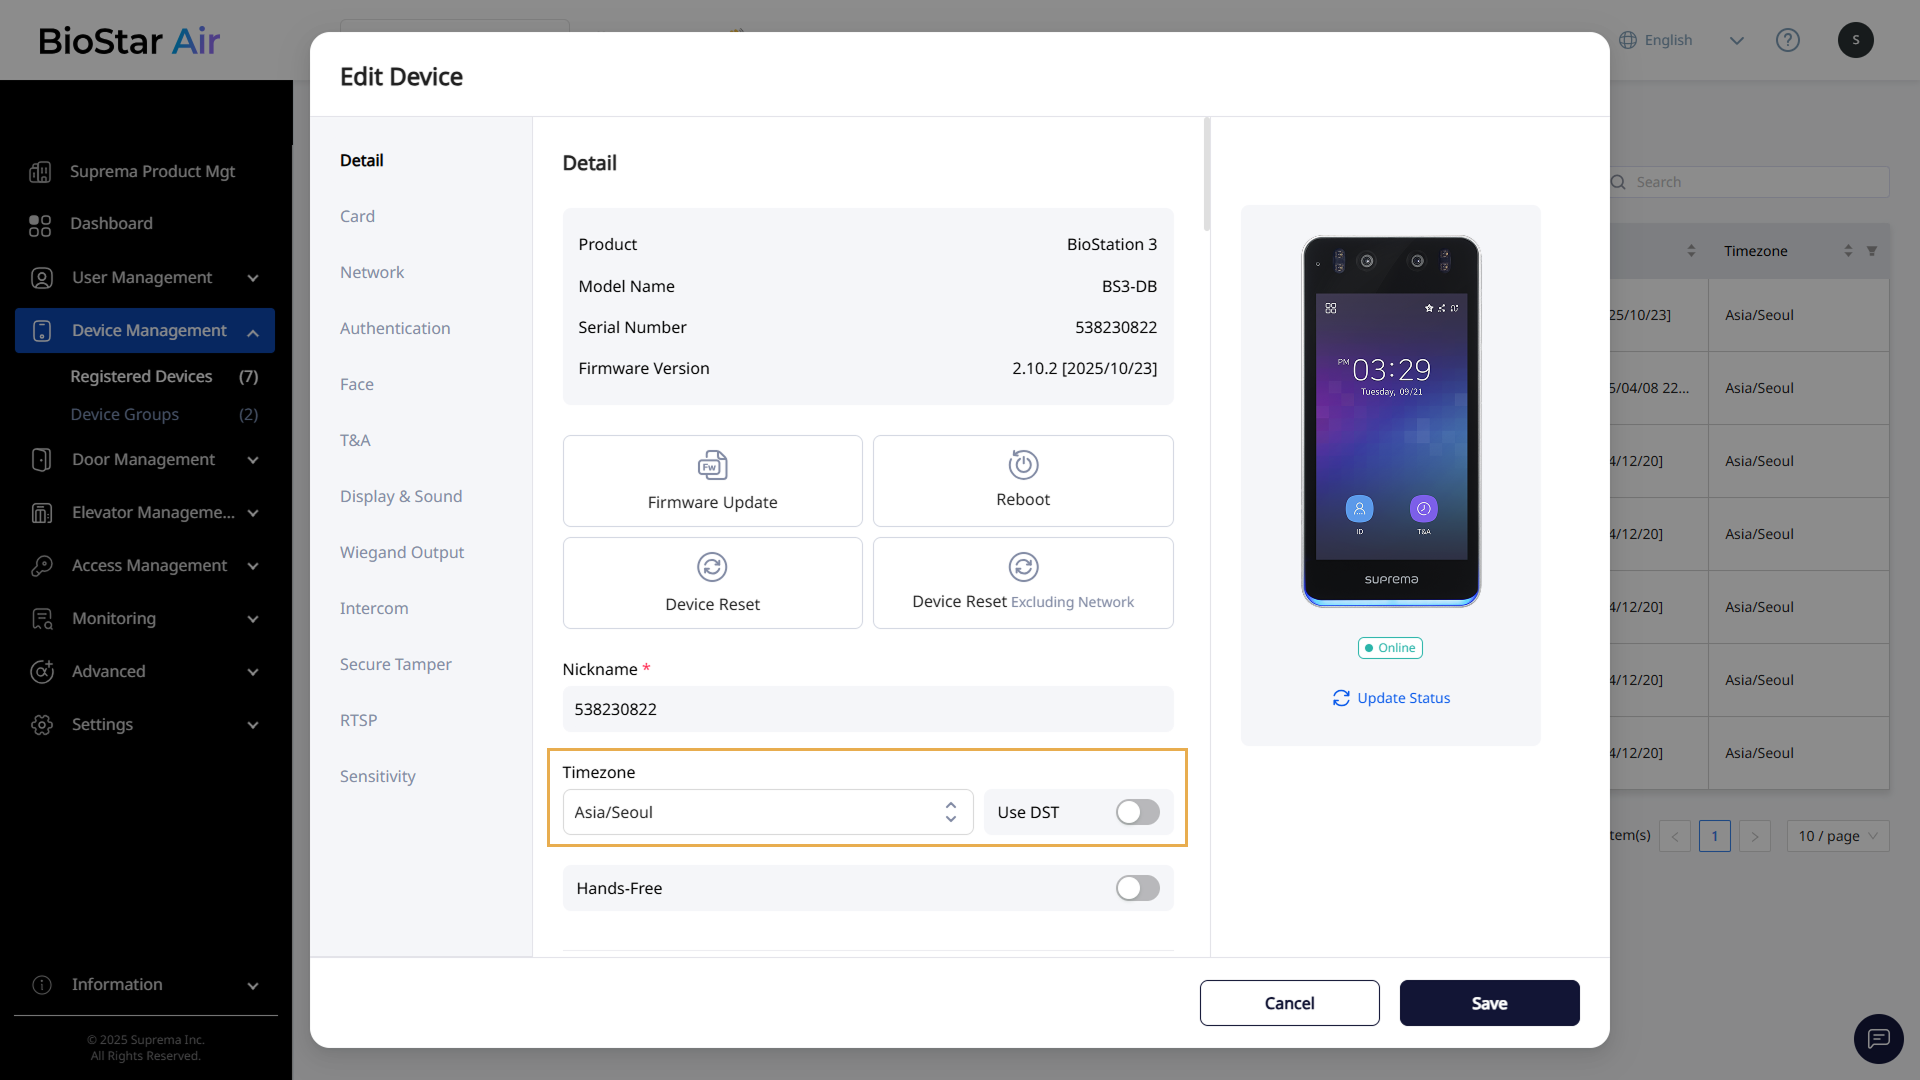
This setting is enabled by default for time zones where DST applies.
-
Click Save at the bottom to save the changes.
If the device time is not set correctly, the following issues may occur:
-
Access Denied Error: The access time is set to start at 07:00 AM, but if the device thinks it is 06:00 AM, user entry will be denied.
-
Schedule error: The lock/unlock at the scheduled time may not be accurate.
-
Record error: The times in the event log and the time and attendance records do not match the actual time.
Checklist
To ensure accurate timekeeping in regions that observe Daylight Saving Time (DST), make sure you have completed all three of the following steps.
-
Create DST profiles: Have you created the DST profiles needed for each time zone?
-
Site time settings: Have you set the site's time zone and enabled the Use DST option?
-
Device DST settings: Have you set each device's time zone and enabled the Use DST option?
If all three are configured correctly, the event logs, access times, and attendance records will all show the correct time.