Enter Basic User Information
This section describes how to enter basic user information. The entered user information is used for search and management. Managing user information clearly helps comply with the organization's security and privacy policies.
-
When you systematically enter basic information such as name, department, position, and group, you can easily search for, classify, and manage users.
-
You can refine the access rights based on the user's affiliation, position, and group information.
-
It is advantageous for security and auditing because it allows for accurate tracking of activities, access logs, etc. by user.
Go to the Launcher → User page. You can enter user information in the two ways below.
-
New User: Click the New User button at the top right of the screen. The New User window appears.
-
Existing User: Double-click a user in the user list. Or, click the user and click the See More button in the preview screen displayed on the right side of the screen. A window for editing user information appears.
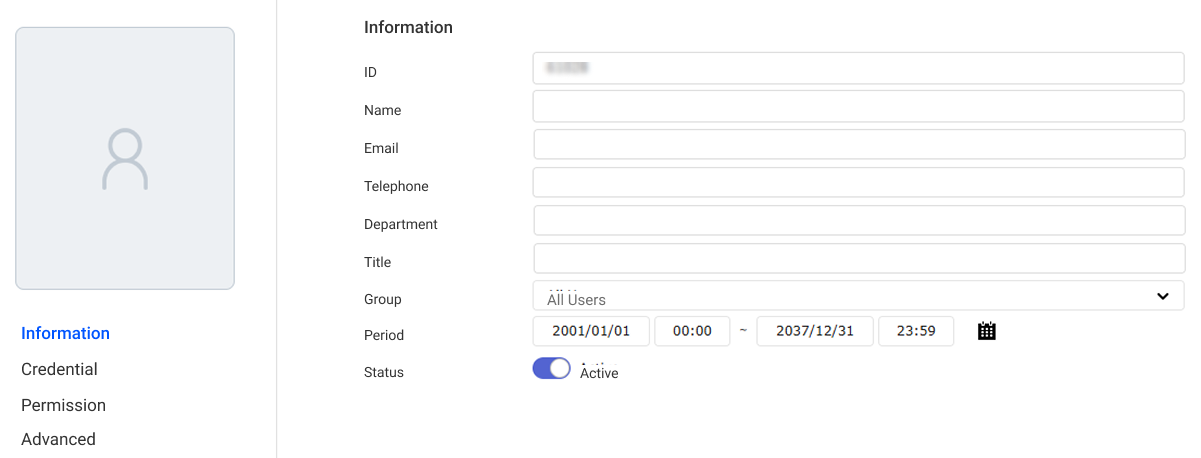
The fields that can be set in the Information section are as follows. Please enter user information by referring to the description for each field.
-
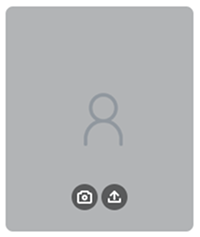
Photo: Register the user's photo. You can take a photo with the webcam or upload a photo from your PC. When you hover over the profile, the tools available will be displayed.
-
: If a webcam is connected to the PC, you can click the button to take and register a photo.
-
: You can upload an image file saved on your PC.
For more information, see Enroll Face.
-
-
ID: Enter the unique ID to assign to the user.
-
Name: Enter the user's name.
-
Email: Enter the email address.
-
Phone: Enter the phone number.
-
Department: Enter the department to which the user belongs.
-
Title: Enter the user's position.
-
Select Group: Select the user's group. For more information on adding and managing user groups, see Manage User Groups.
-
Period: Set a period for using the user account. You can either click on the date and time area to enter them manually or click to select the desired date and time.
-
Status: You can temporarily disable the user account.
Click Save in the upper right corner of the screen to save the basic information you entered.
-
ID may have different values that can be set according to the Server menu under Settings → User ID Type option. For more information, see Server Detailed Settings.
-
Number: Enter a number from 1 to 4294967294.
-
Alphanumeric: Enter a combination of letters and numbers.
-
-
Spaces cannot be included with the value of ID.
-
The username can be up to 48 characters, including special characters.
Special characters:
~!@#$%^&()-_=+[]{};` -
To display the user's photo, department, and position on the mobile access card, ensure to add a photo and enter the department and position.
-
Position and department names can be entered up to 64 characters, including special characters,
spaces, and_. -
If using a mobile access card, be sure to enter the user's email when sending via email.
-
To use face mobile enrollment or BioStar X QR, be sure to enter the user's email address.
In addition to the basic input fields provided by BioStar X, you can add custom fields using the Custom User Field feature to enter additional user information. Custom User Field is a useful feature that allows you to expand user information according to the organization's requirements.
For more information on adding Custom User Field, see Server Detailed Settings.
Next step
Enroll the user credentials and set access authentication method in the Credential section.
Check how to set the user's access permissions in the Permission section.
In the Advanced section, you can set the message to display on the device when the user accesses it or exclude that user from synchronization when linking with Directory Service.
Check how to edit user information.