Batch Enroll Faces
Learn how to batch enroll users' faces. You can enroll faces of multiple users at once by using the import feature with a CSV file or by loading face pictures with file names that match user IDs. Alternatively, you can send face enrollment links via email to multiple users, allowing them to enroll faces directly from their mobile devices.
Before you start
Prepare user face images before starting batch enrollment.
-
Face image files must be stored in one folder. Face image file names must match user IDs.
-
The maximum file size for supported image types is 10MB.
-
Supported image formats include JPG, JPEG, and PNG.
Enroll with CSV file import
You can enroll users' faces in bulk using the CSV import feature.
-
Click User on the Launcher page.
-
In the user list, check the checkbox of the user whose face you want to enroll. You can select more than one user.
-
Click the button in the upper right corner of the screen and select Export → CSV.
-
When the CSV export window appears, click Download.
-
Save the CSV file to your desired location on your local path.
-
Open the CSV file and add
face_image_file1,face_image_file2columns. -
Enter the filenames of the face images, including the extensions, in the added columns and save.
-
Click at the top right of the screen and select Import → CSV.
-
Select the modified CSV file.
-
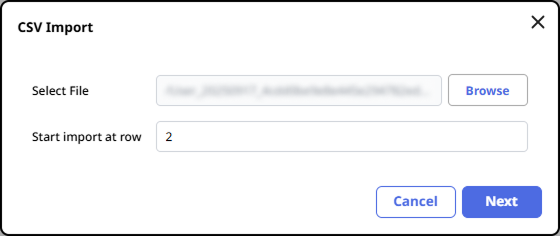
When the CSV import window appears, set Start import at row and click Next.
-
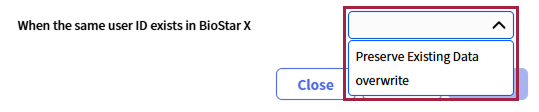
Choose whether to overwrite user data already registered in BioStar X with the information from the CSV file, and click Apply.
-
Click the Browse button in Face Image Directory.

-
Select the path where the face images are stored and click Upload.
-
To complete CSV import, click Next.
If an error occurs while importing the CSV file, you can recheck and upload only the CSV data that caused the error.
It is recommended to use the same path for the CSV file and the face image files to be imported.
Import face
You can import face images with file names matching user IDs and enroll them for face authentication. Prepare user face image files before starting. Face image file names must match user IDs.
-
Click User on the Launcher page.
-
Click the button in the upper right corner and select Import → Face.
-
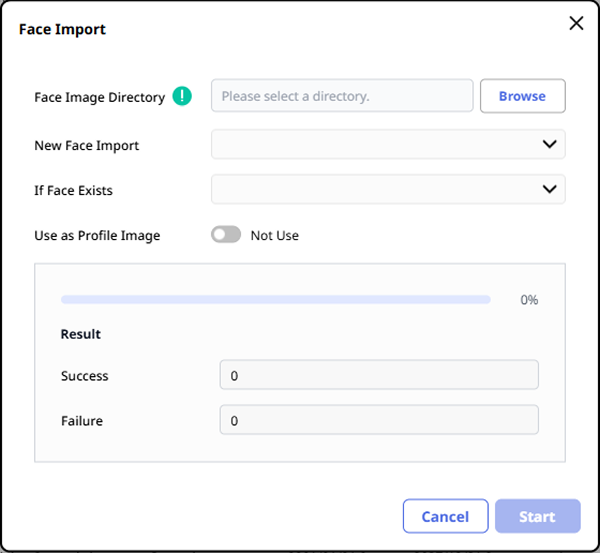
When the Face Import window appears, click the Browse button.
-
Select the path where the face images are stored.
-
Select the method to load face images in the New Face Import option.
-
Import image files whose name matches user ID: Loads images with filenames matching the user IDs.
-
Import image files whose name matches user ID + Add new user by using file name as user ID: If registered user IDs match the face image filenames, the images are loaded; if they do not match, a new user is created using the file name as the user ID and enrolled as a face authentication method.
-
-
In the If Face Exists option, select Preserve data or Overwrite.
-
Preserve: Preserves the face images of registered users.
-
Overwrite: Overwrites the face images of registered users with the newly imported face images.
-
-
To use the imported face images as profile images, click the Use as Profile Image option to enable it.
-
Click Start.
If an error occurs while importing a face image file, a list of photos with errors appears. Check the list and try again.
A maximum of 1 face image can be imported per user ID.
Facial enrollment via mobile device
You can send face enrollment links to users via email. Users can access the link on their mobile devices to enroll faces directly.
Before you start
-
Complete the email information settings, including SMTP settings, before using the mobile face enrollment feature. For more information, see Email Setting.
-
You must enable the Remote Access feature to use the mobile face enrollment feature. For more information on Remote Access, see Remote Access Settings.
Send face enrollment link
-
Click User on the Launcher page.
-
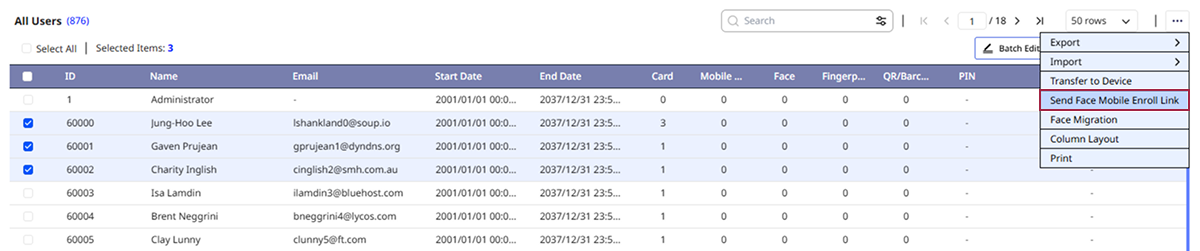
In the user list, check the checkbox of the user whose face you want to enroll. You can select more than one user.
-
Click the button in the upper right corner of the screen and select Send Face Mobile Enroll Link.
-
When the message window appears, click the Ok button.
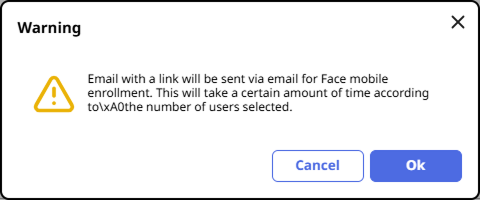
The face enrollment link is sent to the email of the selected users. Once the users complete the upload, their face credential is added to their user profiles.
-
You can check the email sending status in Audit Trail. For more information on the system audit trail, see Audit Trail.
-
The language displayed on the page accessed via the face enrollment mobile link follows the language settings of the browser used on the mobile device.
-
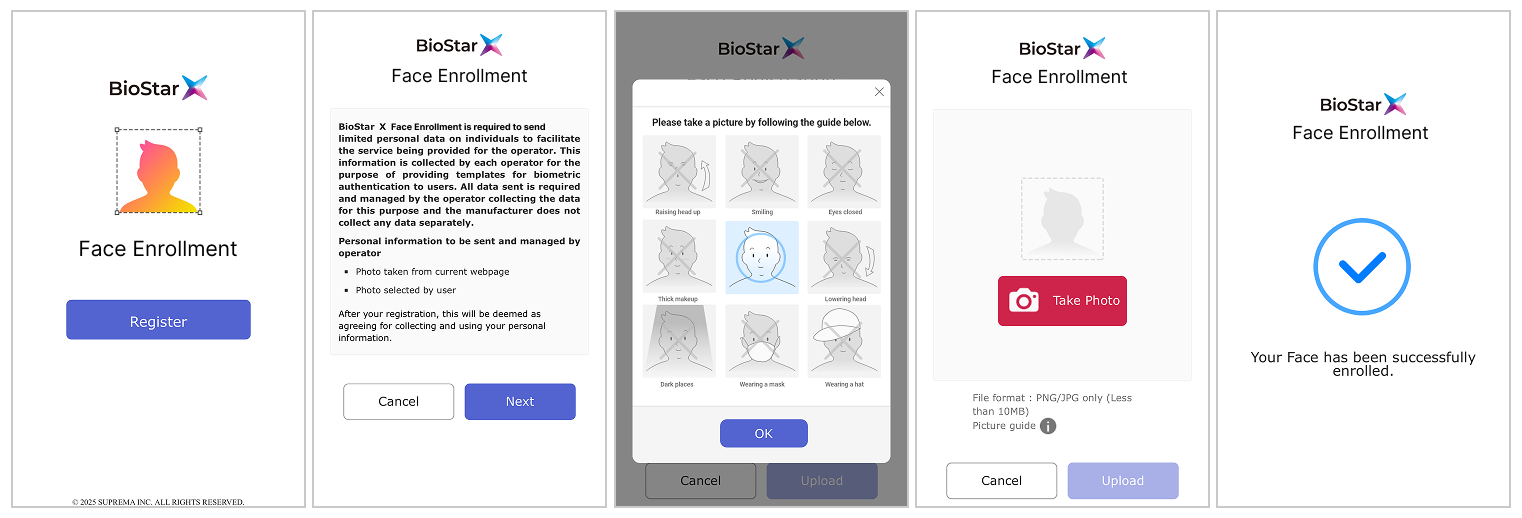
When the user accesses the face enrollment mobile link that was sent, the face enrollment service will be executed as shown below. Follow the instructions on the screen.
-
The maximum file size for supported image types is 10MB.
-
Supported image formats include JPG, JPEG, and PNG.
-
The sent face enrollment mobile link will expire after 24 hours.
-
Once the Face Mobile Enrollment process is successful after uploading a face picture, an enrollment success message appears on the screen. If enrollment fails, a failure message and reason are displayed, and the user can retry the Visual Face Enrollment again using a different face picture.