Install Communication Server
This document explains how to install the Communication Server of BioStar X.
The communication server is a server dedicated to communication with access control devices. It helps to manage many devices reliably by installing separately from the main server. A single communication server can connect up to 1,000 devices, and you can add multiple communication servers as needed.
Up to 1,000 devices can connect via Ethernet (TCP/IP).
Before you start
Before installing the communication server, check the following items.
-
The communication server cannot be installed on the same server as the BioStar X server.
-
The communication server can only be installed on a 64-bit operating system. For more information on minimum system requirements, see System Minimum Requirements.
-
A multi-communication server license is required to install and connect the communication server. For more information on licensing policies, see License Policy.
Pre-installation checks
Before installing the communication server, run BioStar X Service Manager to check the information needed during installation.
-
Click Start → BioStar X → BioStar X Service Manager on Windows.
-
The BioStar X Service Manager window appears.
-
Click SERVICE SETTINGS.
Below is the information required when installing the communication server. Review and prepare each item.
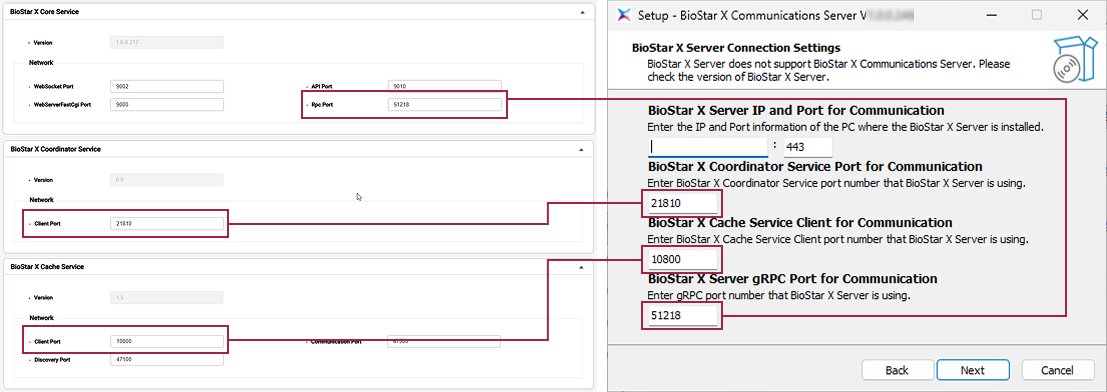
| BioStar X Service Manager | Information required for communication server installation |
|---|---|
| BioStar X Core Service → RPC Port | BioStar X Server gRPC Port for Communication |
| BioStar X Coordinator Service → Client Port | BioStar X Coordinator Service Port for Communication |
| BioStar X Cache Service → Client Port | BioStar X Cache Service Client for Communication |
For more information on SERVICE SETTINGS, see Service Settings.
Installation guide
Follow the steps below to install the communication server.
-
Access the Suprema Download Center, log in, and download the installation package (BioStar X Communications Server.X.Y.X.BB.exe).
-
Run the downloaded installation file.
-
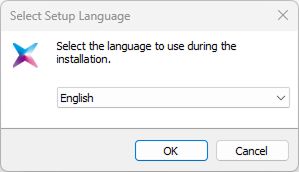
Select the language to use and select the OK button.
-
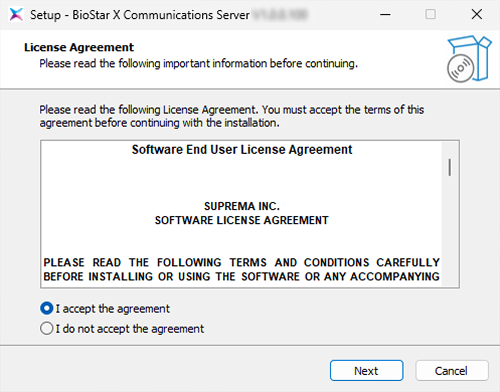
To continue the installation, select I accept the agreement and click the Next button.
-
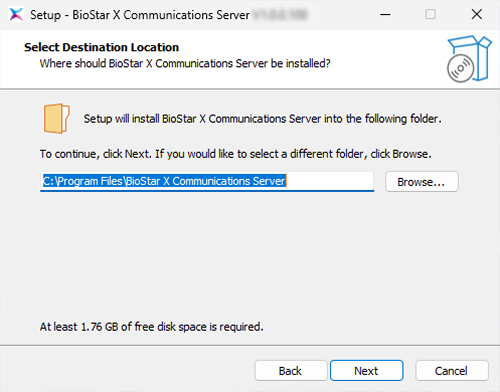
Set the path where the communication server will be installed and click Next.
-
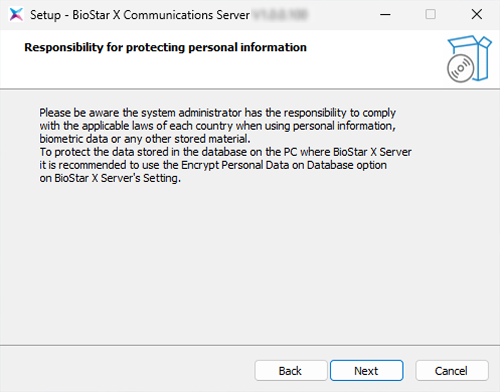
Review the permissions and responsibilities regarding personal information and click Next to continue the installation.
-
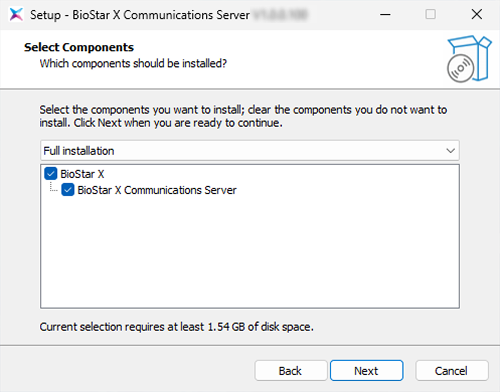
Select the components of the communication server and click Next.
-
Enter the IP address and port number of the BioStar X server, and input details for connection to the BioStar X server. Complete your settings and click Next.
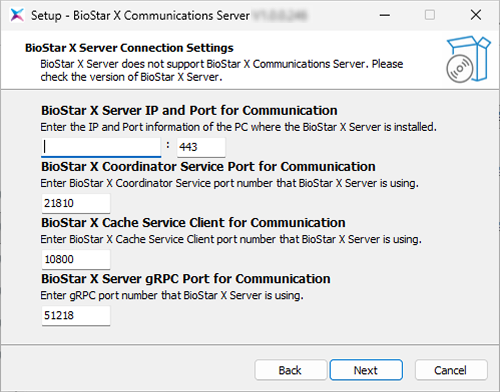
For more information on each input field, see #check-before-install.
-
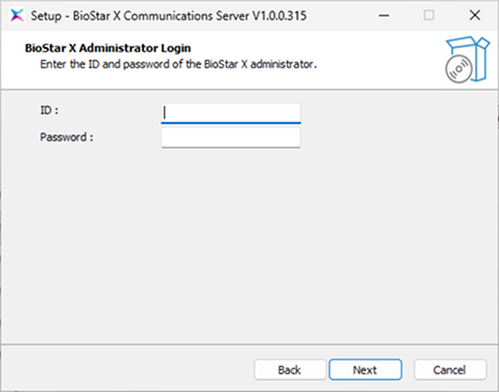
Enter the BioStar X administrator ID and password, then click Next.
-
Set the port for communication and click Next.

-
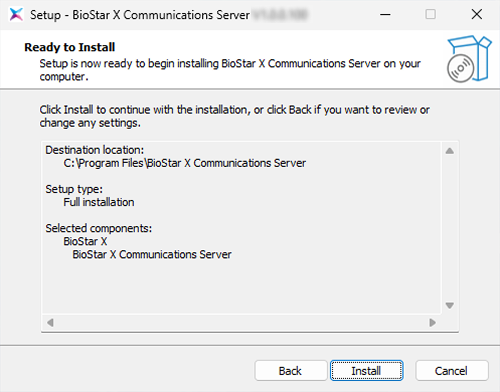
When all preparations for installation are complete, click the Install button. Proceed with the installation.
-
Check the installation completion message and click Finish.
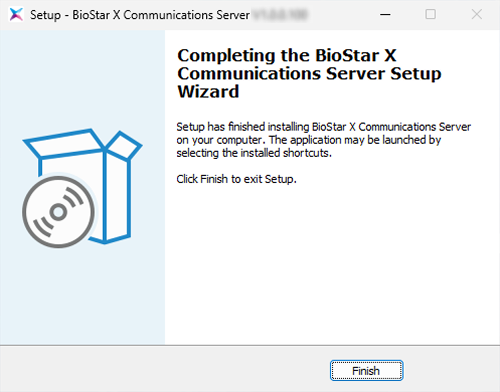
Complete the installation of the communication server. Once the installation is complete, verify the connection between the communication server and the BioStar X main server.
Post-installation checks
After completing the installation of the communication server, you need to connect the main server and the communication server through BioStar X Service Manager.
-
Click Start → BioStar X → BioStar X Service Manager on Windows.
-
The BioStar X Service Manager window appears.
-
In the left sidebar, click the COMMUNICATIONS menu.

-
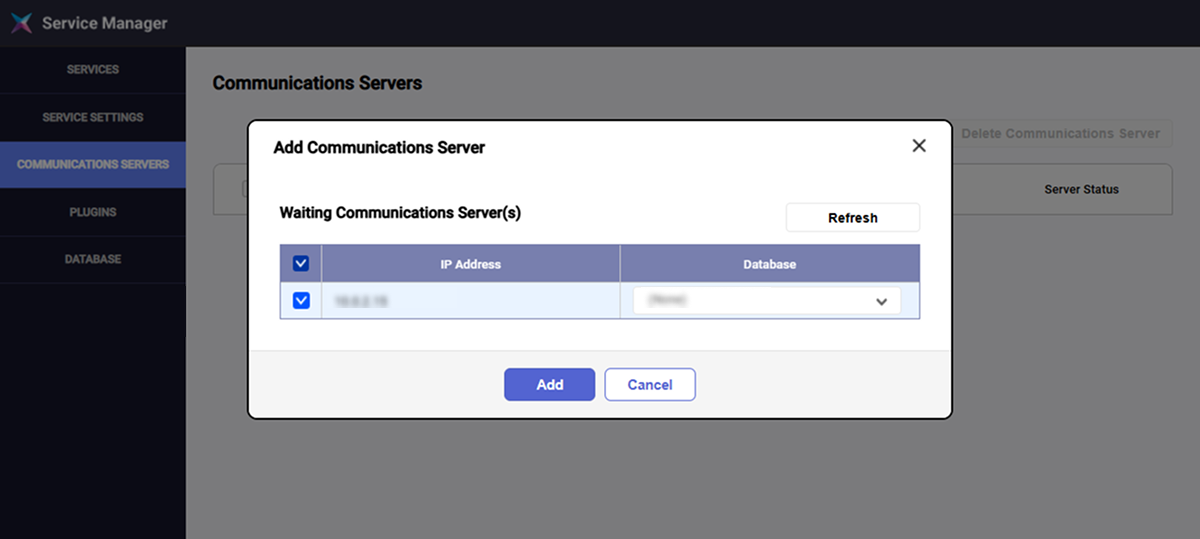
Click Add Communication Server in the upper right corner of the screen.
-
When the Add Communication Server window appears, check the box for the item that matches the IP address of the installed communication server, and select the database to use from the Database column.
-
Click the Add button.
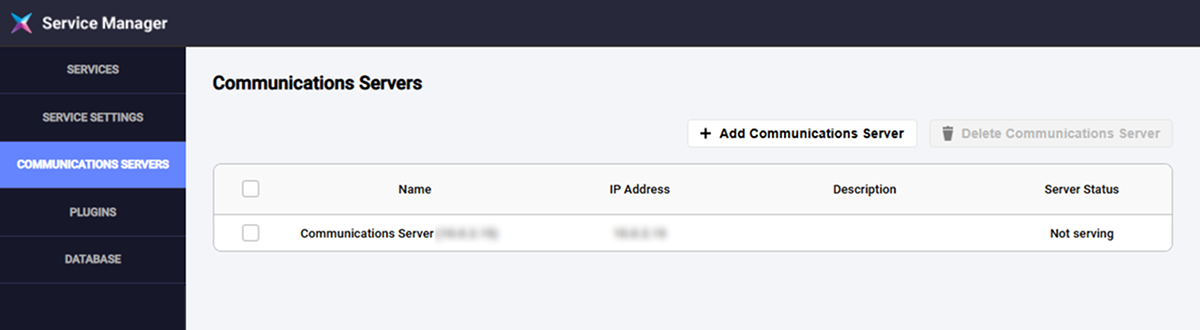
In the communication server list, check if the Server Status column of the added communication server is in Connected status.
-
The COMMUNICATIONS menu can be used when the multi-communication server license is activated. For more information on licensing policies, see License Policy.
-
To delete the communication server, check the box of the server to be deleted in the list and click Delete Communication Server in the upper right corner of the screen.
-
When adding a communication server, you can also add a secondary database to reduce the load on the main server. For more information on adding a secondary database, see Add Auxiliary Database.