Uninstall BioStar X Server and Restore Security Certificates
This section explains how to uninstall the BioStar X server from a computer. If Secure communication with device is not in use, uninstall BioStar X without backing up or restoring certificates.
If Secure communication with device is in use, back up the server security certificate set (root CA/server certificate/key) before uninstalling BioStar X. This backup provides the only way to reconnect existing devices after reinstalling the same server. To reuse only the secure communication certificates and keep the database and settings, see #restoreCertificate. This differs from the system restore feature.
Uninstall the BioStar X server
Uninstalling BioStar X deletes all installation files, including certificates, and may also delete content (user information). To preserve the database, settings, and keys, back up the system before uninstalling. See System Backup.
-
In Windows, go to Settings → Apps → Installed apps.
-
Find BioStar X in the list, click , and select Uninstall.

-
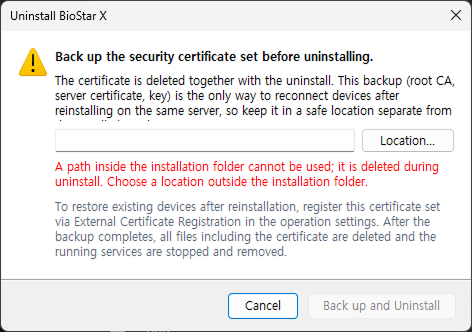
If Secure communication with device is in use, the certificate backup dialog appears. Click Location... and set the backup path. If this option is not in use, continue to step 7 without the certificate backup procedure.
 Caution
Do not use the BioStar X installation path as the backup location. Uninstalling BioStar X deletes it along with the BioStar X installation folder. Select a path other than the BioStar X installation path.
-
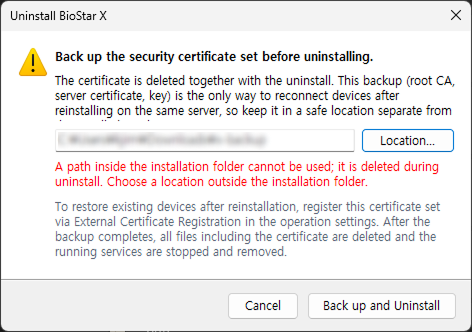
After selecting a path and Back up and uninstall becomes active, click it.
-
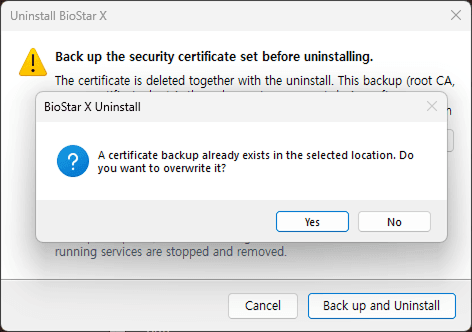
If a certificate backup file already exists in the selected location, a dialog asks whether to overwrite it. To overwrite the existing backup, click Yes. To select a different path, click No.
-
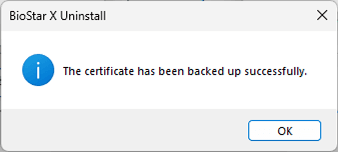
When the certificate backup completes, an information dialog appears. Click OK to save the settings.
-
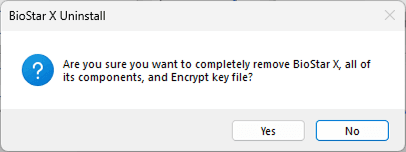
When prompted to confirm uninstalling BioStar X and all related components, click Yes.
-
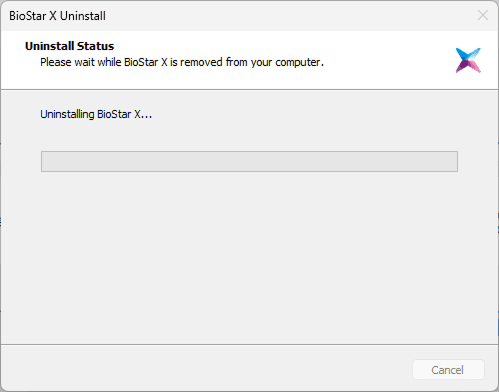
Wait while uninstallation completes.
-
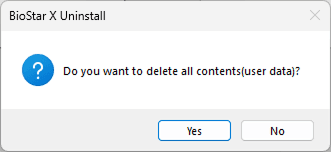
A dialog asks whether to delete all content (user information). To delete all data, including user information stored in the database, click Yes. To keep the data, click No.
 Caution
Click Yes to delete all data, including user information stored in the database. You cannot recover the data. To keep the data, click No. Before removing BioStar X, back up the system. See System Backup.
-
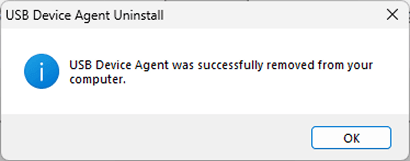
If USB Device Agent is installed, a dialog appears asking whether to remove it as well. Click Yes.
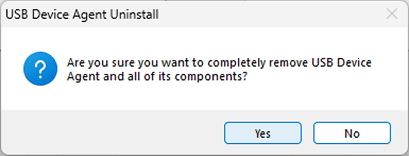
Depending on the components in use, additional uninstall dialogs for related drivers may appear. Follow the instructions on the screen to complete the uninstallation.
-
When component removal completes, a dialog appears. Click OK to save the settings.
-
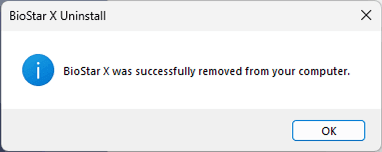
After the system removes BioStar X, a dialog appears. Click OK to save the settings.
Restore backed-up security certificates
After reinstalling the server that used the Secure communication with device option, restore the secure communication certificate. This enables reconnection of existing devices. The System restore tool returns the entire system, including the database and settings, to a previous state. Use this method to reuse only the secure communication certificate without a system restore. Without a dedicated tool, restore the backed-up certificate files directly to the installation path.
In an environment with a main server and a Multi Communication Server, each server uses its own secure communication certificate. After restoring the certificate, install and add the Multi Communication Server. The system copies its certificate automatically, so no separate restore is required.
-
Install BioStar X again. For installation instructions, see Express Installation or Custom Installation.
-
After installing BioStar X, click Start → BioStar X → BioStar X Service Manager on Windows.
-
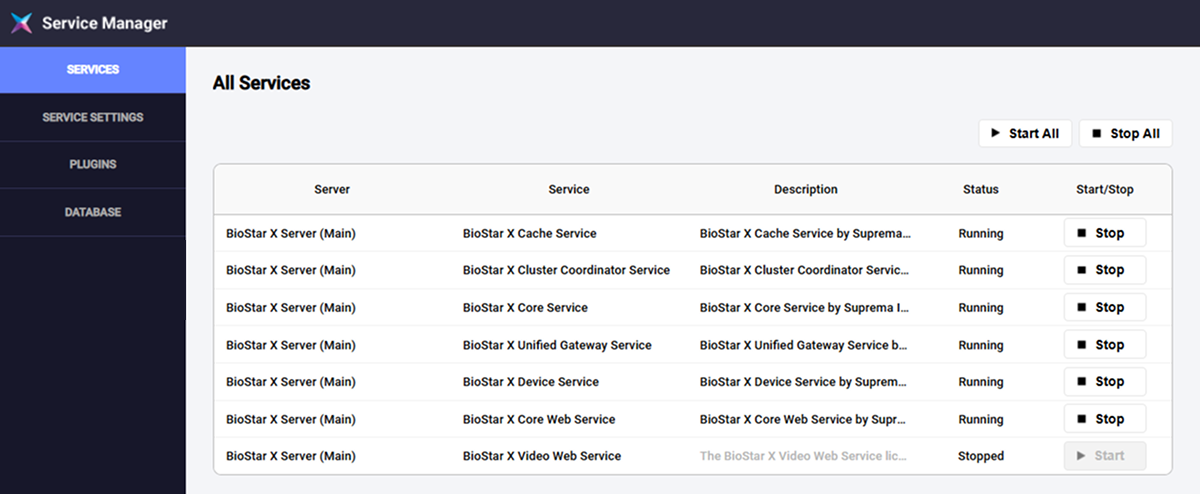
When the BioStar X Service Manager window appears in the web browser, click the SERVICES menu.
-
To stop all services, click Stop All in the top right corner of the screen.
-
Copy all backed-up certificate files (root CA, server certificate, and key) to the cert folder under the BioStar X installation path.
Example: C:\Program Files\BioStar X\cert
The file names match the certificates created during the new installation. When a prompt asks to overwrite files, click Yes to replace the existing files.
-
In SERVICES, click Start All to restart all services.
-
If you use the Multi Communication Server, install it in a separate environment. For installation instructions, see Install Multi Communications Server.
-
In BioStar X Service Manager on the main server, add the Multi Communication Server. For instructions on adding the Multi Communications Server, see Install Multi Communications Server.
When you add the Multi Communications Server, the system copies the security certificate files from the main server cert folder. It copies them to the Multi Communications Server automatically.
If you added the Multi Communications Server before restoring the certificate (steps 4~6), it already has the old certificate. In this case, replace the Multi Communications Server certificate separately. Follow the procedure below.
-
On the server where the Multi Communications Server is installed, run BioStar X Service Manager and stop all services.
-
Copy the backed-up certificate files to the cert folder under the Multi Communications Server installation path.
Example: C:\Program Files\BioStar X Communications Server\cert
-
On both the main server and the Multi Communications Server, restart all services in BioStar X Service Manager.
-
For more information on using BioStar X Service Manager, see Start and Stop Server.
-
For more information about the Secure communication with device option, see Enhance System Security.
-
A Multi Communications Server license is required to install and connect the server. For more information on licensing policies, see License Policy.