Manage Access Levels
Access levels enable users to set times for entry and grant permission to access doors during those times. Access levels are a key element for configuring access groups.
Before you start
-
Initialize doors before enrolling access levels. For more information on registering doors, see Register Door.
-
You can predefine time to apply to access levels through schedule settings. For more information on schedule settings, see Schedule Settings.
Register access level
-
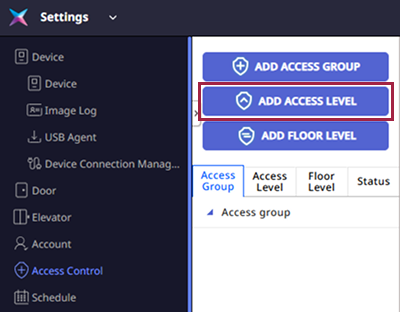
Click Settings on the Launcher page.
-
Click Access Control on the left sidebar.
-
Click ADD ACCESS LEVEL.
-
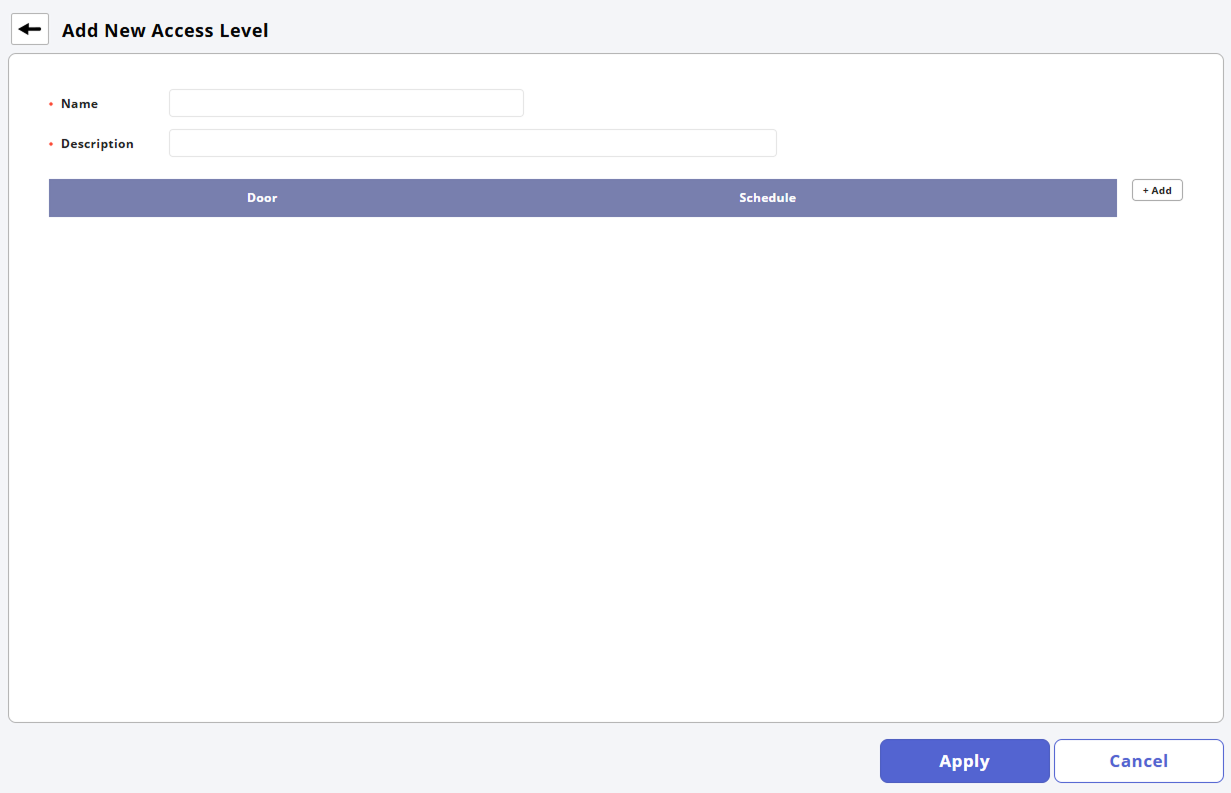
Enter Name and Description in the Add New Access Level screen.
-
Select the door to apply the access level in the Door field.
-
Select the schedule to apply the access level in the Schedule field.
-
Click Apply at the bottom of the screen to register the access level.
-
Up to 128 access levels can be registered per access group.
-
Click in the Door and Schedule fields to search for the desired doors and schedules.
-
Click to delete items added in the Door and Schedule fields.
-
If the desired door is not available, you need to register a new door. For more information on registering doors, see Register Door.
-
If the desired schedule is not available, click + Add Schedule to add one. For more information on schedule settings, see Schedule Settings.
Modify access level
-
Click Settings on the Launcher page.
-
Click Access Control in the left sidebar.
-
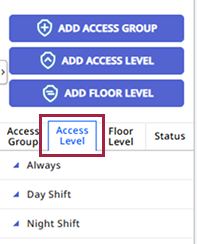
Click the Access Level tab.
-
Click the access level you wish to modify from the access level list.
-
Modify the desired items.
-
Once modifications are complete, click Apply at the bottom of the screen.
Delete access level
-
Click Settings on the Launcher page.
-
Click Access Control in the left sidebar.
-
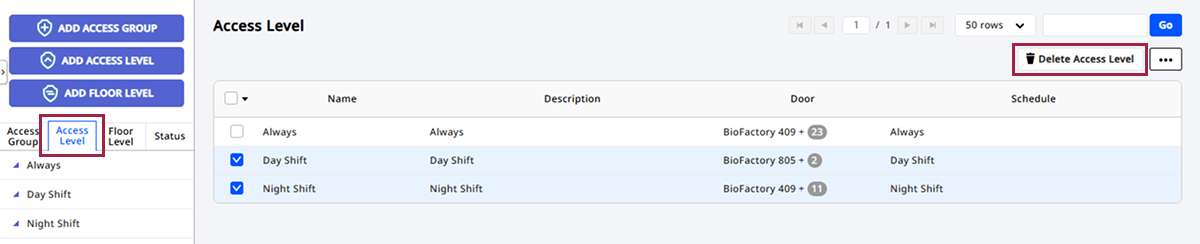
Click the Access Level tab.
-
Check the checkbox of the access level you wish to delete from the access level list.
-
Click Delete Access Level at the top right of the screen.