How to Use the Quick Action
Quick Action is a feature that automates complex control procedures during emergencies. Execute the actions of multiple predefined devices instantly with a single button to respond quickly.
Adding a quick action button in the Custom Interface menu allows you to easily control multiple access points at once by clicking the quick action button on the BioStar X main screen.
To add the Trigger & Action as a Quick Action, see Trigger and Action Settings.
Add quick action button
-
Click Settings on the Launcher page.
-
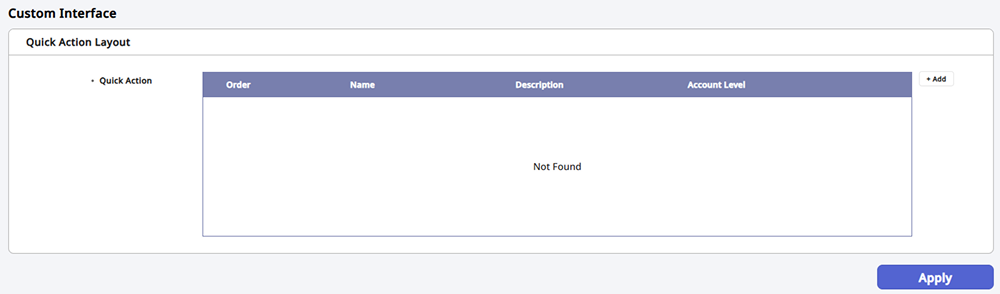
In the left sidebar, click the Custom Interface.
-
Click + Add in the Quick Action Layout section.
-
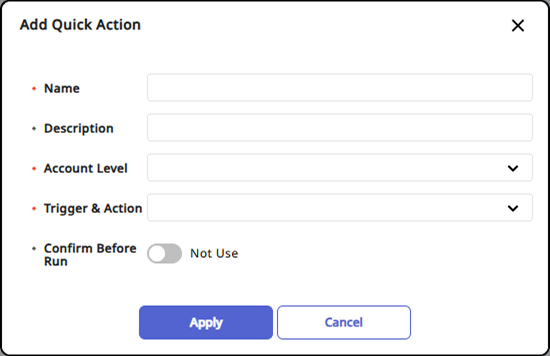
When the Add Quick Action window appears, enter and set each item.
-
Account Level: Select the Account Level that can execute the quick action you want to add. You can select multiple options.
-
Trigger & Action: Select the Trigger & Action to execute. You can select multiple options.
-
Confirm Before Run: Enabling this option will prompt a confirmation popup when you press the Quick Action button to ask if you want to execute it.
-
-
Click Apply button to save the settings.
-
Click Apply at the bottom right of the screen.
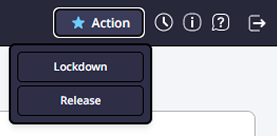
The Quick Action button added in the upper right header area of the BioStar X screen will be created. Click the created Quick Action button to verify it works as configured in Trigger & Action.
-
You can add up to four Quick Action buttons in the upper header area of the screen. It is fixed for use on any page.
-
The Quick Action buttons available may differ depending on the settings configured for the user Account Level.
Editing the Quick Action buttons
-
Click Settings on the Launcher page.
-
In the left sidebar, click the Custom Interface.
-
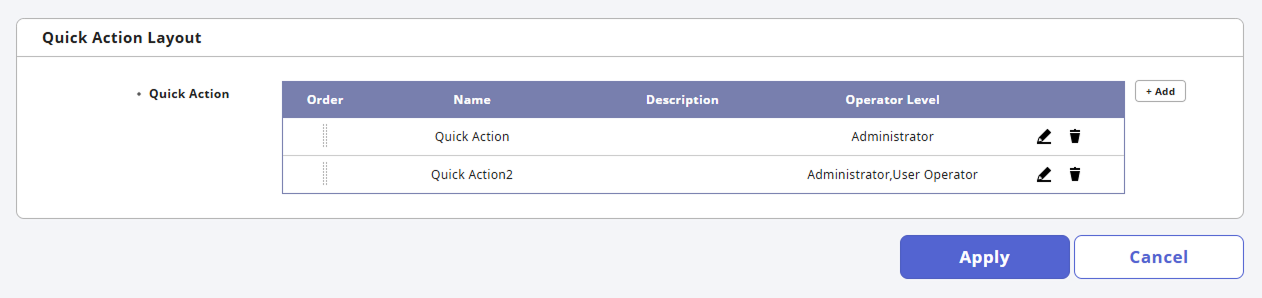
Click the button on the right side of the quick action button you want to modify.
-
When the popup for editing appears, modify the desired item and click the Apply button.
-
To save the modifications, click the Apply button at the bottom right of the screen.
Deleting the Quick Action button
-
Click Settings on the Launcher page.
-
In the left sidebar, click the Custom Interface.
-
Click the button to the right of the quick action button you want to delete.
-
Check the deletion confirmation pop-up and click Yes.
-
To reflect the deleted items, click the Apply button at the bottom right of the screen.