Device Connection Management Settings
BioStar X's Device Connection Manager is a feature designed to efficiently manage a large number of devices in companies or large buildings. Previously, a single server could connect a maximum of 1,000 devices, but now you can install multiple communication servers on several computers to manage up to 3,000 network devices.
-
This feature requires the Device Manager license to be activated. For more information on the licensing policy, see License Policy.
-
For specifications and installation of the communication server, refer to the followings:
Key features
-
Server Expansion: Install communication servers on additional computers besides the main computer to connect more devices.
-
Multiple Server Operation: Use up to three servers together to support a total of 3,000 devices.
-
Convenient Device Management: When adding new devices, choose which server to connect to, and you can also move existing devices to another server.
-
Large Environment Support: Operate a large number of devices reliably in large business sites or buildings.
The communication server is a dedicated service that separates the connection functionality with devices from the integrated server of BioStar X. It focuses solely on reliable communication with devices, enhancing the performance of the overall system.
Move devices to another server
You can move devices registered on the main server or other communication servers to another communication server. This feature helps maintain the connection status of the devices while moving them between servers.
-
Click Settings on the Launcher page.
-
Click Device → Device Connection Manager on the left sidebar
-
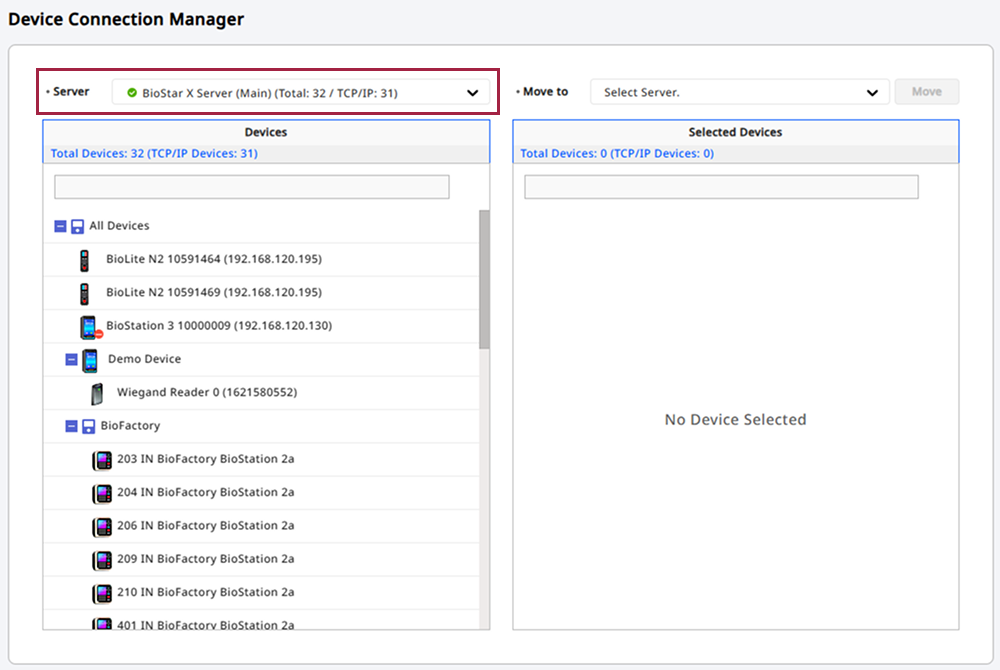
From the Server section on the left, select the server where the device you want to move is registered.
-
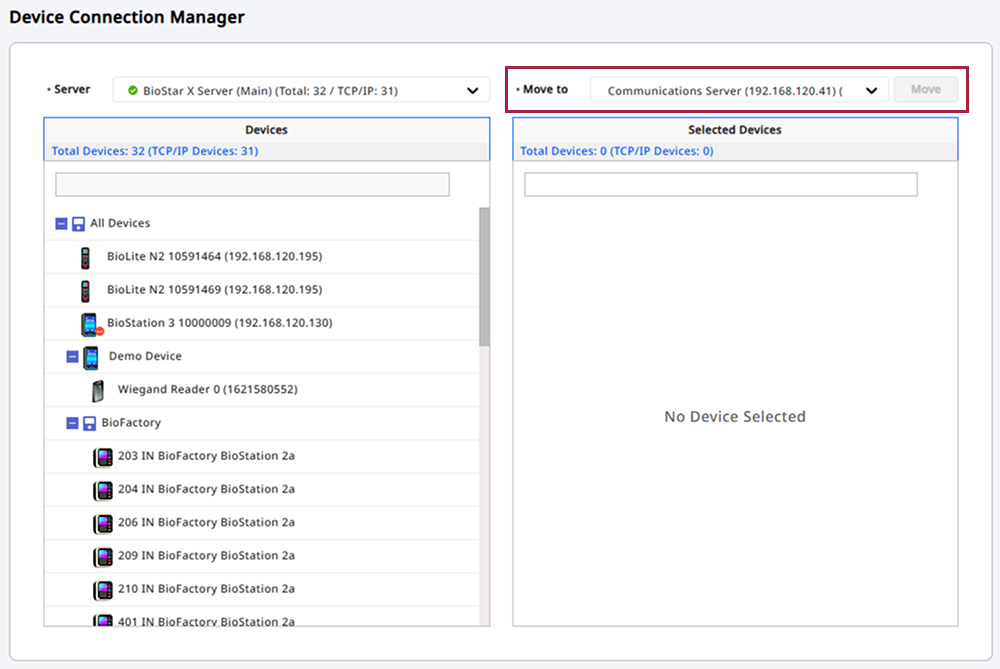
In the Move to section on the right, select the target server to which you want to move the devices.
-
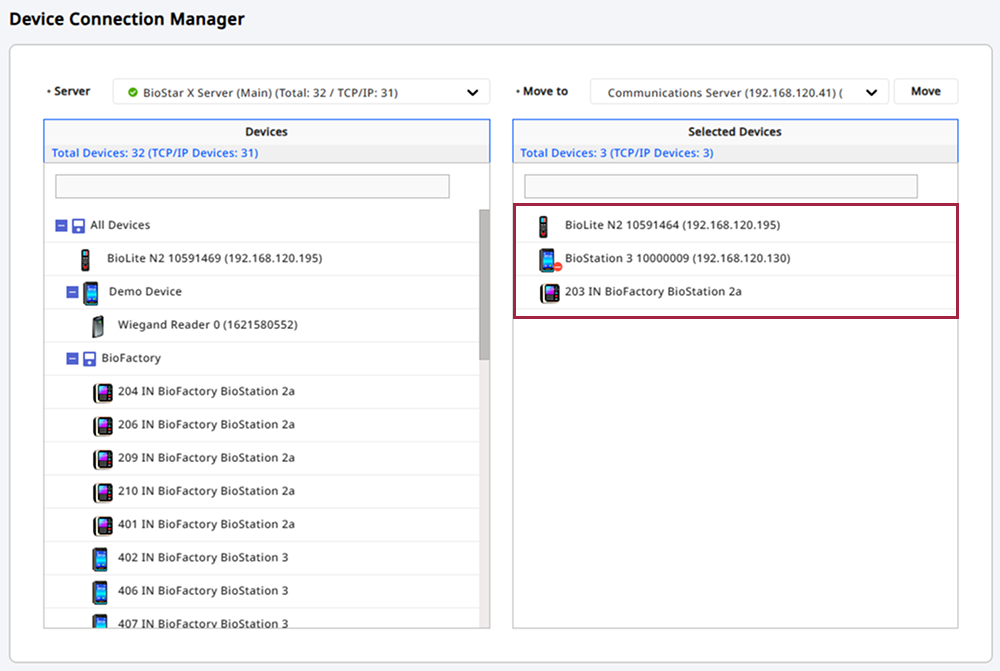
Select the device(s) you want to move from the device list. You can select multiple devices.
To search for a specific device, enter keywords in the input field at the top. You can search by device name or serial number.
-
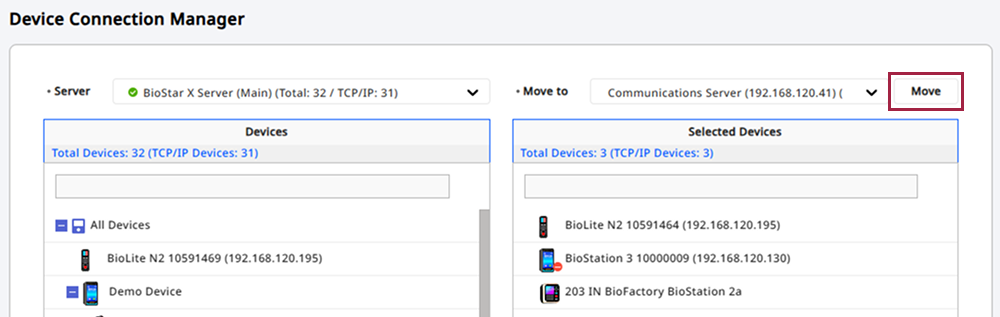
Click Move to move the device to the target server.
-
Check the total number of devices to move, the number of TCP/IP connected devices, the name of the server to move to, and the IP address in the message window.
-
Click Yes.
Once the move is complete, you can check the total number of devices moved, the number of TCP/IP connected devices, and the name and IP address of the moved server in the message window.
If there are devices that failed to move, the message window will show the number of devices that failed to move and the number of TCP/IP connected devices. To view a list of devices that failed to move and the reasons for failure in a CSV file, click the Download button.
-
If there are no connected extension servers, Move to on the right side of the screen will not be displayed.
-
When selecting a server, you can see all registered devices, including Wiegand and RS-485 connected devices on that server.
-
Selecting a device or device group will also move the subordinate devices connected to the device and the devices included in the group.
-
Devices that are not connected via TCP/IP cannot be moved.