View Access Control Audit Logs
The AC Audit Log feature records access control activity for users, devices, and doors: create, update, delete, view, export, import, and operations. Each record shows when, who made the change, what changed, and how, to support audits and troubleshooting.
-
Security audit: Detect unauthorized access attempts or privilege abuse.
-
Troubleshooting: Track when system errors occur and review setting changes.
-
Compliance: Keep access records, including personal data access history, and create audit reports.
Check access control audit logs
-
Click Settings on the Launcher page.
-
Click Audit Trail → AC Audit Log on the left sidebar.
-
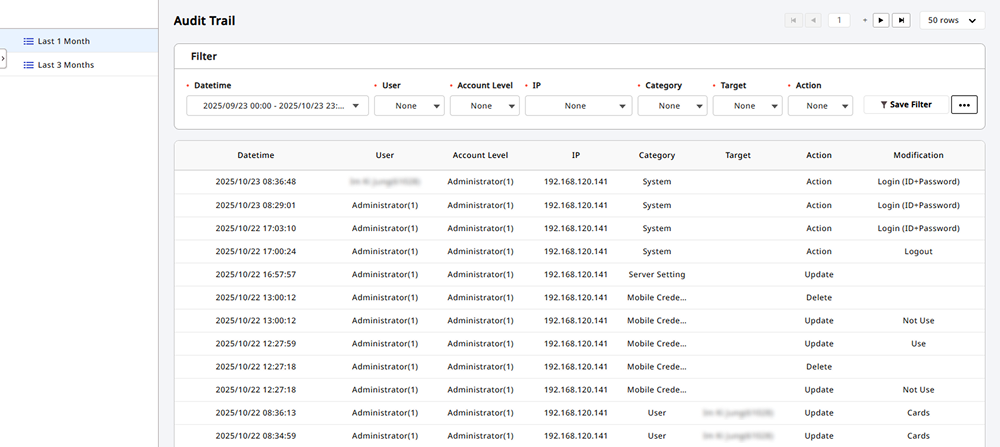
The audit log list appears on the screen.
-
To change audit log policies such as the retention period, see Manage Audit Trail Retention Settings.
-
After upgrading to version 1.0.3, the system encrypts new audit logs regardless of the Encrypt Personal Data on Database option under Settings → System → Security.
-
If the system does not record certain audit logs after the upgrade from BioStar 2 to BioStar X, see Upgrade.
Table layout
The audit log list table has 10 columns and shows records in descending order by Datetime.
| Column | Description |
|---|---|
| Datetime | The date and time the event occurred. |
| User | The user who performed the event. Displayed in the id(name) format. |
| Account Level | The administrator level of the user who performed the event. |
| Action | The type of action executed. Classified as one of Create, Update, Delete, Read, Export, Import, or Operation. |
| Category | The domain category of the event target (for example, users, devices, and doors). |
| Target | The target the action applies to. Displayed in the type: id(name) format. |
| Sub Action | Shows only when a detailed action name exists, such as login method or alarm disarm. |
| Modified Fields | The name of the field that changed or was viewed. |
| Details | Detailed information for each action. (e.g., changed values, reasons, and search criteria) |
| IP | IP address from which the user accessed. The system shows automatically issued records as 127.0.0.1. |
-
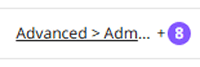
If the Target or Modified Fields value has 2 or more entries, only the first item is shown, and the rest are collapsed into a remaining-count badge on the right (e.g., +208). If the remaining count is 1,000 or more, the badge shows +999. Check the exact total count in the detail popup title. Click the badge to open the detail popup for that cell.
-
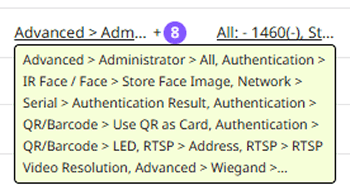
Long cell values truncate to one line with an ellipsis. Hover over the value to see the full text in a tooltip. The tooltip truncates overflow text as
....
View details
The Target, Modified Fields, and Details columns appear underlined and are clickable when they have values. Click a value in the column to open the action-specific detail popup. To close the popup, click OK or .
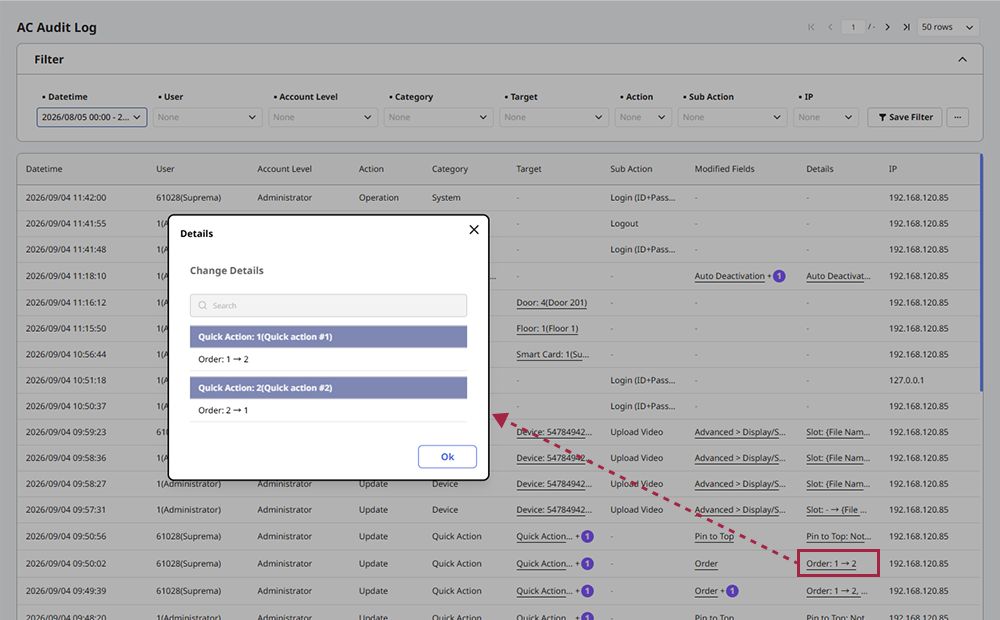
Enter a keyword in the Search field at the top of the popup to highlight or filter matching entries. When searching, the target popup updates groups and counts per group. The title total count stays the same.
Find records with filters
Combine the filters in the Filter section to narrow down and find the records you need. Select multiple values in one filter to combine them with OR. Apply multiple filters together to combine them with AND.
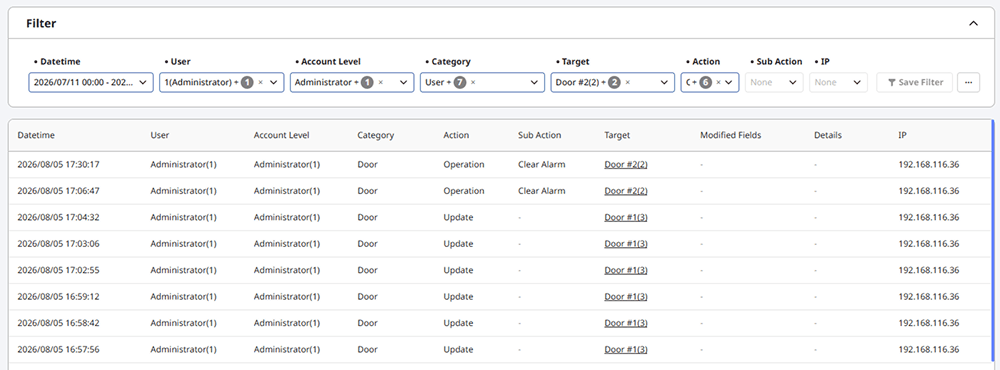
| Filter | How it works |
|---|---|
| Datetime | Set the start and end dates and times. No length limit applies to the search period. |
| User | Enter a search term and press Enter to find matching users. The list is empty when you first open it. |
| Account Level | Enter a search term and press Enter to find matching administrator levels. |
| Category | Select one or more categories from the searchable checkbox list. |
| Target | Enter a search term and press Enter to find matching targets. |
| Action | Select one or more actions from the checkbox list. |
| Sub Action | Select a detailed action from the searchable list. |
| IP | Enter a search term, then press Enter to find matching IP addresses. |
-
If you apply no filters, records from the last 30 days appear by default.
-
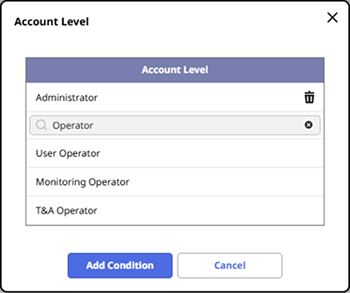
Select a value in each filter popup, then click Add Condition to apply it to the search immediately. Click Cancel to cancel the selection and close the popup.
-
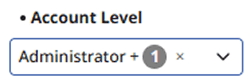
Applied filters appear as the first filter and the number of additional filters. Click to disable only that filter. Filters with no selected value appear as None.
Enter a search term to see results for the User, Account Level, Target, and IP filters. The search supports partial matches; enter part of a name or ID. The search includes deleted targets and marks them as Deleted.
Set the query period
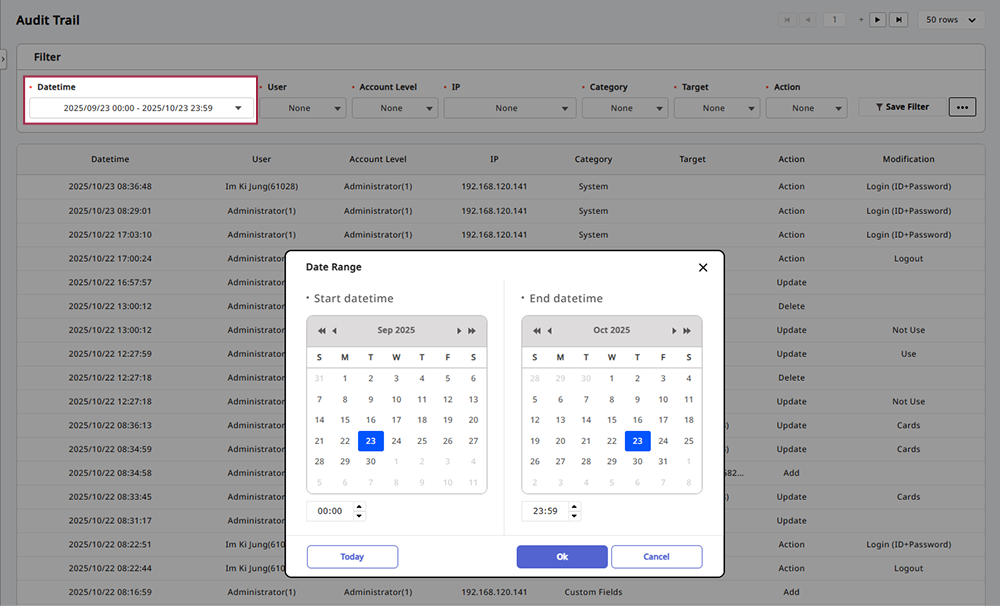
Click Datetime to open the Date Range popup.
-
Set the date and time for Start datetime and End datetime. Click Today to jump to today.
-
Click OK to apply the query period.
Save filter
Save frequently used search conditions in Saved Filters, then load them when needed.
-
Set filters to match the required conditions.
-
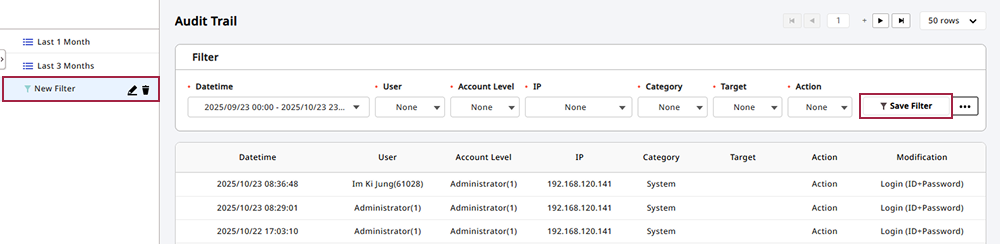
Click Save Filter in the Filter section.
-
The system adds New Filter to the filter list on the left.
-
Click , enter a new name, then press Enter to rename the filter.
-
Click to delete the filter.
You can save up to 20 filters. The browser stores saved filters, so they do not appear on other PCs or browsers.
Page navigation
Move between pages or set the number of items to appear on each page.
-
: Go to the first page.
-
: Go to the previous page.
-
: Go to the next page.
-
: Go to the last page.
-
 : Select the number of rows per page.
Set columns
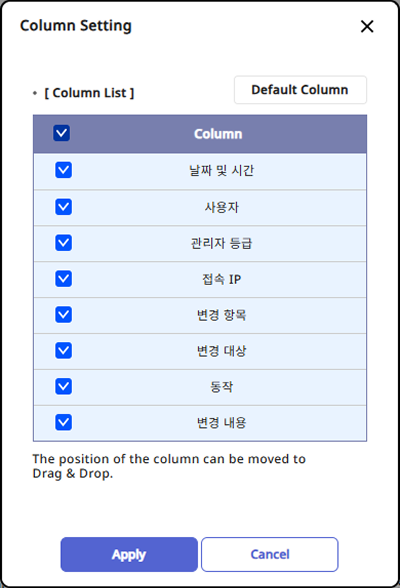
Change column positions or hide columns in the audit log table. On the right side of the Filter section, click → Column Setting.
-
In [ Column List ], clear the checkbox for the column to hide.
-
Drag a column to change the column order.
-
Click Default Column to initialize column settings.
Click Apply to save the settings.
Export to CSV
Export audit logs to a CSV file for use with external analysis tools.
-
In the Filter section, set filters if needed.
-
Click → CSV Export on the right side of the section.
-
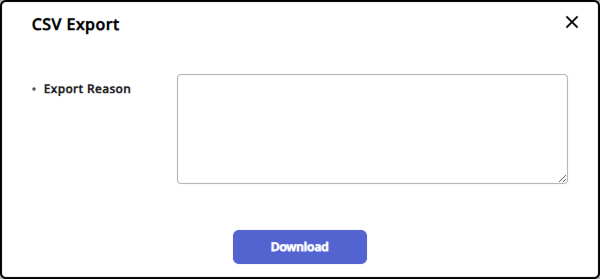
When the CSV Export window appears, enter Export Reason (optional), and click Apply.
The exported CSV includes 10 columns, one row per record, and quotes all values. Values with multiple targets use a vertical bar (|) (e.g., User: 7(Kim)|User: 8(Lee)). The Details value includes all targets and fields without truncation.
The CSV file includes values as-is, including values a spreadsheet program may interpret as formulas. Do not open the downloaded CSV file directly in a spreadsheet program. If needed, open it with the text import feature.
If you set filters, the export includes only the filtered results in the CSV file.
Review BioStar 2 records
The same table also shows records from earlier versions (BioStar 2). BioStar 2 records appear as follows.
-
User and Target are preserved in the original name(id) format (including space variations).
-
Modified Fields always shows a hyphen (
-). -
you can also search BioStar 2 records with the provided filters, and User and Target match both name and ID.
Legacy records may include unsupported search criteria. When you load a saved filter, a notice appears if certain criteria are excluded.