Trigger and Action Settings
You can configure the device or BioStar X to perform desired actions when specific events occur at a device, door, or area.
-
Click Settings on the Launcher page.
-
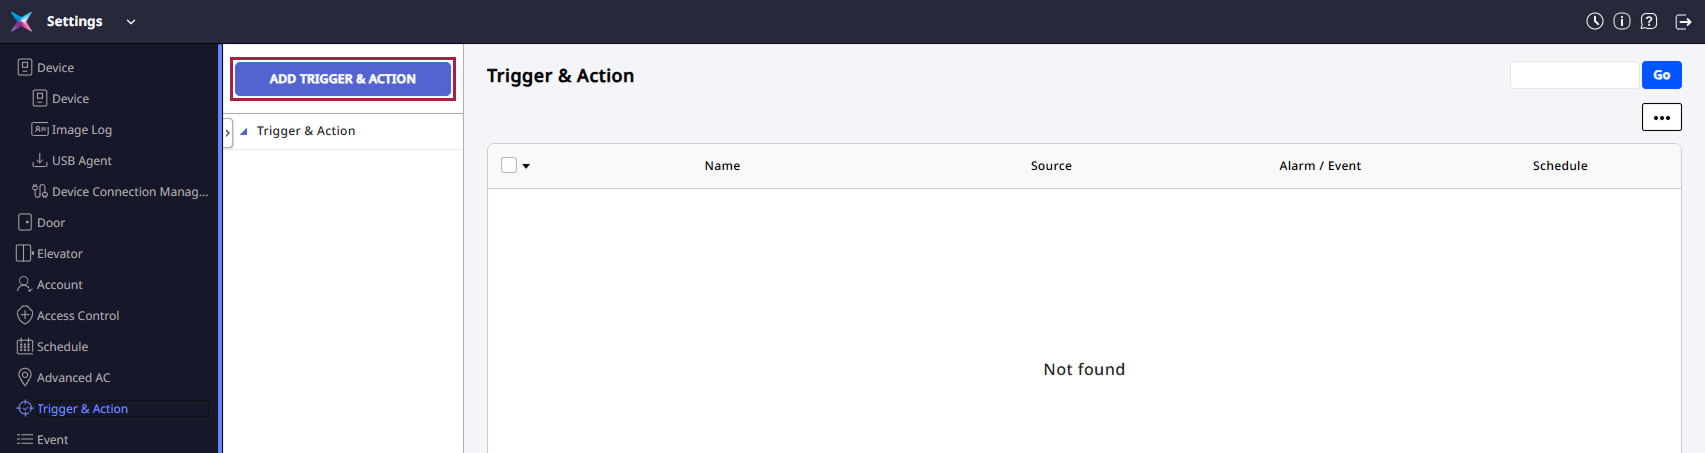
Click Trigger & Action in the left sidebar of the screen.
-
Click ADD TRIGGER & ACTION at the top left of the screen.
Follow the instructions on the screen to set the details.
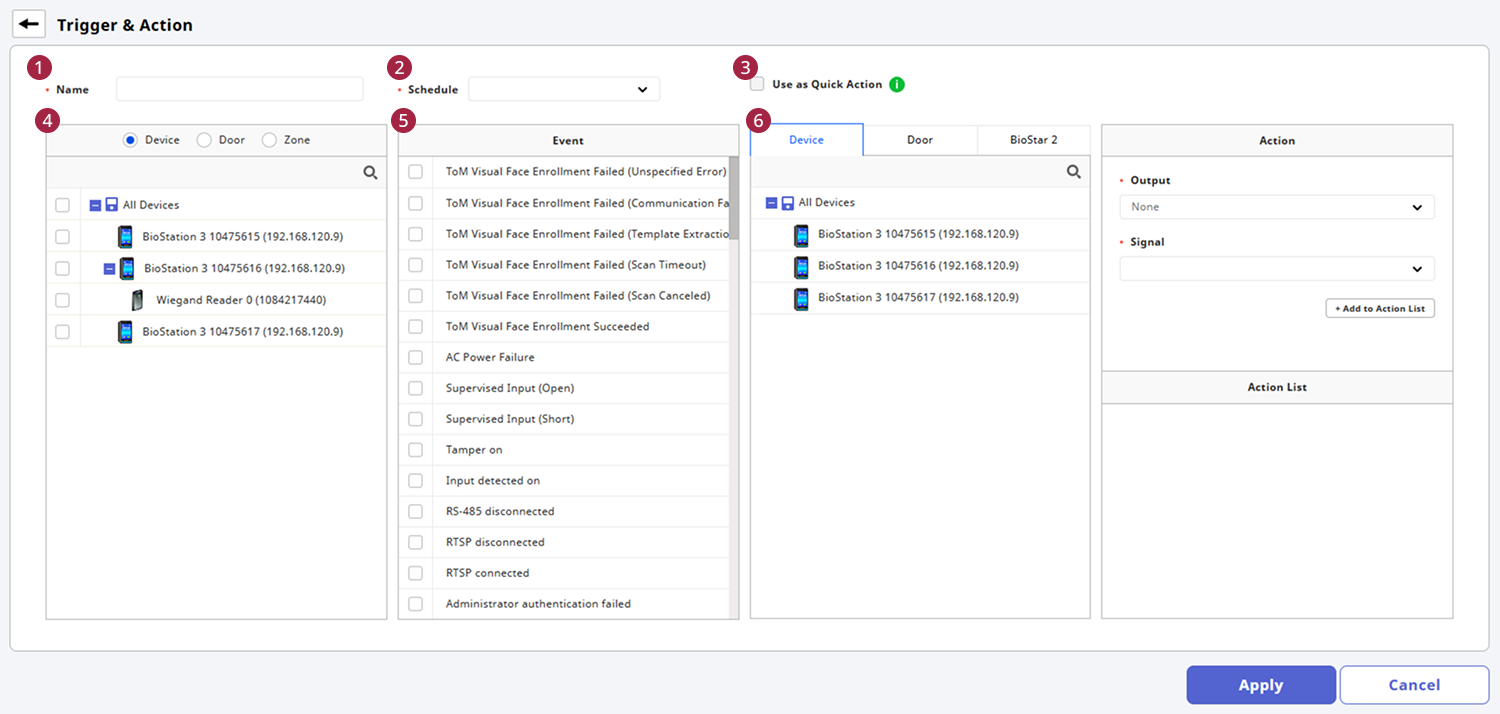
Enter name
Name: Enter the name for the action conditions and actions.
Set schedule
Schedule: Set the schedule for when the action conditions and actions will apply.
-
Click + Add Schedule to set a schedule if there is no desired schedule when selecting Input to create custom conditions.
-
For more information on schedule settings, see Schedule Settings.
Use as Quick Action
Setting Quick Action allows you to control multiple doors at once using the Quick Action button on the BioStar X main screen. Click the Use as Quick Action checkbox.
-
This feature is only available when the Schedule option is set to Always.
-
Quick Action can be set in Settings → Custom Interface. For more information on Quick Action, see How to Use the Quick Action.
Select device, door, advanced access control
Select the items to send event signals. Multiple devices can be selected, and they will operate independently even if the connection with BioStar X is lost.
The Advanced Access Control option is only available with an Advanced or higher license. For more information on the licensing policy, see License Policy.
Set event conditions
Set the condition events. You must select one or more events.
Depending on the options selected in the previous step, different event lists will be activated.
Set actions
Select the device that will perform the actions. You can choose actions for devices, doors, or BioStar X.
In the Action section, you can set the signals to send when the selected condition events occur. To receive logs via email, this can be set in BioStar X.
-
Clicking on Device, Door, or BioStar X will change the contents of the actions section.
-
To set the email server information, click on the BioStar X tab. When the SMTP Option window appears, enter the email server information and click the Apply button. For more information, see Email Setting.
-
For detailed information on email server settings, contact your system administrator.
Once all settings are completed, click the Apply button.