How to Use Time & Attendance
Set the attendance management rules and check the recorded work history through the device or output it as a report. The T&A feature is provided as a plugin and requires a separate license.
The T&A feature is available through an add-on option. For more information on licensing policies, see License Policy.
Before you start
To use the T&A feature, apply the license and download the separate installation file for installation.
Apply license
Instructions for applying the T&A license. After purchasing the T&A license from a BioStar X vendor, follow the instructions to apply the license.
-
Log in with the BioStar X administrator account.
-
Click Settings on the Launcher page.
-
Click License → BioStar X License in the left sidebar.
-
Enter License Activation in sequence with Activated by and License Key.

-
Click Activate.
You can check the licensed registered in Activated License.
To activate your license in a closed network environment or when internet access is restricted or unavailable, see BioStar X License.
Install plugin
To use the T&A feature, a separate installation file must be downloaded and installed. Follow the instructions to install the plugin.
-
Access the Suprema Download Center and download the T&A plugin installation file (BioStar X TA.X.Y.Z.BB.exe).
-
Run the installation file and complete the installation according to the instructions.
-
Run the downloaded installation file.
-
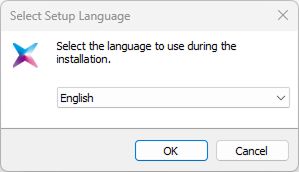
Select the language to use and select the OK button.
-
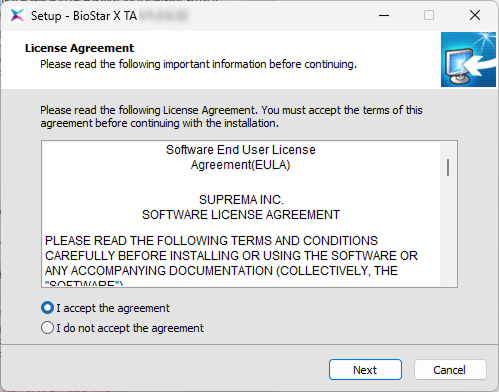
To continue the installation, select I accept the agreement and click the Next button.
-
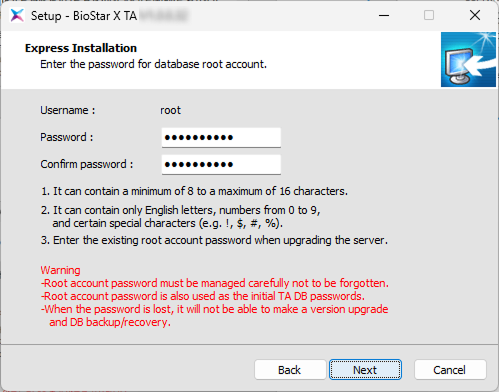
Enter the root account password for the database and click the Next button.
-
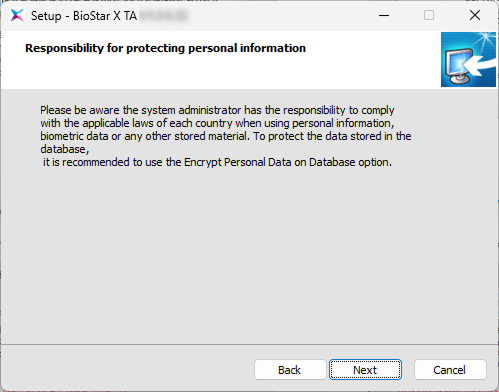
Read the information about the management and responsibility of personal information stored in the database, and click the Next button to continue the installation.
-
Set the port for communication with BioStar X and click Next.

You can use the default port number (3002) or change to a different port number. If you change the port number, ensure that the corresponding port is open in the firewall.
-
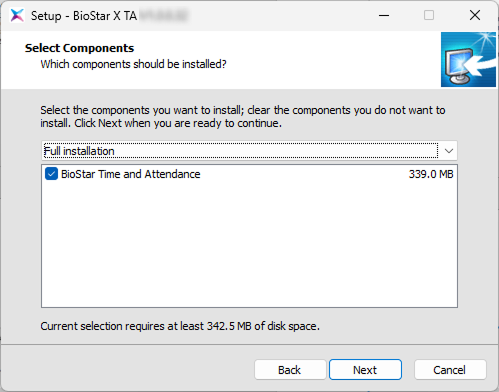
Select the installation components and click Next.
-
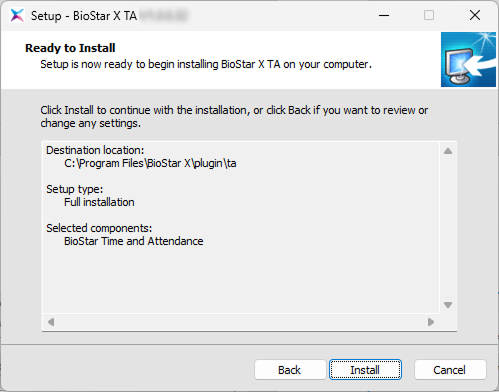
When all preparations for installation are complete, click the Install button.
-
In the downloaded file name,
X.Y.Zis the version information andBBis the build number. -
Use the password for the root account of the database that was used when installing BioStar X.
T&A menu
Once the T&A license and plugin installation are complete, the Launcher page will have the T&A menu added.
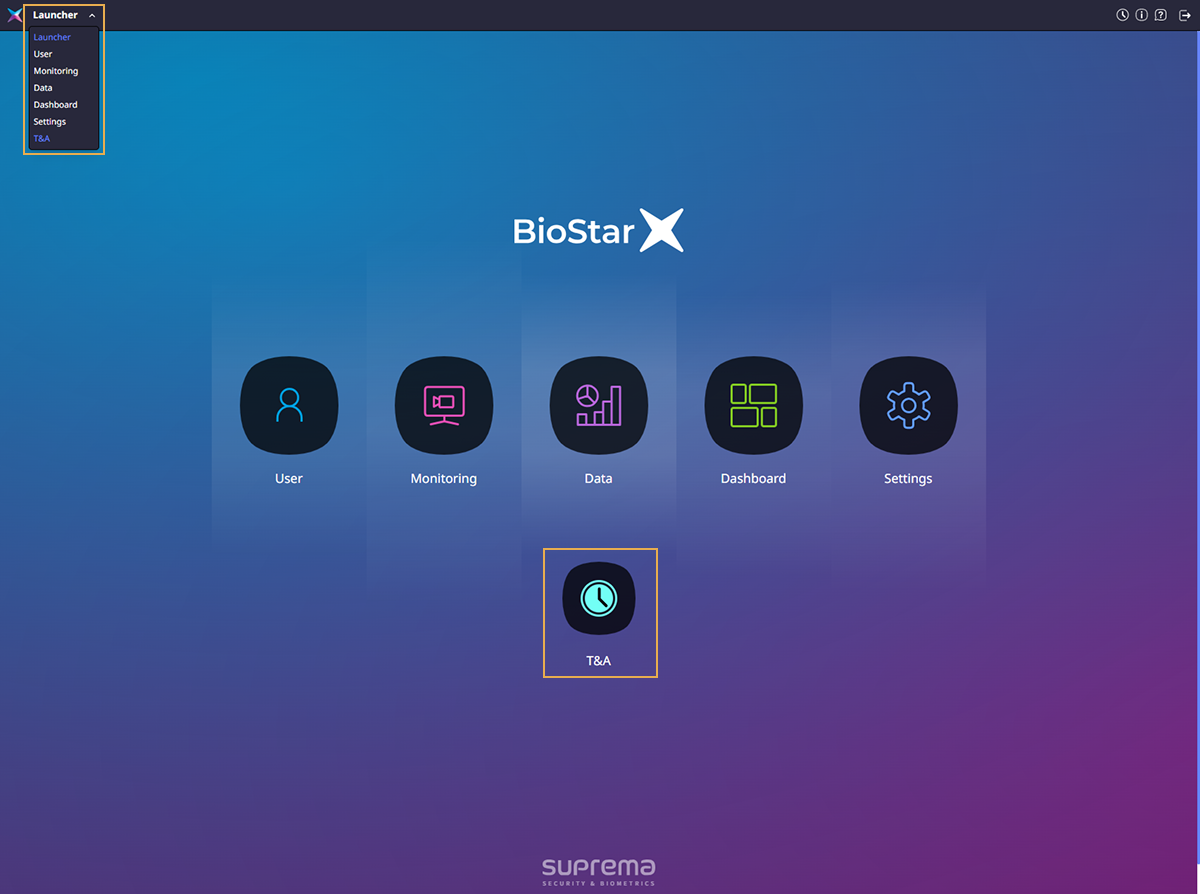
Click the T&A icon on the Launcher page or select T&A from the shortcut list at the top left of the screen.
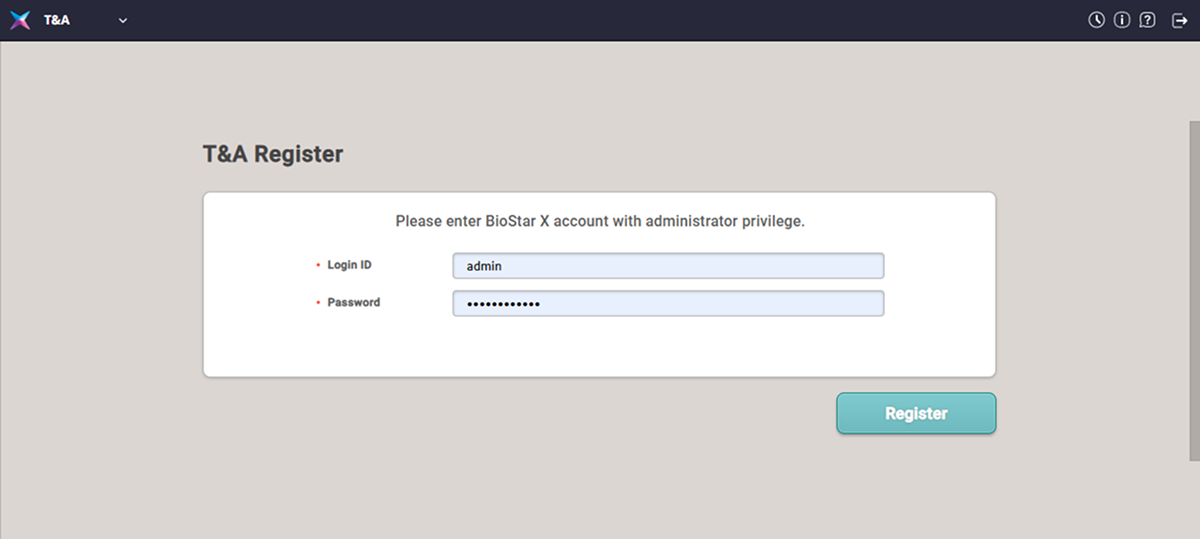
T&A login
A separate login screen will appear the first time you enter the T&A feature. Log in with the BioStar X administrator account. When you log in to the T&A feature with the administrator account, you can use the T&A feature thereafter without a separate login process.
Initial setup
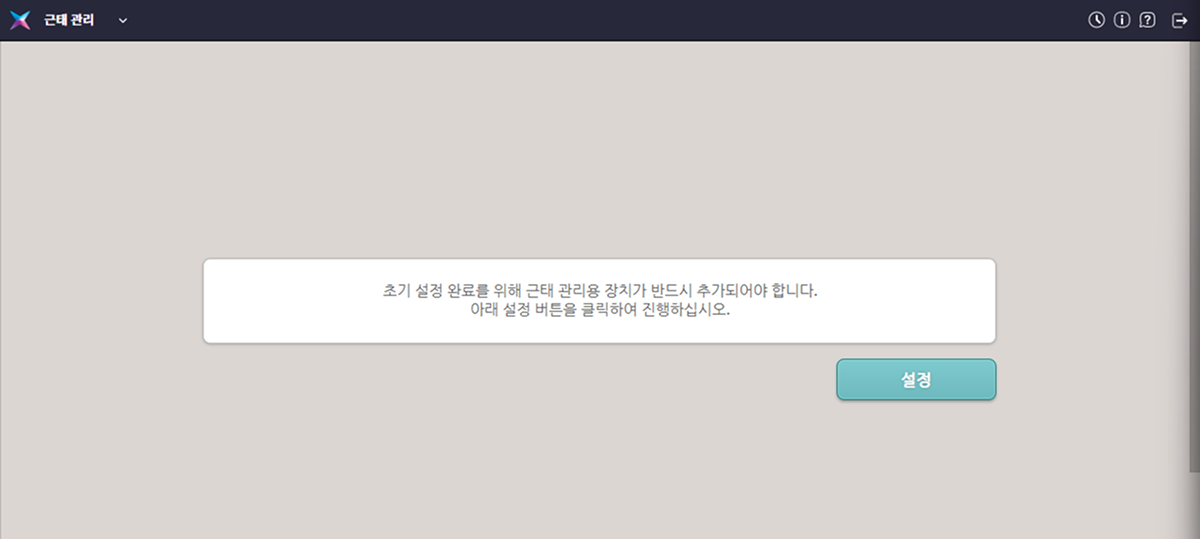
-
The first time you log into the T&A feature, you need to add a device for attendance management for initial setup. Click the Settings button on the screen.
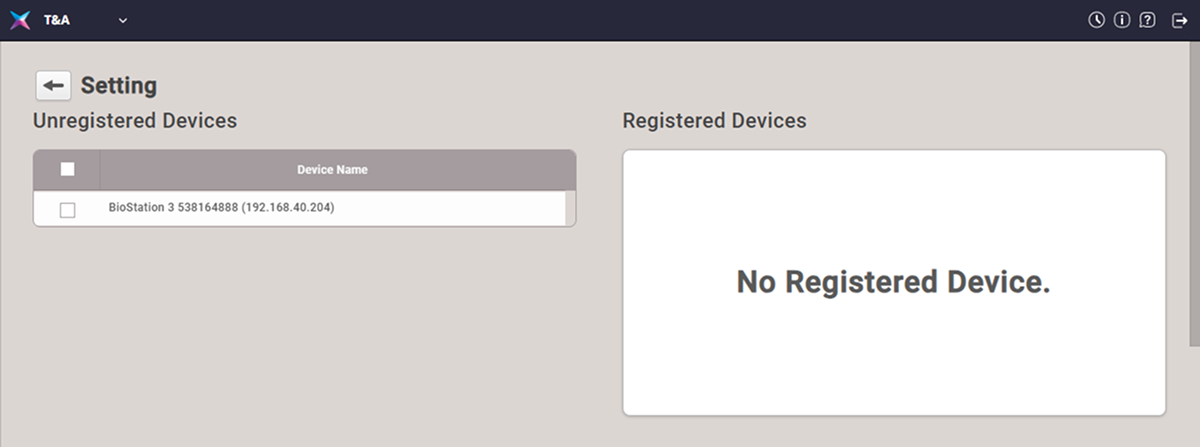
-
Select a device for attendance management from the device list.
-
Click the activated Register button.
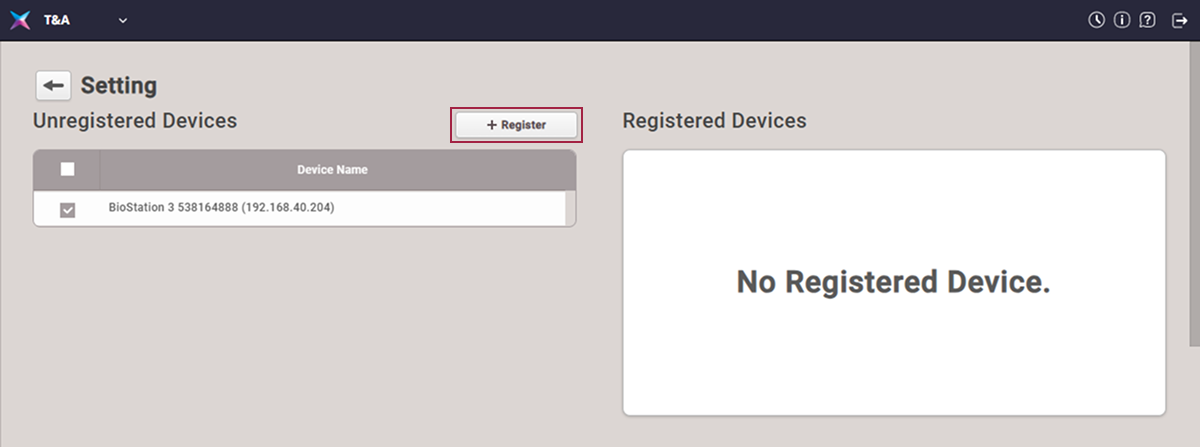
-
If the selected device appears in the Registered Devices list, click the Setting button.

-
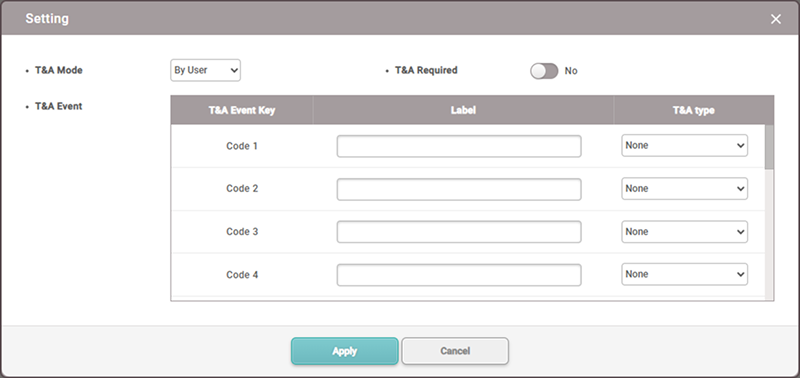
When the Setting window appears, complete the basic settings for attendance management.
Configure attendance mode
Proceed with the attendance mode and attendance event settings.
-
T&A Mode: Choose how to register attendance events.
-
By User: Users can select attendance events during authentication.
-
By Schedule: Attendance events automatically change according to a set schedule. You can select a schedule to apply to attendance events.
-
Last Choice: The last used attendance event can continue to be used.
-
Fixed: Only the selected attendance event can be used.
-
Not Use: Does not log attendance events.
-
-
T&A Required: You can set it to require registration of attendance events during authentication. Can be used when T&A Mode is set to By User.
-
T&A Event: You can modify the name of attendance events or add schedules used when setting T&A Mode to By Schedule.
-
T&A Event Key: This is a list of keys that can be used to register attendance.
-
Label: You can change the name of attendance events according to the attendance key.
-
Schedule: If you set T&A Mode to By Schedule, you can automatically set the schedule to change. For more information on schedule settings, see Schedule Settings.
-
-
Devices that do not support LCD screens can set T&A Mode to By Schedule and Fixed. You can register fixed attendance events or change attendance events based on pre-scheduled settings.
-
The models that support the By Schedule and Fixed modes are XPass Q2, XPass 2, XPass D2, BioEntry P2, and BioEntry W2.
-
For more information on the Setting menu, see Set Time & Attendance.