Change the Firmware
The following devices support CLUe: With one firmware update, switch from the existing BioStar support mode to CLUe support mode.
- BioStation 3, BioEntry W3, BioEntry W2, BioLite N2, X-Station 2, XPass 2
Before updating the firmware, make sure the device has no user data left on it. If user data remains, it may conflict with user information synchronized from the CLUe system.
Switch to CLUe support mode
To pre-enroll the device before the firmware update, provide the device serial number (SN) and model name (for example, BS3-DB) to Suprema Global Technical Support Team. The pre-enrollment process will proceed.
Prepare a CLUe support firmware version
Obtain it through your local Suprema branch or the CLUe team. The versions available for the device are as follows.
-
xpass2_v1_x_CL-AU.bin
-
bs3-all_v1.x._CL-AU.bin
-
xs2-all_v1.x CL-AU.zip
-
bln2-oab_v1.x CL-AU.bin
-
bln2-odb_v1.x CL-AU.bin
-
bln2-pab_v1.x CL-AU.bin
-
bew3-all_v1.x CL-AU.bin
-
bew2_oa/d/hp_v1.x CL-AU.bin
The suffix AU means "Auto Update to CLUe FW".
Check the internet connection
Before updating the firmware, make sure the device can connect to the internet and the CLUe server.
After the CLUe firmware update, the device automatically gets the certificate from the CLUe server, applies it, and then tries to connect, so an internet connection is required. The device also gets an IP address through DHCP by default, so make sure it can receive a dynamic IP address.
-
The default network setting is DHCP.
-
Use the 8.8.8.8 DNS server.
Proceed with the firmware update
During the update process, the device reboots at least 2 to 3 times.
The main firmware update may take some time, and the certificate and setting firmware load process completes relatively quickly. The entire process takes about 3~5 minutes, so keep the device powered on and connected to the internet until the update completes.
You can also update the firmware using BioStar 2 or USB.
Confirm the update is complete
When all updates finish, the CLUe icon appears on the device main screen.

For devices without a display, enter the serial number in the CLUe portal to check the device enrollment status.
Register Device
Ask the Suprema contact to assign the device to your account through the portal.
Then assign the device to the specified Place and use it with the door setting. For secure device management, the CLUe system requires each Branch manager to assign devices to the corresponding Place group.
Set the device menu password
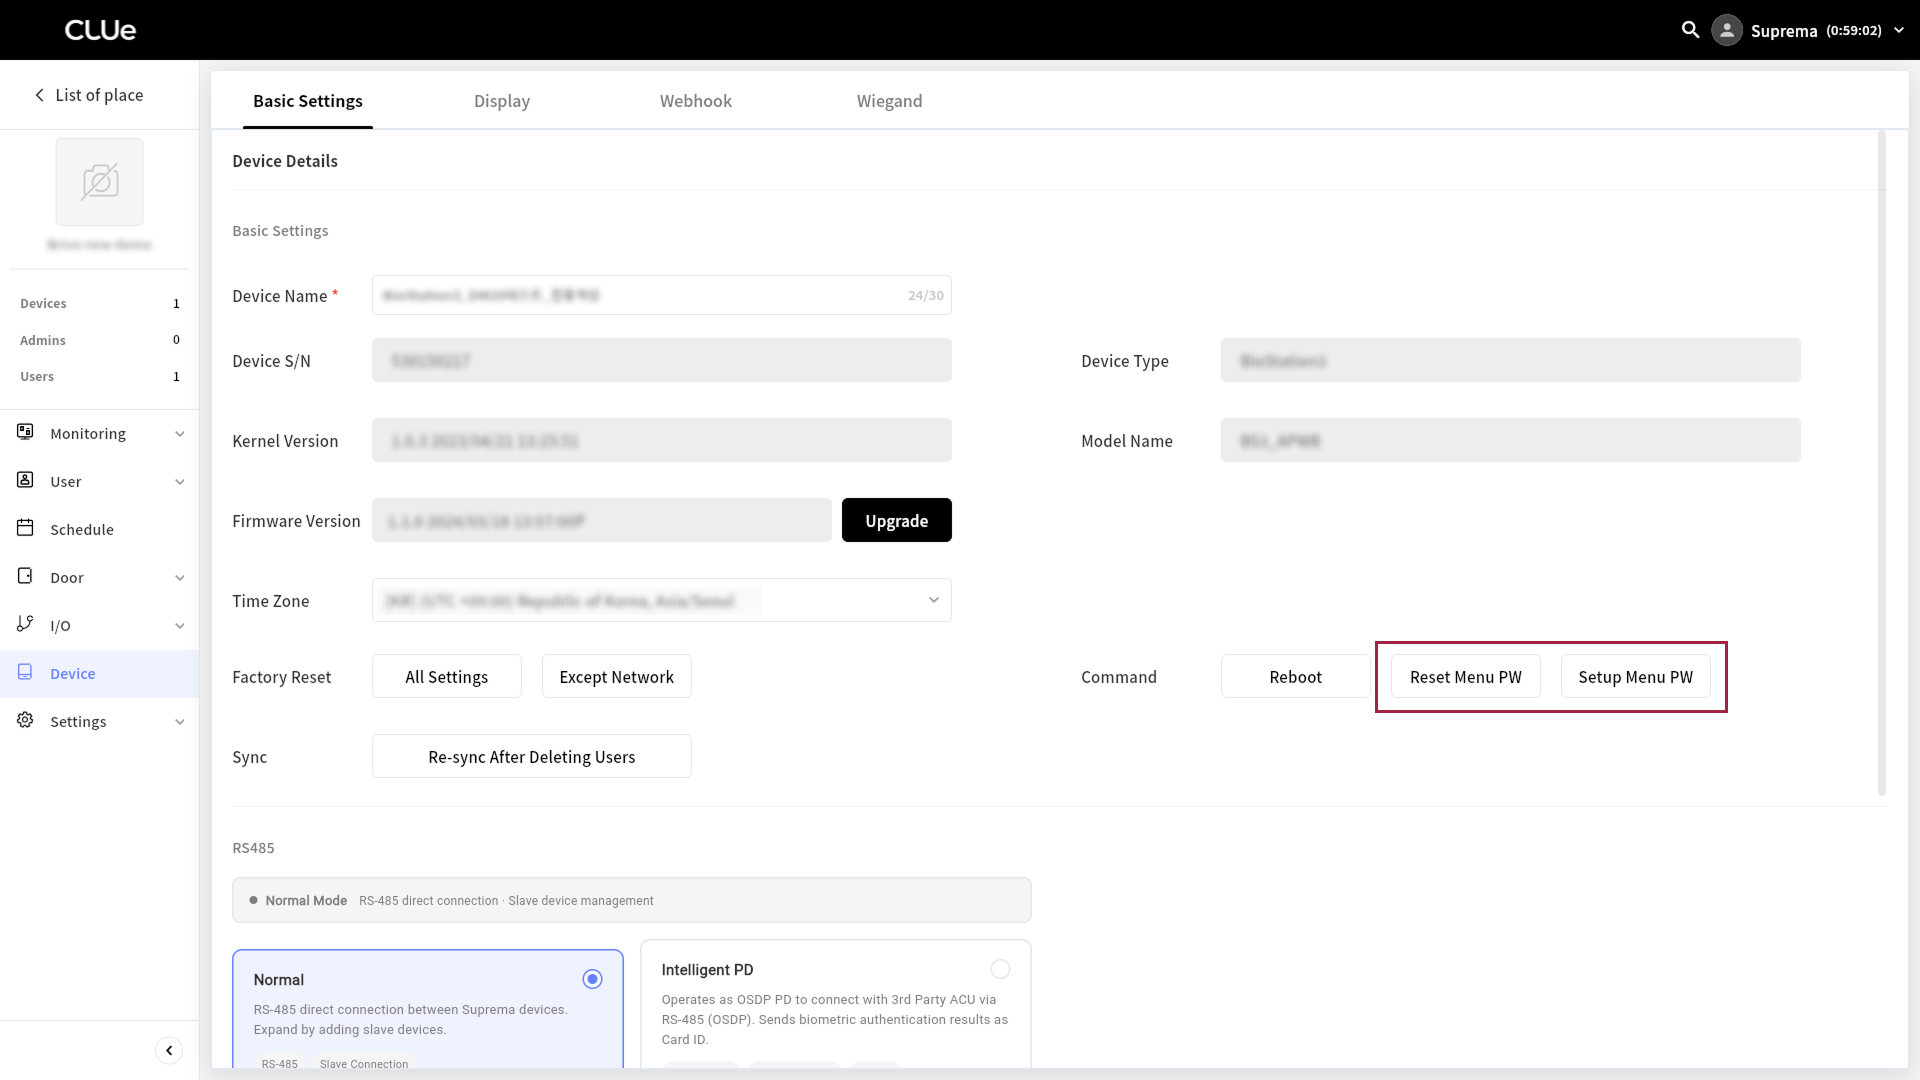
After the firmware update, devices with an LCD display prompt you to set a menu password. Follow the on-screen instructions to set the password. You can also set the password through the CLUe portal.
Unlike BioStar devices, CLUe devices are often used without user data. Therefore, set a menu password to prevent unauthorized changes to menu settings.
Troubleshooting
If the cloud icon does not appear on the device screen, check the following:
-
First, check the internet connection. The device connects directly to the cloud server, so it must stay connected to the internet. CLUe firmware also uses standard HTTPS port 443 for outbound communication.
-
If the cloud icon still does not appear, run a Ping test on the device to check the internet connection.
Device Path BioStation 3 Menu (  ) → SETTINGS → NETWORK → Ethernet → Ping Test
BioLite N2 ESC → NETWORK → TCP/IP → Ping Test X-Station 2 Menu (  ) → NETWORK → Ethernet → Ping Test
-
If the Ping test successful pop-up appears, the internet connection is working properly.
-
If the Unknown or Fail pop-up appears, check whether the network blocks the DNS in use.
-